 In Good Flavor
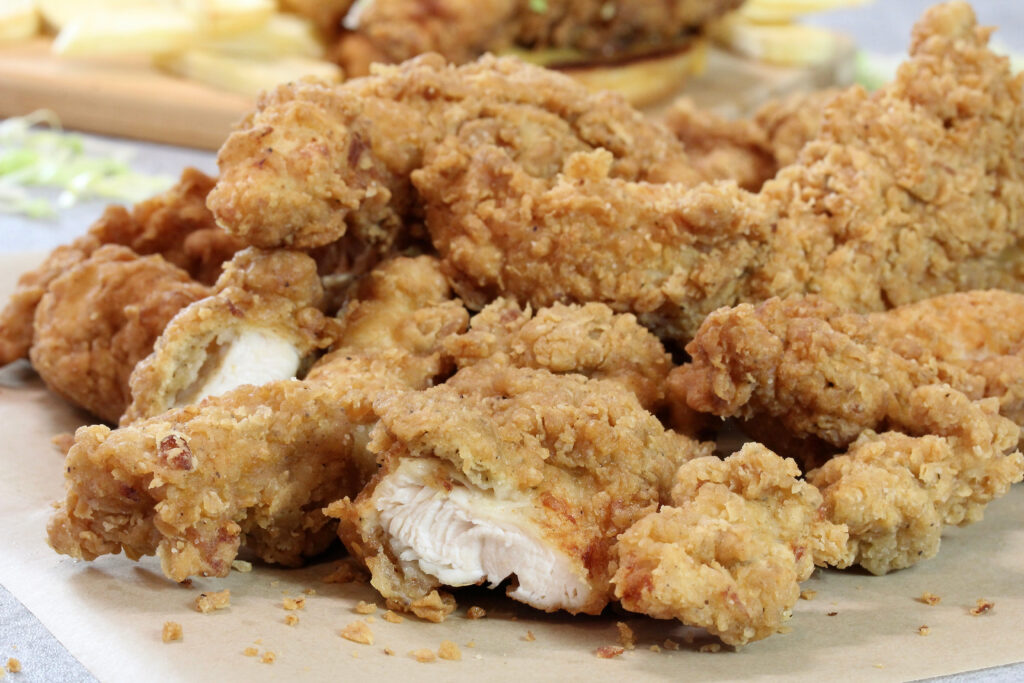
These Fried Chicken Tenders make the best sandwiches or main course for a meal. They are marinated in a wet batter, coated in seasoned flour, then fried. The breading is amazingly light, airy, and crispy. One bite is all it takes to win you over!
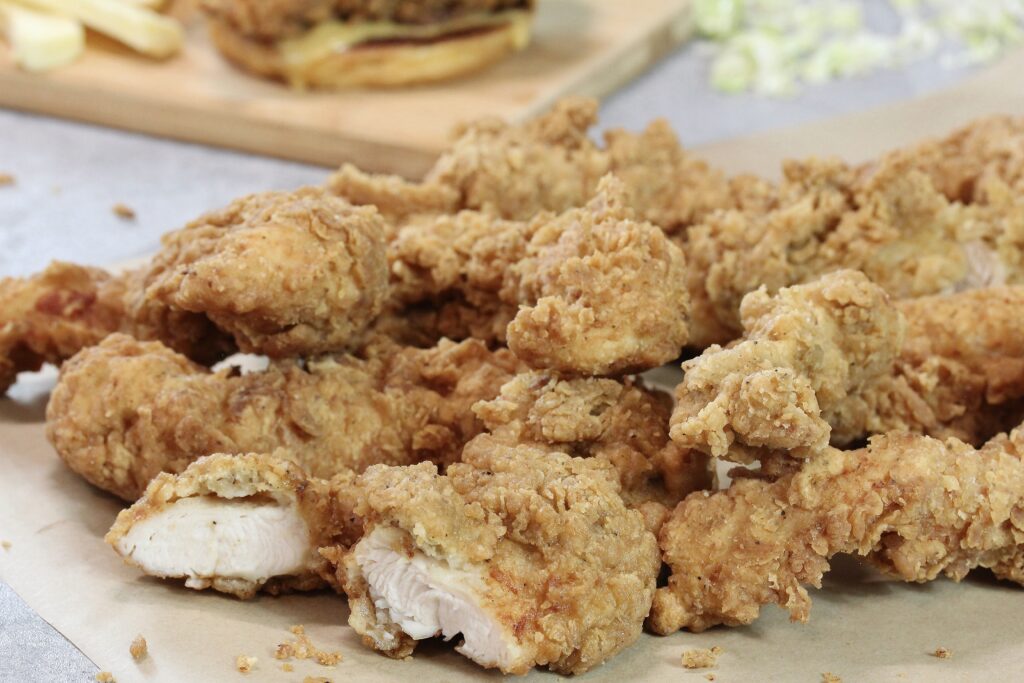
The first time I made these chicken tenders, I let out an inexplicable laugh as I took the first bite because it was THAAAAT good!!! I said to myself, This is the best chicken tender ever!!! It was super moist and perfectly seasoned. On top of that, the breading had a light, crispy crunch.
I love good fried chicken like these crispy chicken tenders, picnic fried chicken, and coconut chicken tenders. So when I saw a post from @chef_fonoon on Instagram and swooned, I had to try it. Apart from slightly changing the seasoning, I followed the original recipe. It’s SOOOO GOOD!!!
What kind of breading is used?
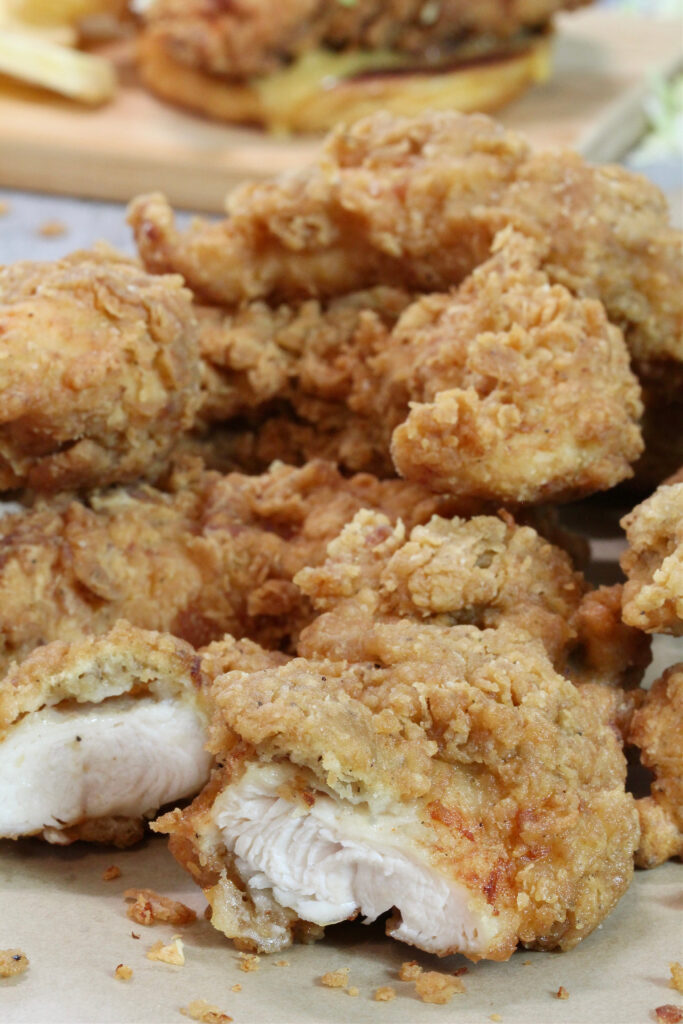
The coating for the tenders is a wet batter made with milk, water, eggs, flour, baking soda, and seasonings. The chicken is marinated in the batter for up to 24 hours, then dredged in seasoned flour before frying in hot oil. Once fried, the batter has a light, crunchy texture, not dense or heavy at all!
Now, too much of a good thing is not always good. That’s true in the case of the batter. It tends to become overly thick during a long marination period (the excess batter can make the breading doughy).
If it happens to you, allow the excess to drip off the tenders as much as possible before dredging in the flour. Alternatively, stir in a splash of milk to slightly thin the batter before dredging the tenders in the flour. The thinned batter drips off the chicken more easily.
Ingredients needed:
- Chicken tenders—this cut cooks quickly because it’s boneless, skinless white meat. Boneless, skinless chicken breasts or thighs can also be used. Flatten thick breasts or thighs with a mallet to 3/4 to 1 inch for even cooking. Cutting into strips or large chunks is optional.
- Milk—for the wet batter. I like to use whole fat, but low-fat is fine.
- Water—for the batter.
- Egg—to add richness and bind the batter.
- Flour—used in the batter and for dredging the marinated tenders.
- Seasonings—garlic powder, onion powder, poultry seasoning, paprika, salt, and black pepper.
Recipe highlights:
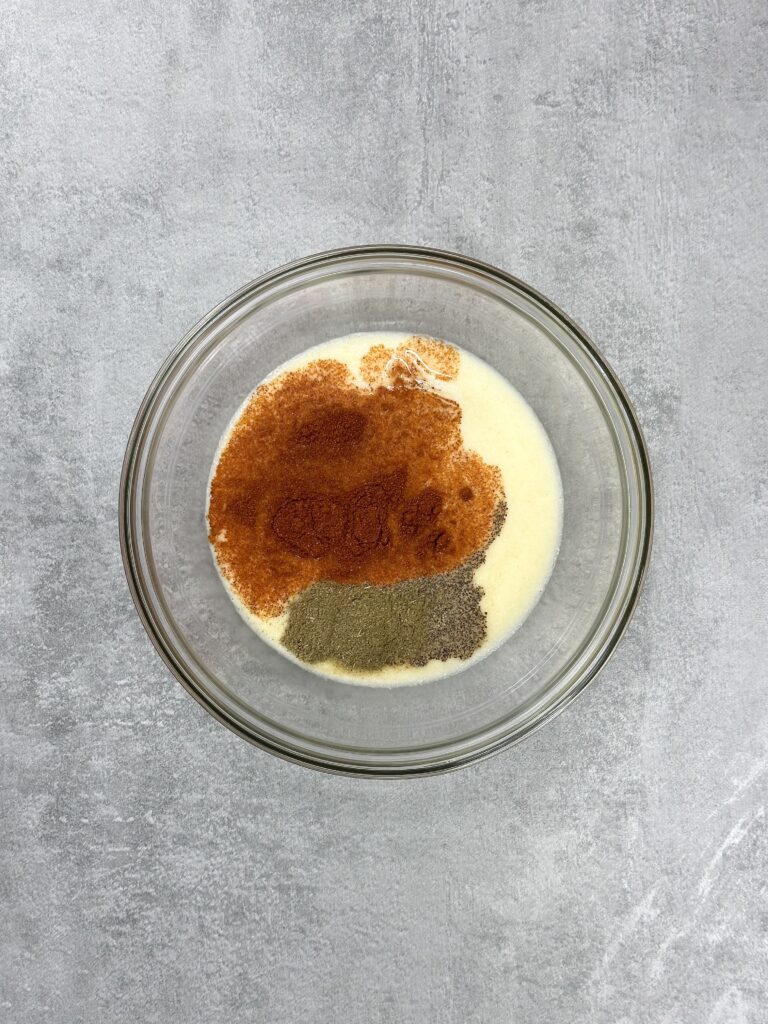
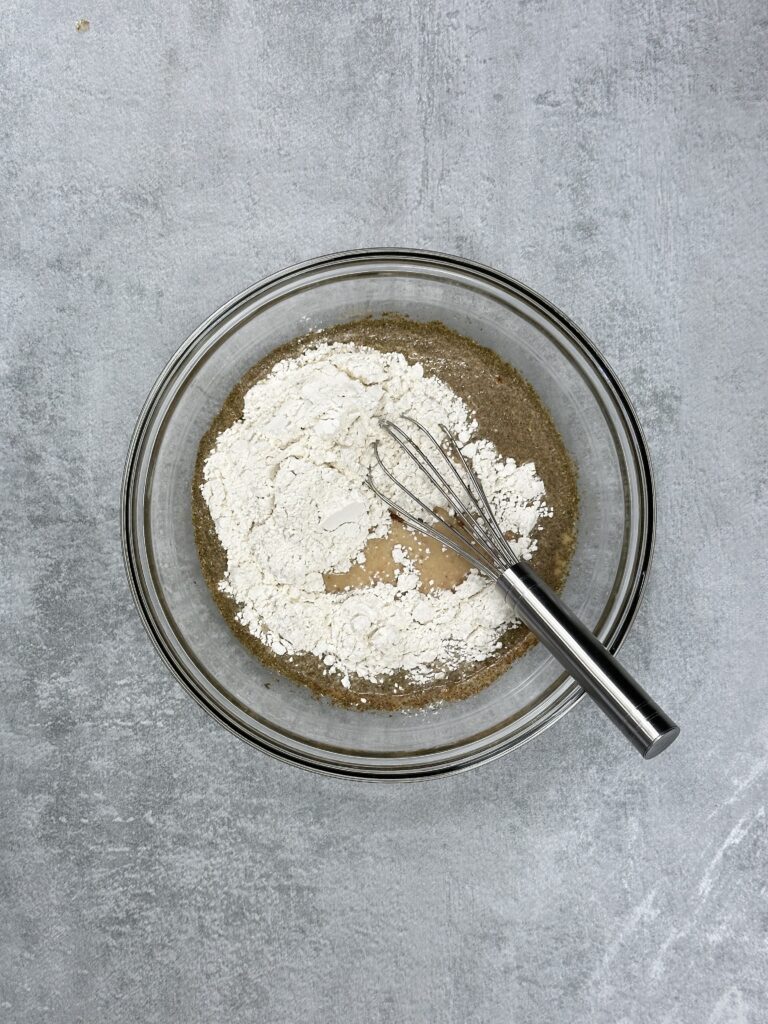
- For the wet batter: whisk milk, water, and egg in a shallow bowl. Add flour and all the dry seasonings. Whisk until smooth.
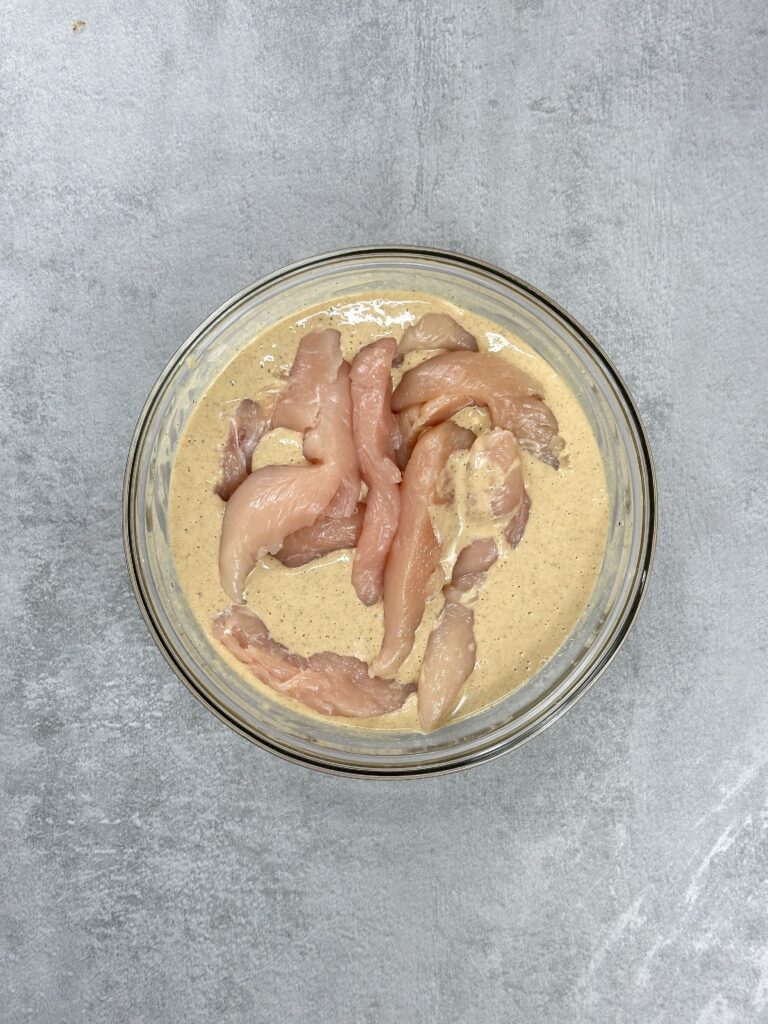
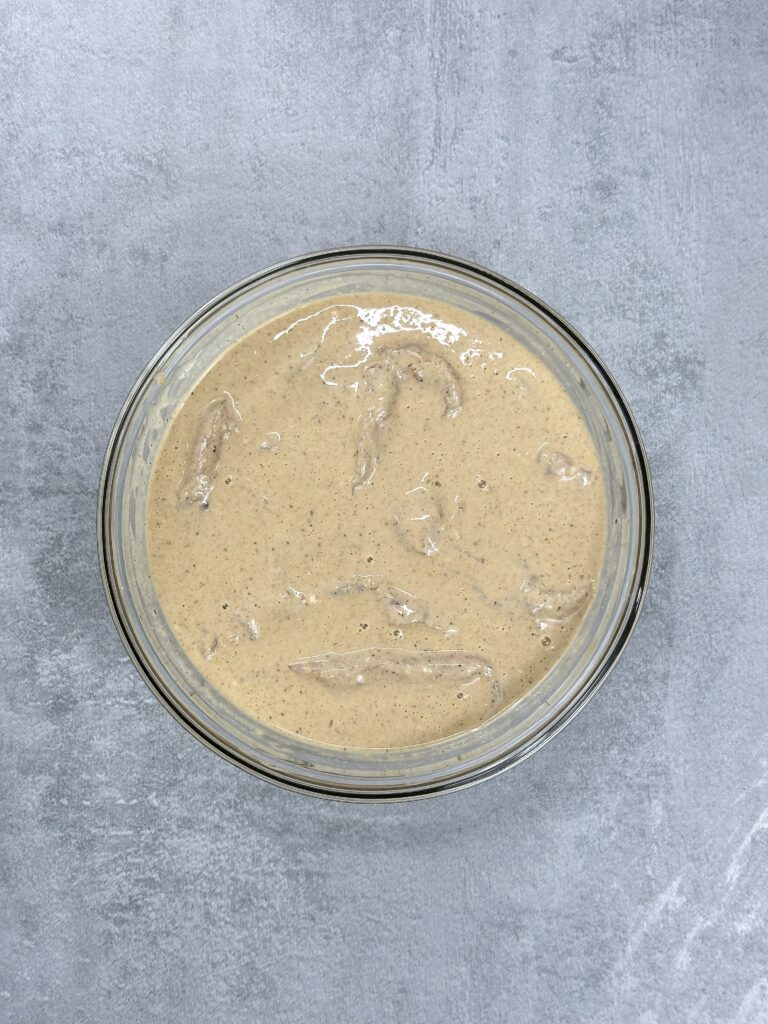
- Add chicken tenders and marinate for at least 2 hours and up to 24 hours, refrigerated.
- When ready to fry, add enough oil to completely submerge the tenders in a deep-sided frying or saute pan. Leave at least 1 1/2 inches of space between the oil surface and the top of the pan. Preheat oil to 360° F.
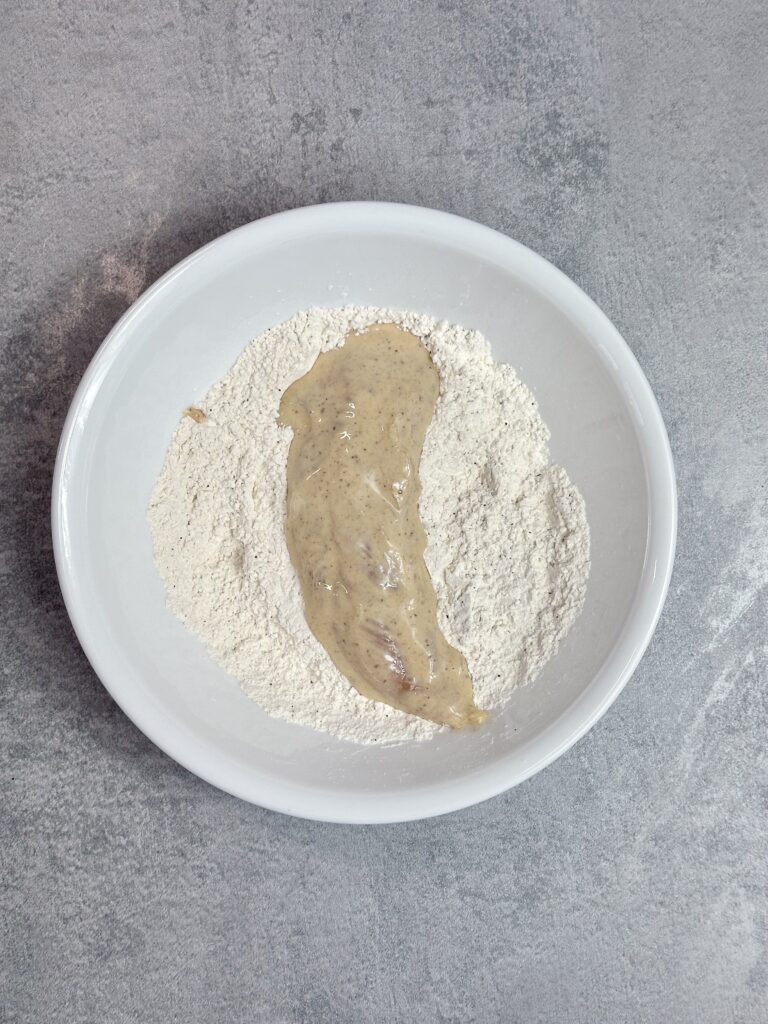
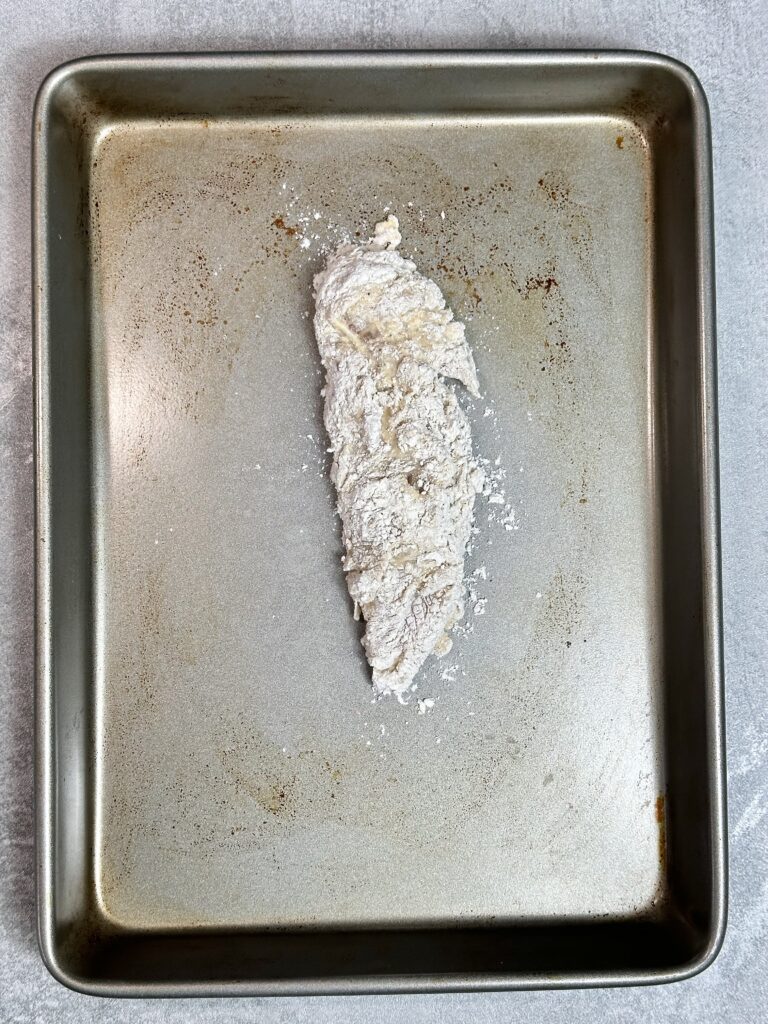
- Combine flour, salt, and pepper for the seasoned flour. Coat one tender at a time in the flour mixture. Gently tap off excess. Dredge just enough tenders to fry one batch without overcrowding the pan.
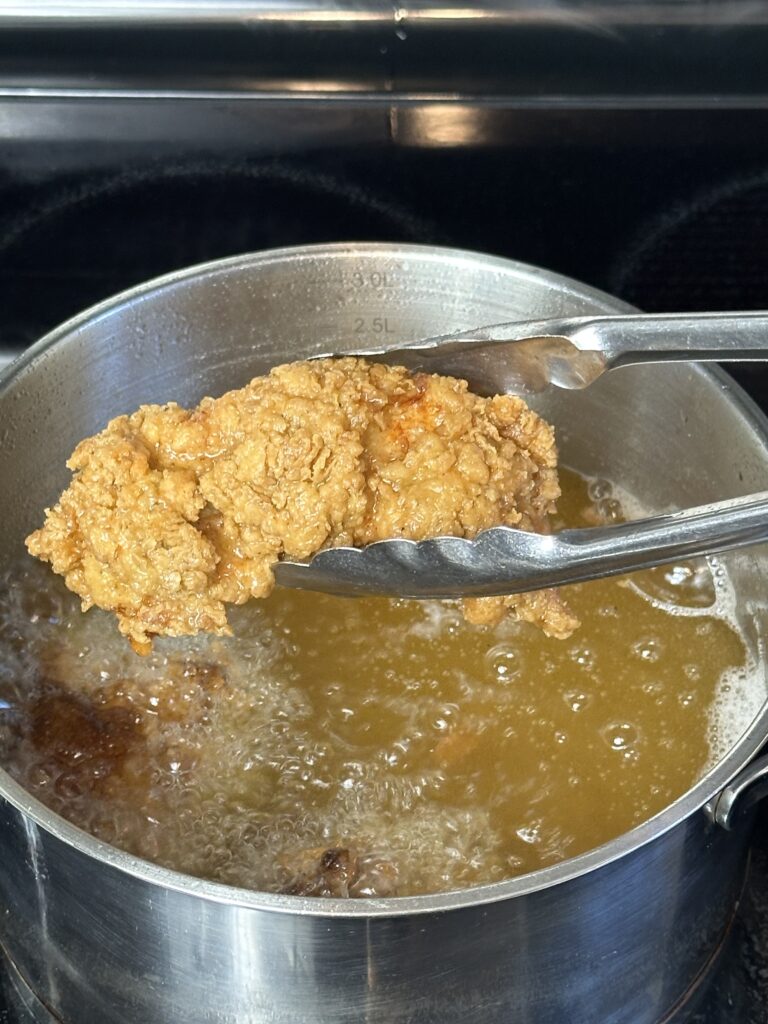
- Place chicken tenders in hot oil and fry for 5-6 minutes, turning over halfway. Done when cooked through and juices run clear or when the internal temperature reaches 165 ° F.
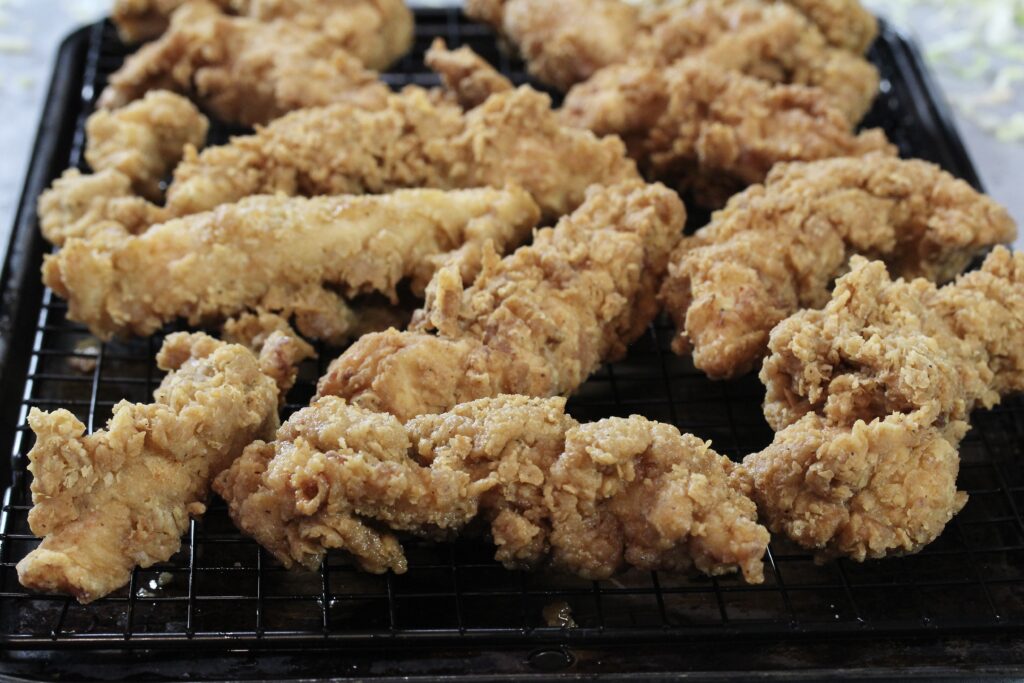
- Transfer to a wire rack to allow excess oil to drip off. Continue dredging tenders in flour and frying in batches.
- Detailed instructions are in the recipe card section below.

How to serve:
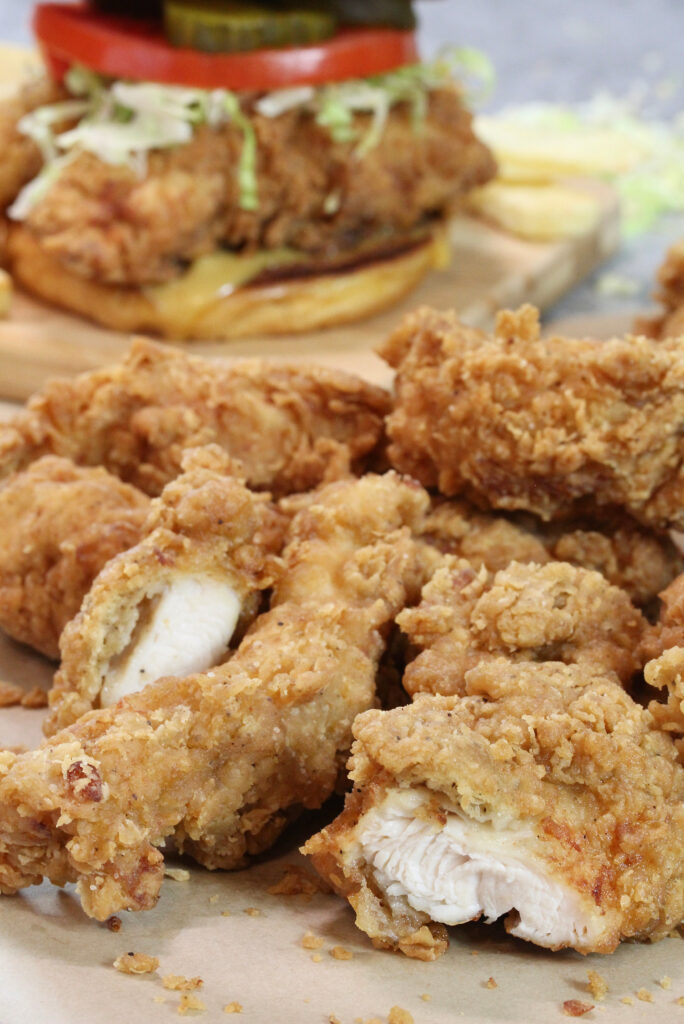
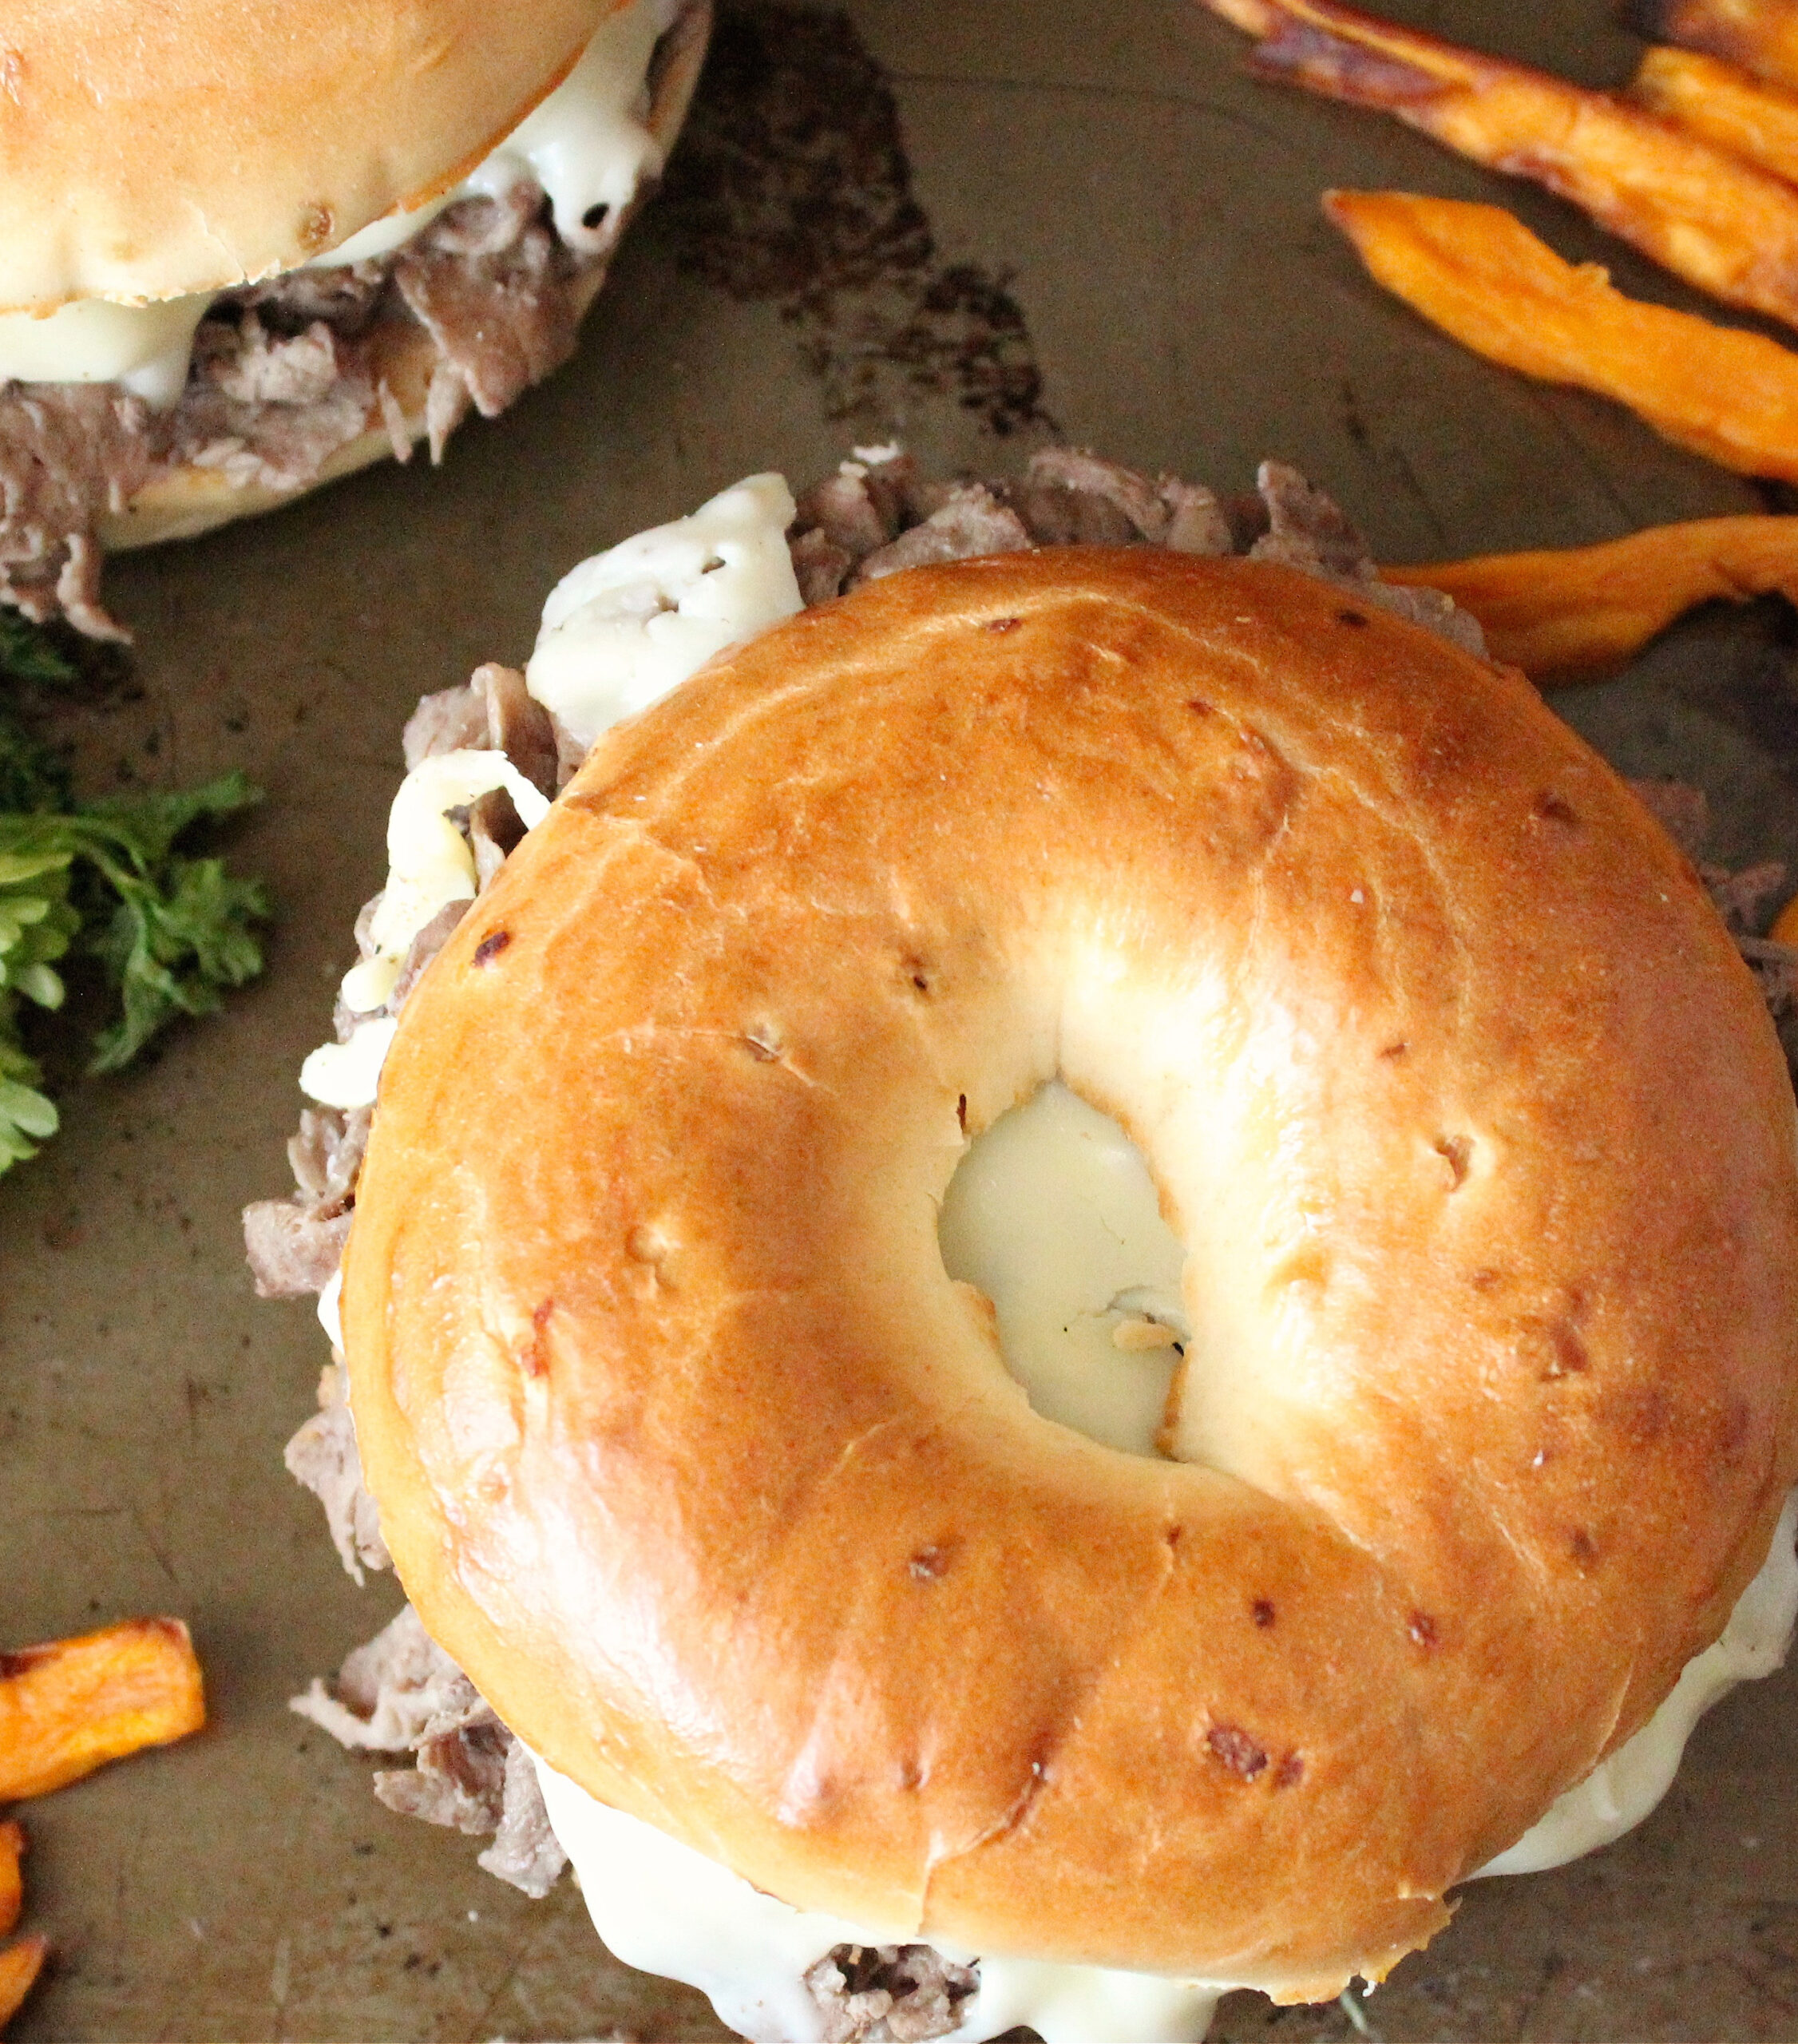
For sandwiches: I put them on toasted brioche buns with the fixings. I like to add sliced tomatoes, pickles, lettuce, and Chick-fil-A Sauce. Check your grocery store because it will be cheaper there, but if that’s not an option, you can get it here (affiliate link). Also, try adding sides of fries and a slaw for ultimate satisfaction!
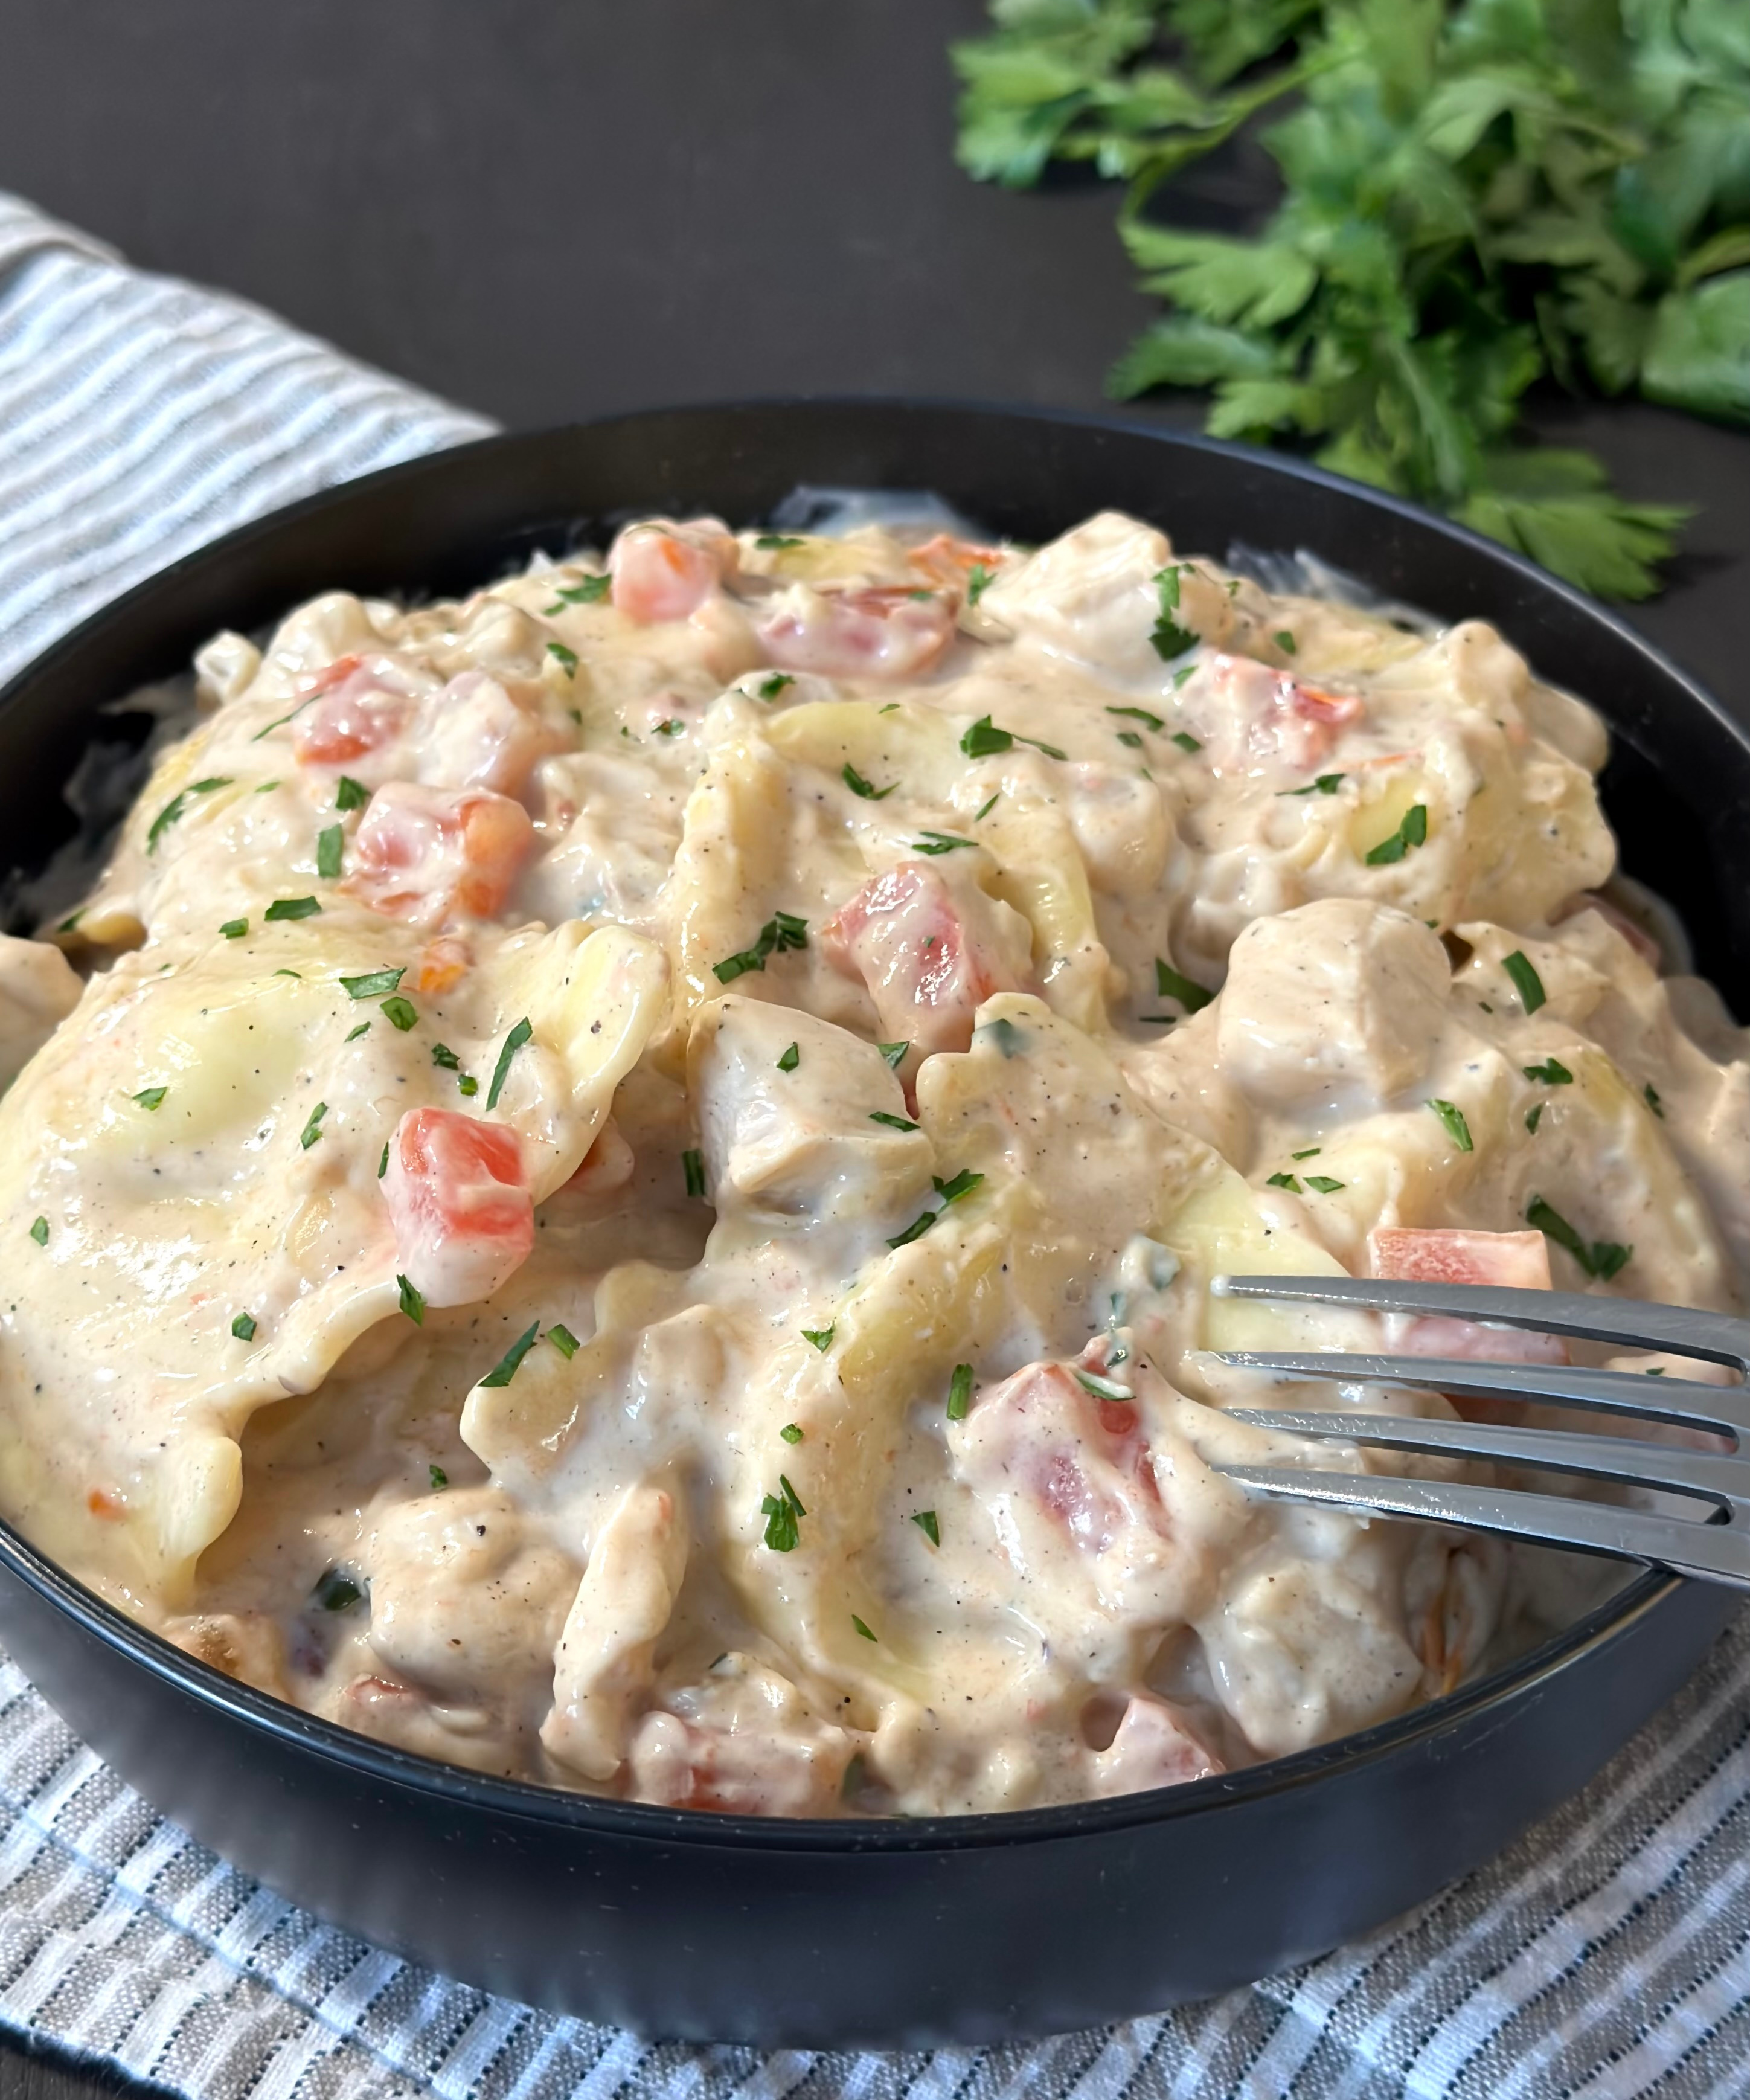
As a main course: Serve the tenders with mashed potatoes and a veggie side. They are also fantastic on any pasta. And how about them with Alfredo sauce or lemon butter sauce?
In a salad: They add a protein component, crunch, and deliciousness.
There is no wrong way to have these tenders! And, of course, they are great as an appetizer or party food. Serve alone or with your favorite dipping sauce.
How to store and reheat:
Allow to cool completely before storing. To refrigerate, store in an airtight container for up to 4 days refrigerated or up to 3 months in the freezer.
Reheat in a preheated 350° F oven until heated through or until the internal temperature reaches 165° F. If reheating from frozen, bake time will be slightly longer. For ultimate crispiness, reheat in 350° F oil or an air fryer until heated through.
Pro tips:
- Allow excess batter to drip off before dredging chicken in seasoned flour. Too much batter can cause doughy coating. Thin out overly thickened batter with a splash of milk to allow it to drip off the chicken more easily before dredging in flour.
- For a lighter cooking option with the ultimate crispiness, flash fry for 2 minutes, then finish baking in a 375° F oven for 6-8 minutes or until the internal temperature is 165° F. Baking time may vary from estimated depending on the size of the tenders. This method provides the best of both worlds—a golden, crispy coating without all the oil absorption.
Recommended supplies:
(Affiliate links. The products I recommend are either what I use, are on my wish list, or are highly rated.)
- A deep-sided skillet or saute pan—this 11.5-inch stainless steel saute pan has deep 5-inch sides to help contain oil splashing. It comes with a tempered glass lid.
- Splatter screen—this set of 4 varying-sized fine mesh splatter screens helps contain splatter while frying.
- Mixing bowl—this 1.5-quart stainless steel bowl is the right size to hold the batter and chicken for marination. It has a nonskid base.
- Wire hand whisk—this stainless steel whisk is ergonomic, strong, durable, and dishwasher-safe.
- Kitchen tongs—this set of 2 varying sizes has nonstick silicone tips and a pull lock feature
- Instant read meat thermometer—provides accurate reading within 2-3 seconds.
You Might Also Like:
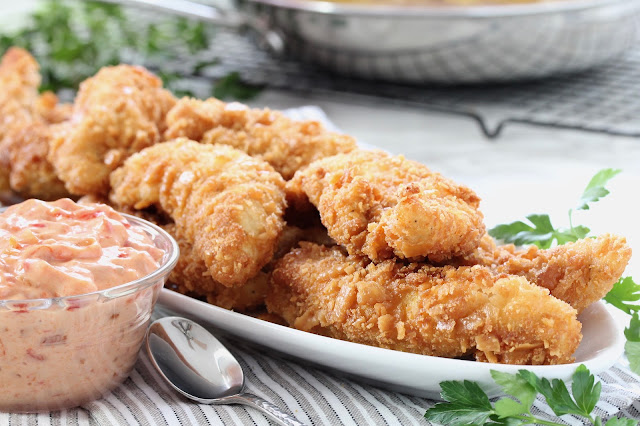 Crispy Chicken Tenders with Sweet Pepper Relish Dip
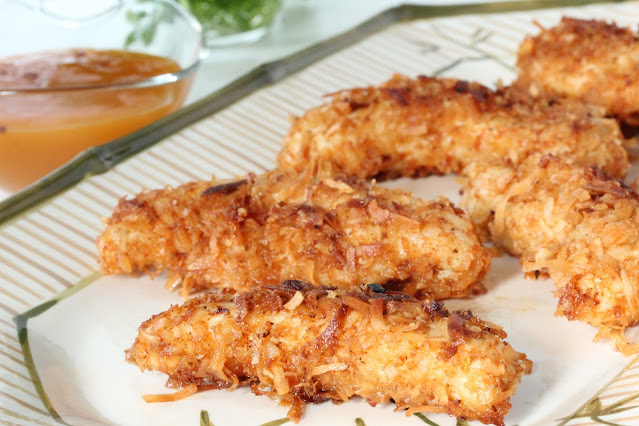 Coconut Chicken Tenders with Sweet and Spicy Mango Dipping Sauce
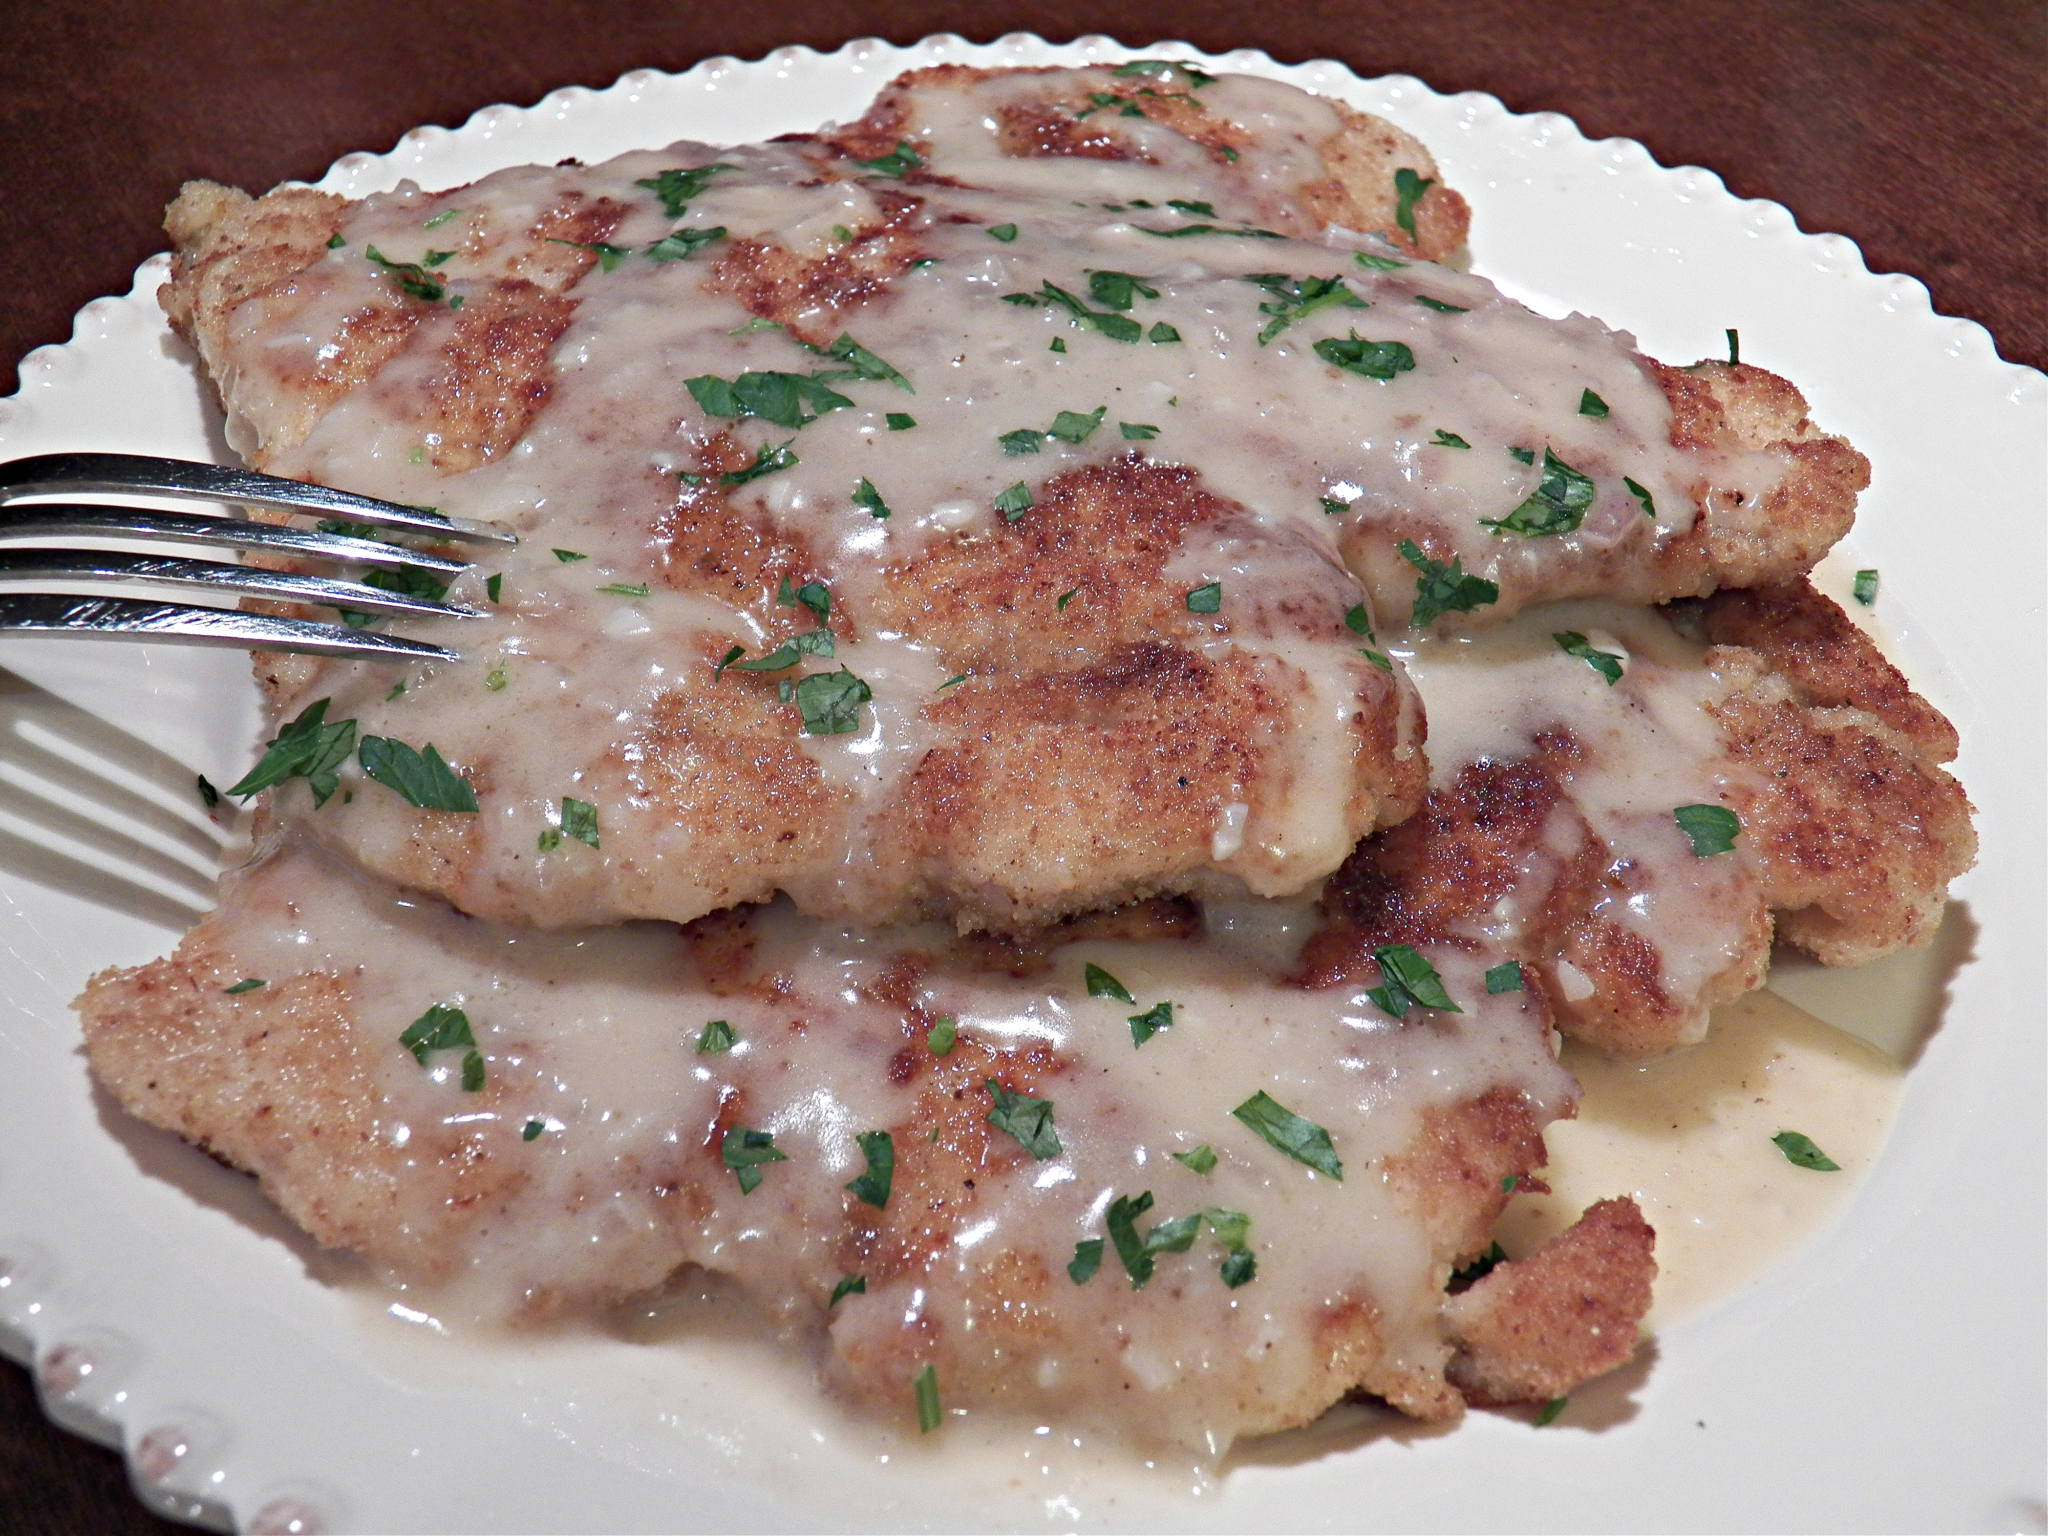 Chicken Piccata
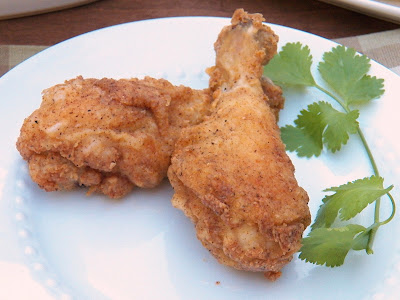 Picnic Fried Chicken
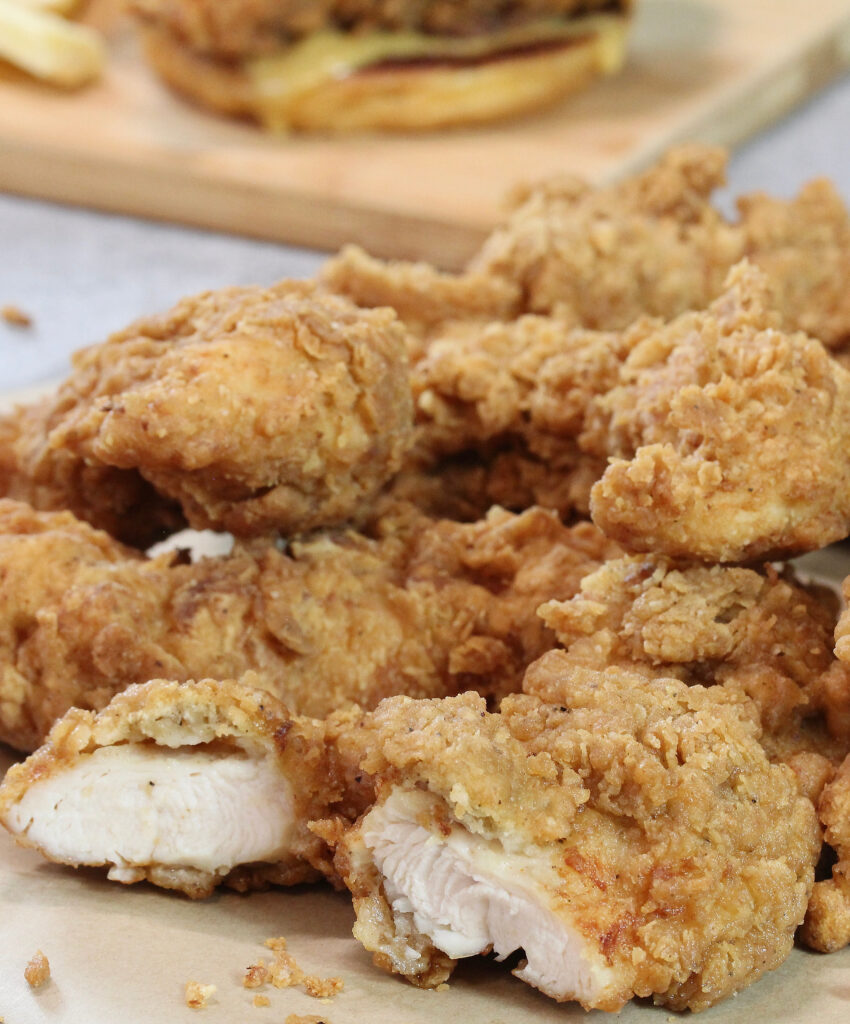

Fried Chicken Tenders
Description
These Fried Chicken Tenders make the best sandwiches or main course for a meal. They are marinated in a wet batter, coated in seasoned flour, then fried. The breading is amazingly light, airy, and crispy. One bite is all it takes to win you over!
Ingredients
For the seasoned flour:
Instructions
- For the wet batter: whisk milk, water, and egg in a shallow bowl. Add 1 3/4 cups of flour and all the dry seasonings. Whisk until smooth.
- Add chicken tenders and marinate for at least 2 hours and up to 24 hours, refrigerated.
- When ready to fry, add enough oil to completely submerge the tenders in a deep-sided frying or saute pan. Make sure the oil is at least 1 1/2 inches below the top of the pan to prevent overflow. Preheat oil to 360° F.
- In a wide, shallow bowl, combine flour, salt, and pepper for the seasoned flour. Blend well.
- Coat one tender at a time in the dry flour mixture. Tap and gently shake off the excess. Set the chicken aside on a plate. Dredge just enough tenders to fry one batch at a time without overcrowding the frying pan.
- Place chicken tenders in hot oil and fry for 5-6 minutes, turning over halfway. Done when cooked through and the juices run clear or when the internal temperature reaches 165° F. Note that frying time may need to be adjusted depending on the size of the tenders.
- Transfer to a wire rack to allow excess oil to drip off. Continue dredging the remaining tenders in flour and frying in batches.
- Makes about 12 chicken tenders.
Notes
- If using boneless, skinless chicken breasts or thighs, use a mallet to flatten thick pieces to 3/4 to 1 inch for even cooking. Cut into strips or large chunks, if desired.
- Allow excess batter to drip off before dredging chicken in seasoned flour. Too much batter can cause doughy coating. Thin out an overly thickened batter with a splash of milk to allow it to drip off the chicken more easily before dredging in flour.
- For a lighter option when cooking, deep-fry the tenders for 2 minutes, then transfer them to a preheated 375° F oven for 6-8 minutes to finish cooking. This gives the best of both worlds—a crispy coating without all the oil absorption.
Disclosure: This site contains paid advertising and affiliate links. In Good Flavor is a participant in the Amazon Services LLC Associates Program, an affiliate advertising program designed to provide a means for sites to earn advertising fees by advertising and linking to Amazon.com.
These sound wonderful. I like the seasoning.
Thank you Mimi. It’s perfect!
Chicken tenders made at home are the best and yours look great.
Thank you Karen! I totally agree with you!
Who doesn’t like a good chicken tender! Love, love. The fact your chicken tenders are homemade, even better!
Velva
Thank you Velva! I feel the same way about homemade, and these are quite irresistible!