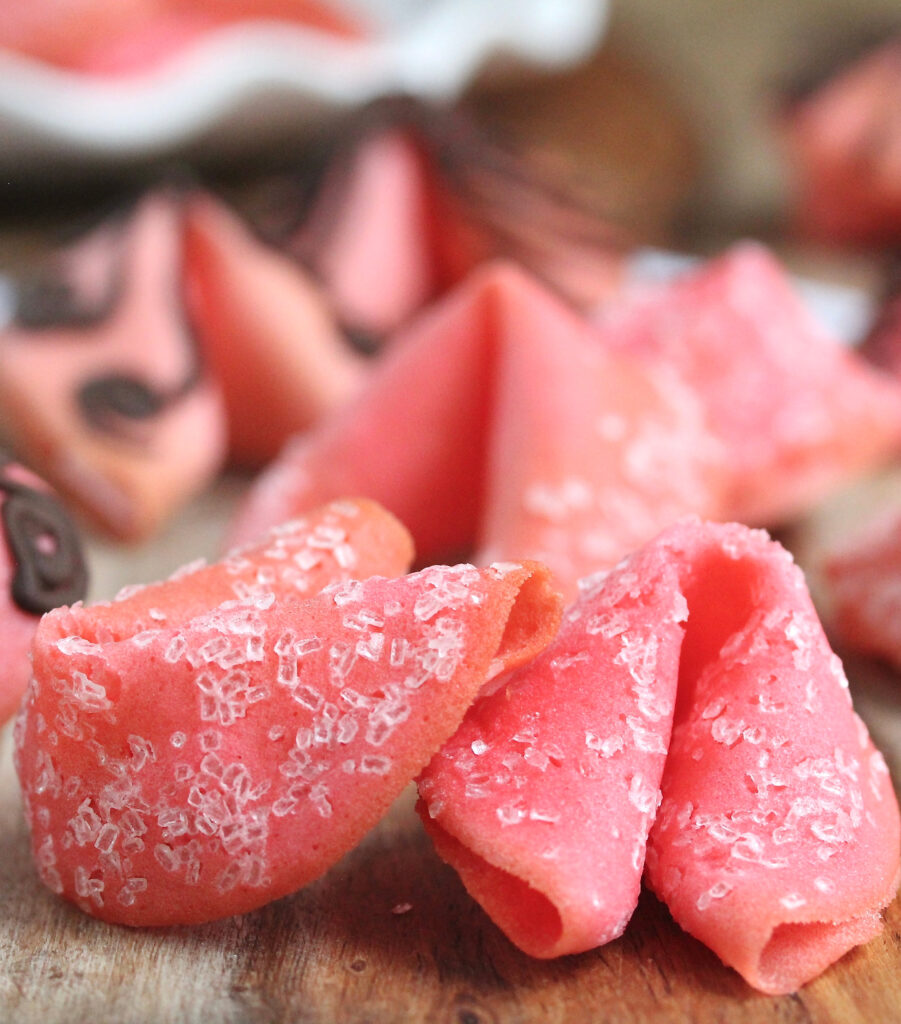
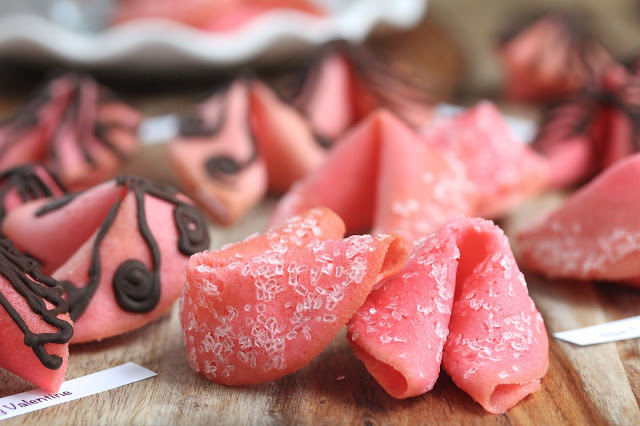
Make strawberry flavored fortune cookies for your special someone(s) on Valentine’s Day. Personalize the message and customize the decoration. Add sparkling sugar, melted chocolate, or whatever you choose! They are so much fun!
Valentine’s Day is three weeks away, but I’m excited to share these cuties early with you! Why am I excited? Allow me to let you in on a secret: I’m not a huge fan of the commercial fortune cookies. I find them too firm as a cookie, and they taste meh. These, on the other hand, are deliciously strawberry flavored and are crunchy without being too hard.
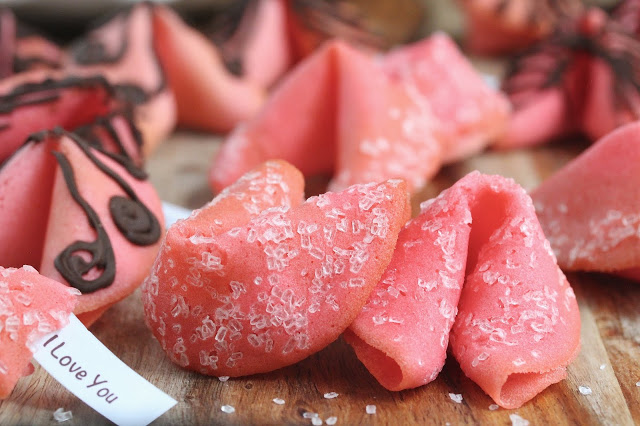
I’m new at making fortune cookies. Because I didn’t care for them, there was little desire to whip up a batch. After experimenting and adding my twist, I am happy to say I love THESE fortune cookies. Not only are they tasty, but they are also the prettiest fortune cookies I have ever eaten.
If you’re thinking you need to give these a try, please do!! Making fortune cookies is fun, but with one caveat (keeping it real)—there is a slight learning curve. The cookies are shaped while hot, and you need to work quickly before they cool. Expect to fumble on the first few if you are a newbie. No worries, though—as I discovered, with a little trial and error, it becomes easy!
Assembling the batter couldn’t be simpler—hand whisking of the ingredients for a minute is all it takes. The trick is to shape the cookies after they are baked. It is done immediately after they come out of the oven, which requires them to be handled while piping hot. One option is to wear thin gloves; the other is to power through it. I didn’t try gloves. I don’t have Teflon hands but was able to tolerate the heat fine…the doctor said I should get the feeling back in my fingertips any day now 😉
As mentioned earlier, working quickly once the cookies come out of the oven is key. All it takes is a little practice. They cool off and firm up quickly, at which point they can not be shaped. The cookies could be reheated for a minute in the oven to soften, but I think it’s best to work without having to reheat. I fear that they might become overdone. For that reason, start with baking only two cookies at a time. As you get better and more confident, increase the amount.
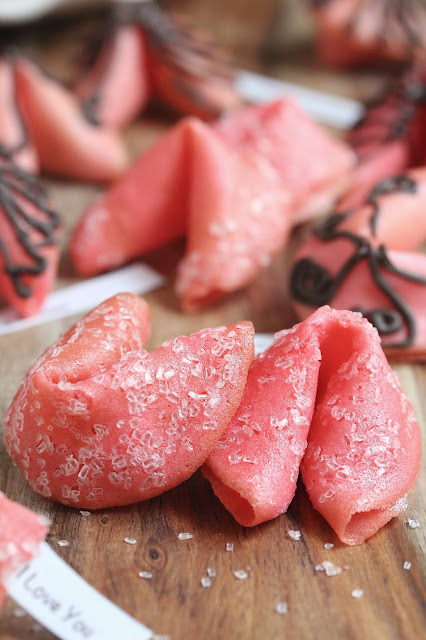
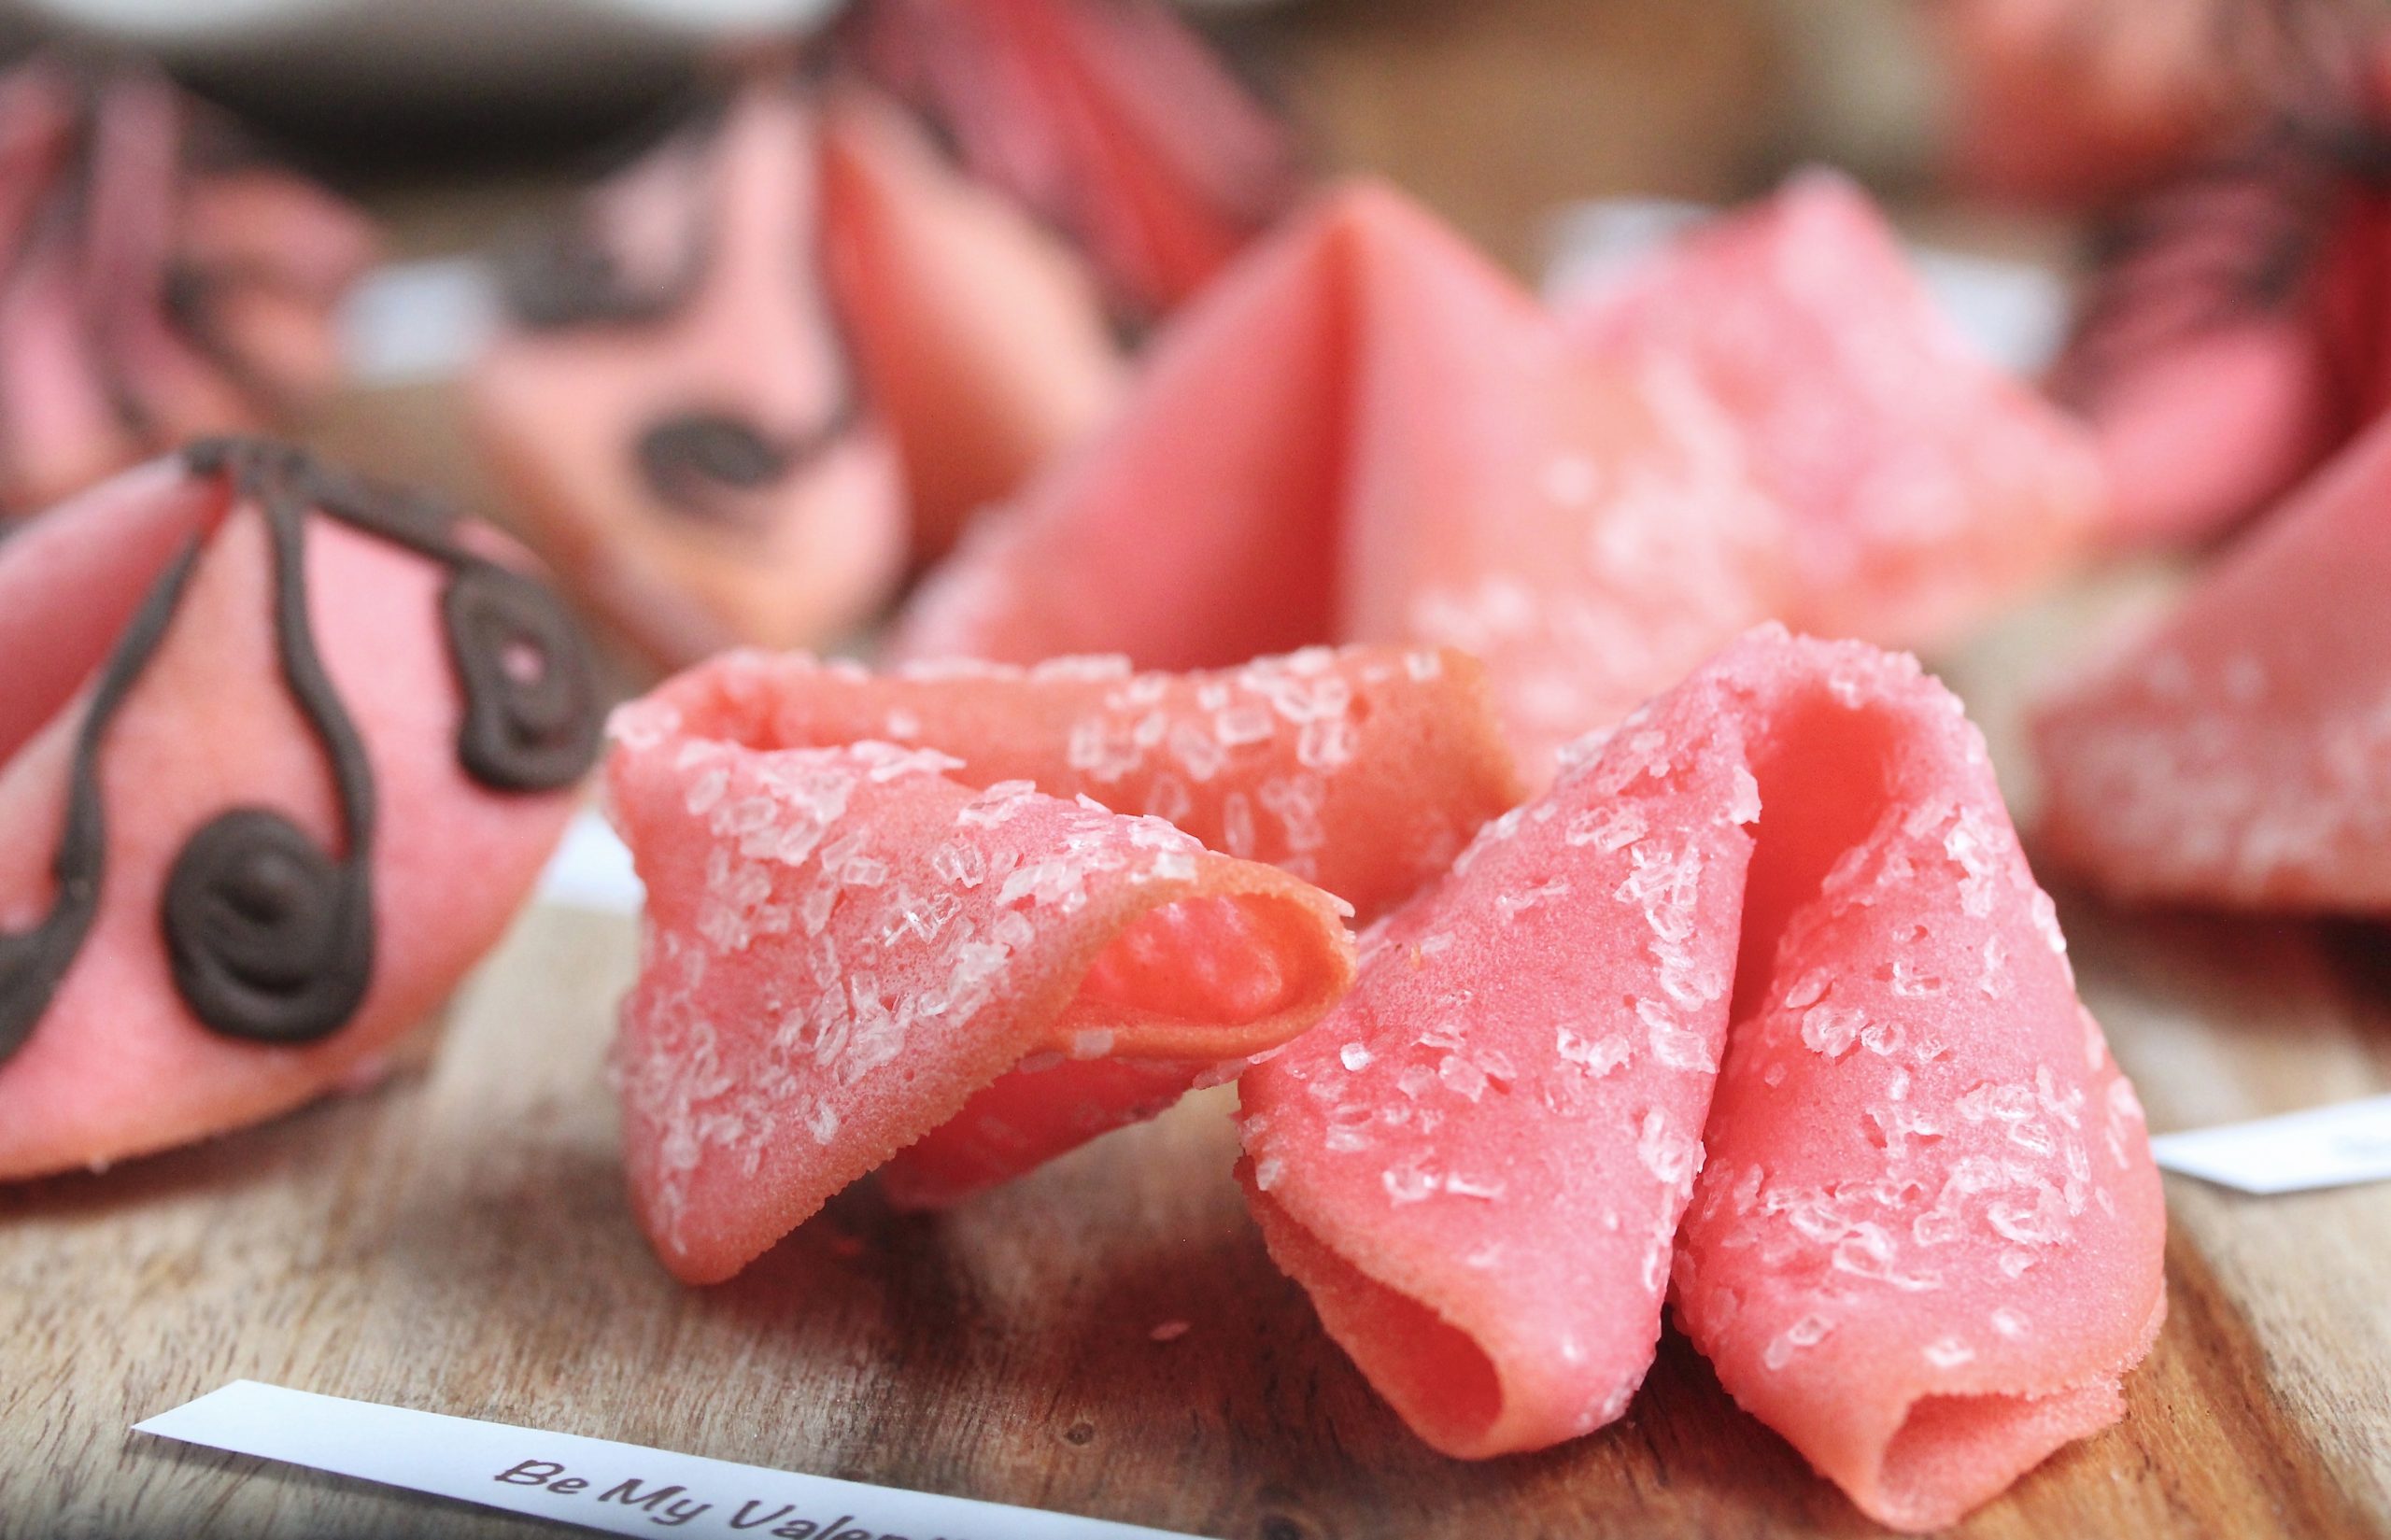
These fortune cookies are tasty and beautiful served plain, but decorate them for extra fun and pizzazz. For the sparkling sugar cookies, I sprinkled the sugar directly onto the batter on the cookie sheet just before they went into the oven. For the chocolate adorned cookies, I piped melted chocolate onto the cookies after they were shaped and cooled. Dipping the cookies in chocolate and coating them with nuts or sprinkles would be awesome, too!
I’m sure you can get very creative. Whatever you do, don’t try adding mini chocolate chips directly to the batter. You will be very disappointed (take it from someone who made that mistake)! The chocolate will smear all over your hands and make a huge mess during the shaping process as they are hot and gooey.
Not only are these cookies perfect for Valentine’s Day, but they are also great as party favors for bridal showers, gender reveals, and, let’s not forget, Chinese New Year! Just swap out the color, flavor, and message to suit the occasion. Seriously, give these a try!!
Recommended supplies:
(Affiliate links. The products I recommend are either what I use, are on my wish list, or come highly rated.)
- Parchment paper for shaping the cookie dough and for lining the baking sheet.
- Silicone mat as an alternative to parchment paper for lining the baking sheet. It’s my first choice for this cookie as it lays flat and does not curl up like parchment.
- Baking sheet for baking the fortune cookies.
- Gel food coloring for coloring the cookies.
You Might Also Like:
Decorated Strawberry Fortune Cookies
Description
Make strawberry flavored fortune cookies for your special someone(s) on Valentine’s Day. Personalize the message and customize the decoration. Add sparkling sugar, melted chocolate, or whatever you choose! They are so much fun!
Ingredients
Supplies:
Instructions
- Preheat oven to 350 degrees F.
- Line a baking sheet with a silicon baking mat. Alternatively, line it with parchment paper or spray it with cooking spray.
- In a small bowl, whisk egg whites and sugar for 20 seconds. Add strawberry extract, food coloring, and oil and whisk for another 20 seconds.
- Add flour and salt. Whisk gently until the flour is just incorporated. Add water.
- If desired, add more food coloring to obtain the color of your preference at this time. Whisk gently for a few seconds until the batter is smooth. It should be syrupy in thickness and should fall in a ribbon from a spoon.
- Using a spoon, place 2 dollops of the batter (about 2 teaspoons each), spaced far apart, on the prepared baking sheet. Using the back of a spoon, make circular motions to spread the batter into a 3 1/2-inch (approximate) wide circle that is no more than 1/8-inch thick. Add more batter if necessary. (See note below for making a 3 1/2-inch round parchment paper template.)
-
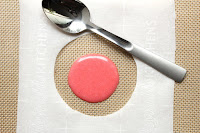
Image: batter in round mold - If you want better control of the batter, place it in a piping bag instead of using a spoon to dollop it onto the baking surface. Then, using a spoon, spread it into a round.
- If decorating with sugar sprinkles, sprinkle some on top of the two rounds of batter now.
- Bake the cookies for 6 to 8 minutes or until the outer 1/4 to 1/3-inch rim becomes lightly golden. Remove from oven.
- Quickly transfer and flip one cookie, top side down, onto a work surface. Place a fortune across the middle. Bring the edges together to form a semi-circle. Press the edges together. DO NOT press along the fold.
- Place the cookie over the rim of a cup with the center of the fold sitting on top of the rim. Pull the two corners down to hug the sides of the cup. Hold for a few seconds.
-

Image: shape cookie on cup rim - Transfer to a muffin tin to help the cookie hold its shape. Continue with the second cookie.
- If decorating with chocolate, place melted chocolate in a piping bag with a small round tip or in a zip-loc bag with a cut-off tip. Pipe chocolate onto cooled cookies. Chill for a few minutes for the chocolate to set
- Makes about 15 cookies.
- Store refrigerated to retain maximum crispiness. They can also be stored in an airtight container at room temperature for 3-4 days.
Notes:
- To form perfect circles with the batter, cut out a 3 1/2-inch round hole on a piece of paper or cardboard to use as a template. Place the template around the dollop of batter on the baking sheet and spread the batter to cover the hole.
- If the batter does not spread easily when forming circles on the baking sheet, adding a few drops of water to the batter remaining in the bowl will help subsequent batches spread more easily.
- Cookies that are over-baked may crack easily while being molded. Reduce baking time slightly.
- Under-baked cookies may fall apart while being molded. Increase the baking time slightly.
- Start by baking only 2 cookies at a time and increase the amount as you feel more confident. The total cooking time provided is for baking 2 cookies at a time. The total cook time would be reduced if you increased the quantity per batch.
- If cookies harden before you can shape them, return them to the oven for a minute to soften.
- The prep and cook time are generous estimates. These cookies require a learning curve, but your time will improve once you get the hang of it.
Disclosure: This site contains paid advertising and affiliate links. In Good Flavor is a participant in the Amazon Services LLC Associates Program, an affiliate advertising program designed to provide a means for sites to earn advertising fees by advertising and linking to Amazon.com.

 Funfetti M&M Cookies
 Brownie Stuffed Swirled Marshmallow Pops
 Drunken Strawberry Coconut Trifle
 Strawberry Fool
These are SOOO pretty, Thao! What a brilliant idea. I want to make them for my kids asap!
Thank you Katherine!! So much prettier than the ones from takeout. Have fun if you try them out with the kids!!????
What a cute idea…I love it.
Thank you Karen!!????
How perfect for Valentine's day! I think I need some strawberry extract!
You really do, Inger 🙂 Happy early Valentine's Day!!
Looks so cute and yummy!My Kids would love this 😀
Stylish Magazine