 In Good Flavor
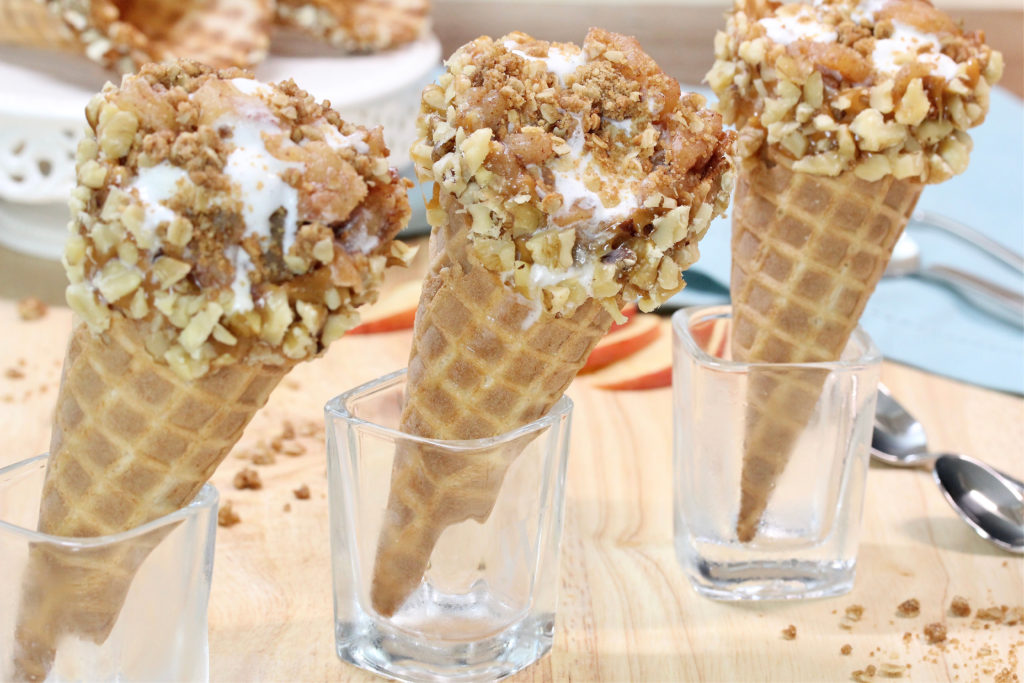
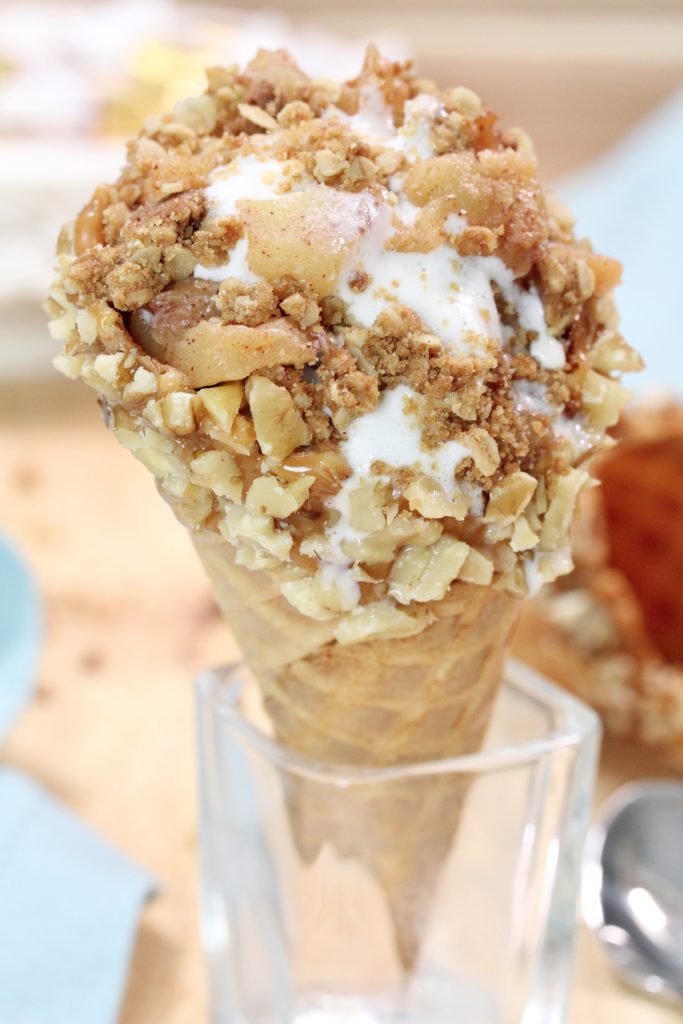
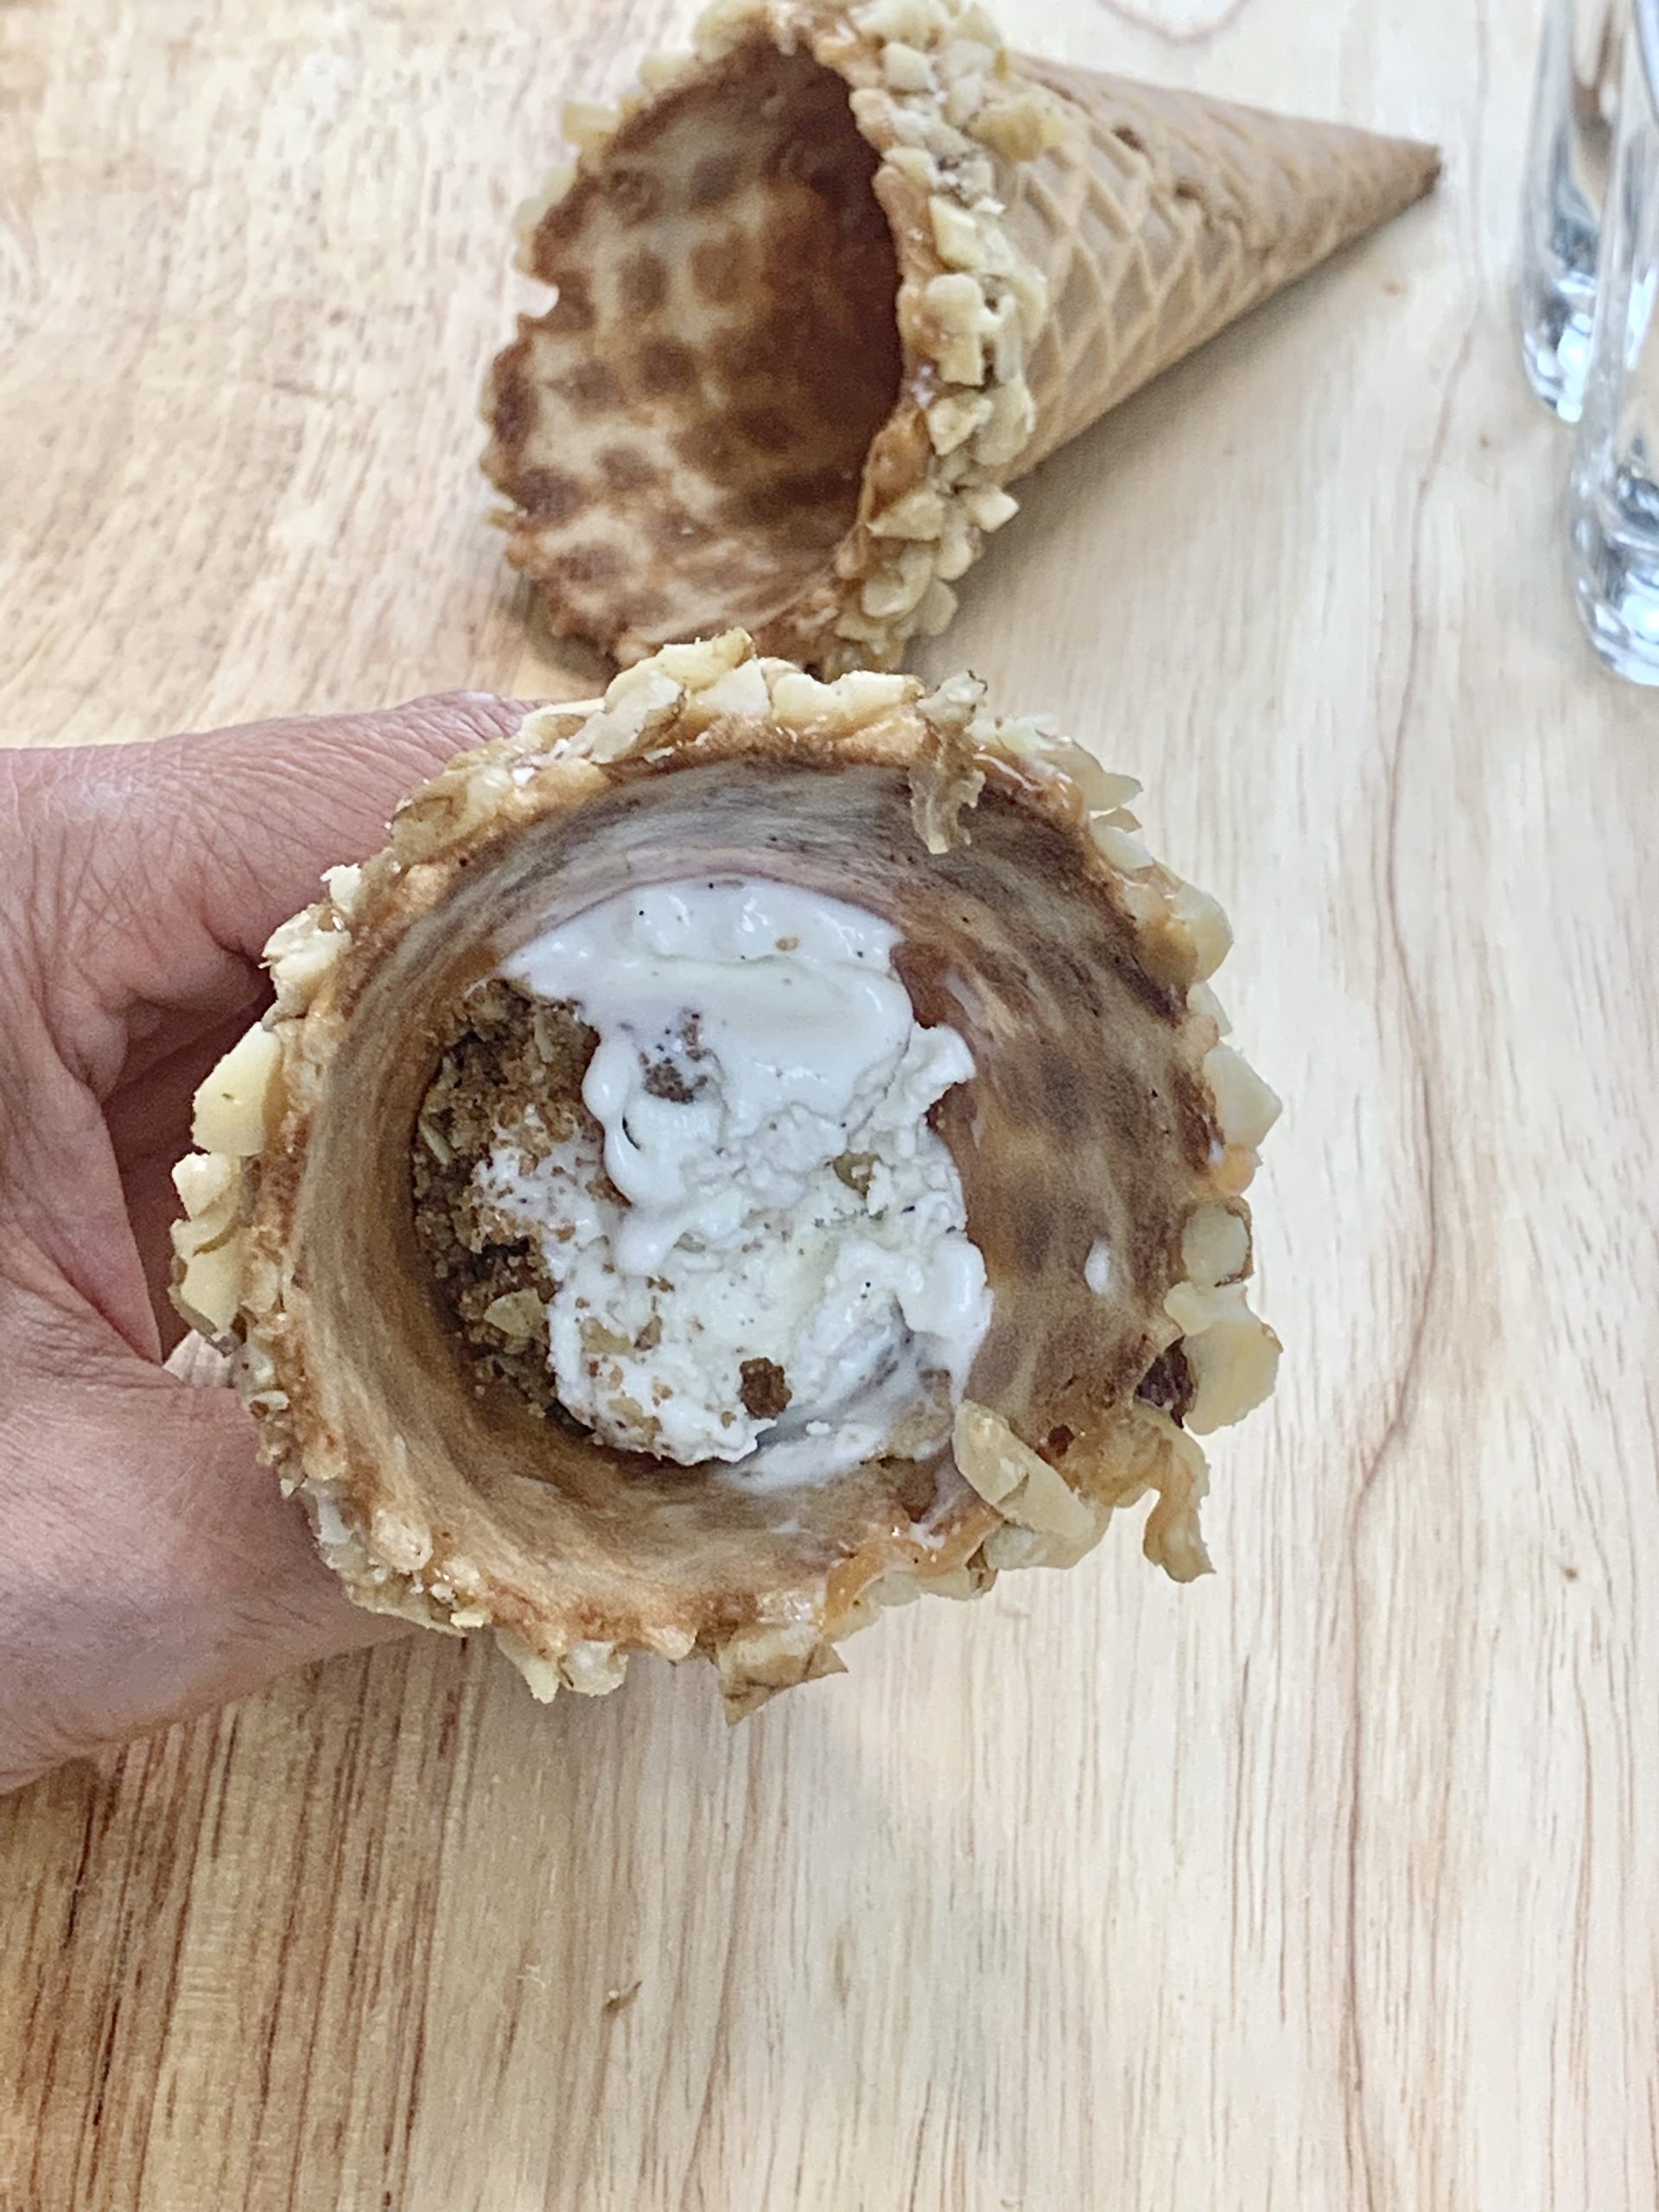
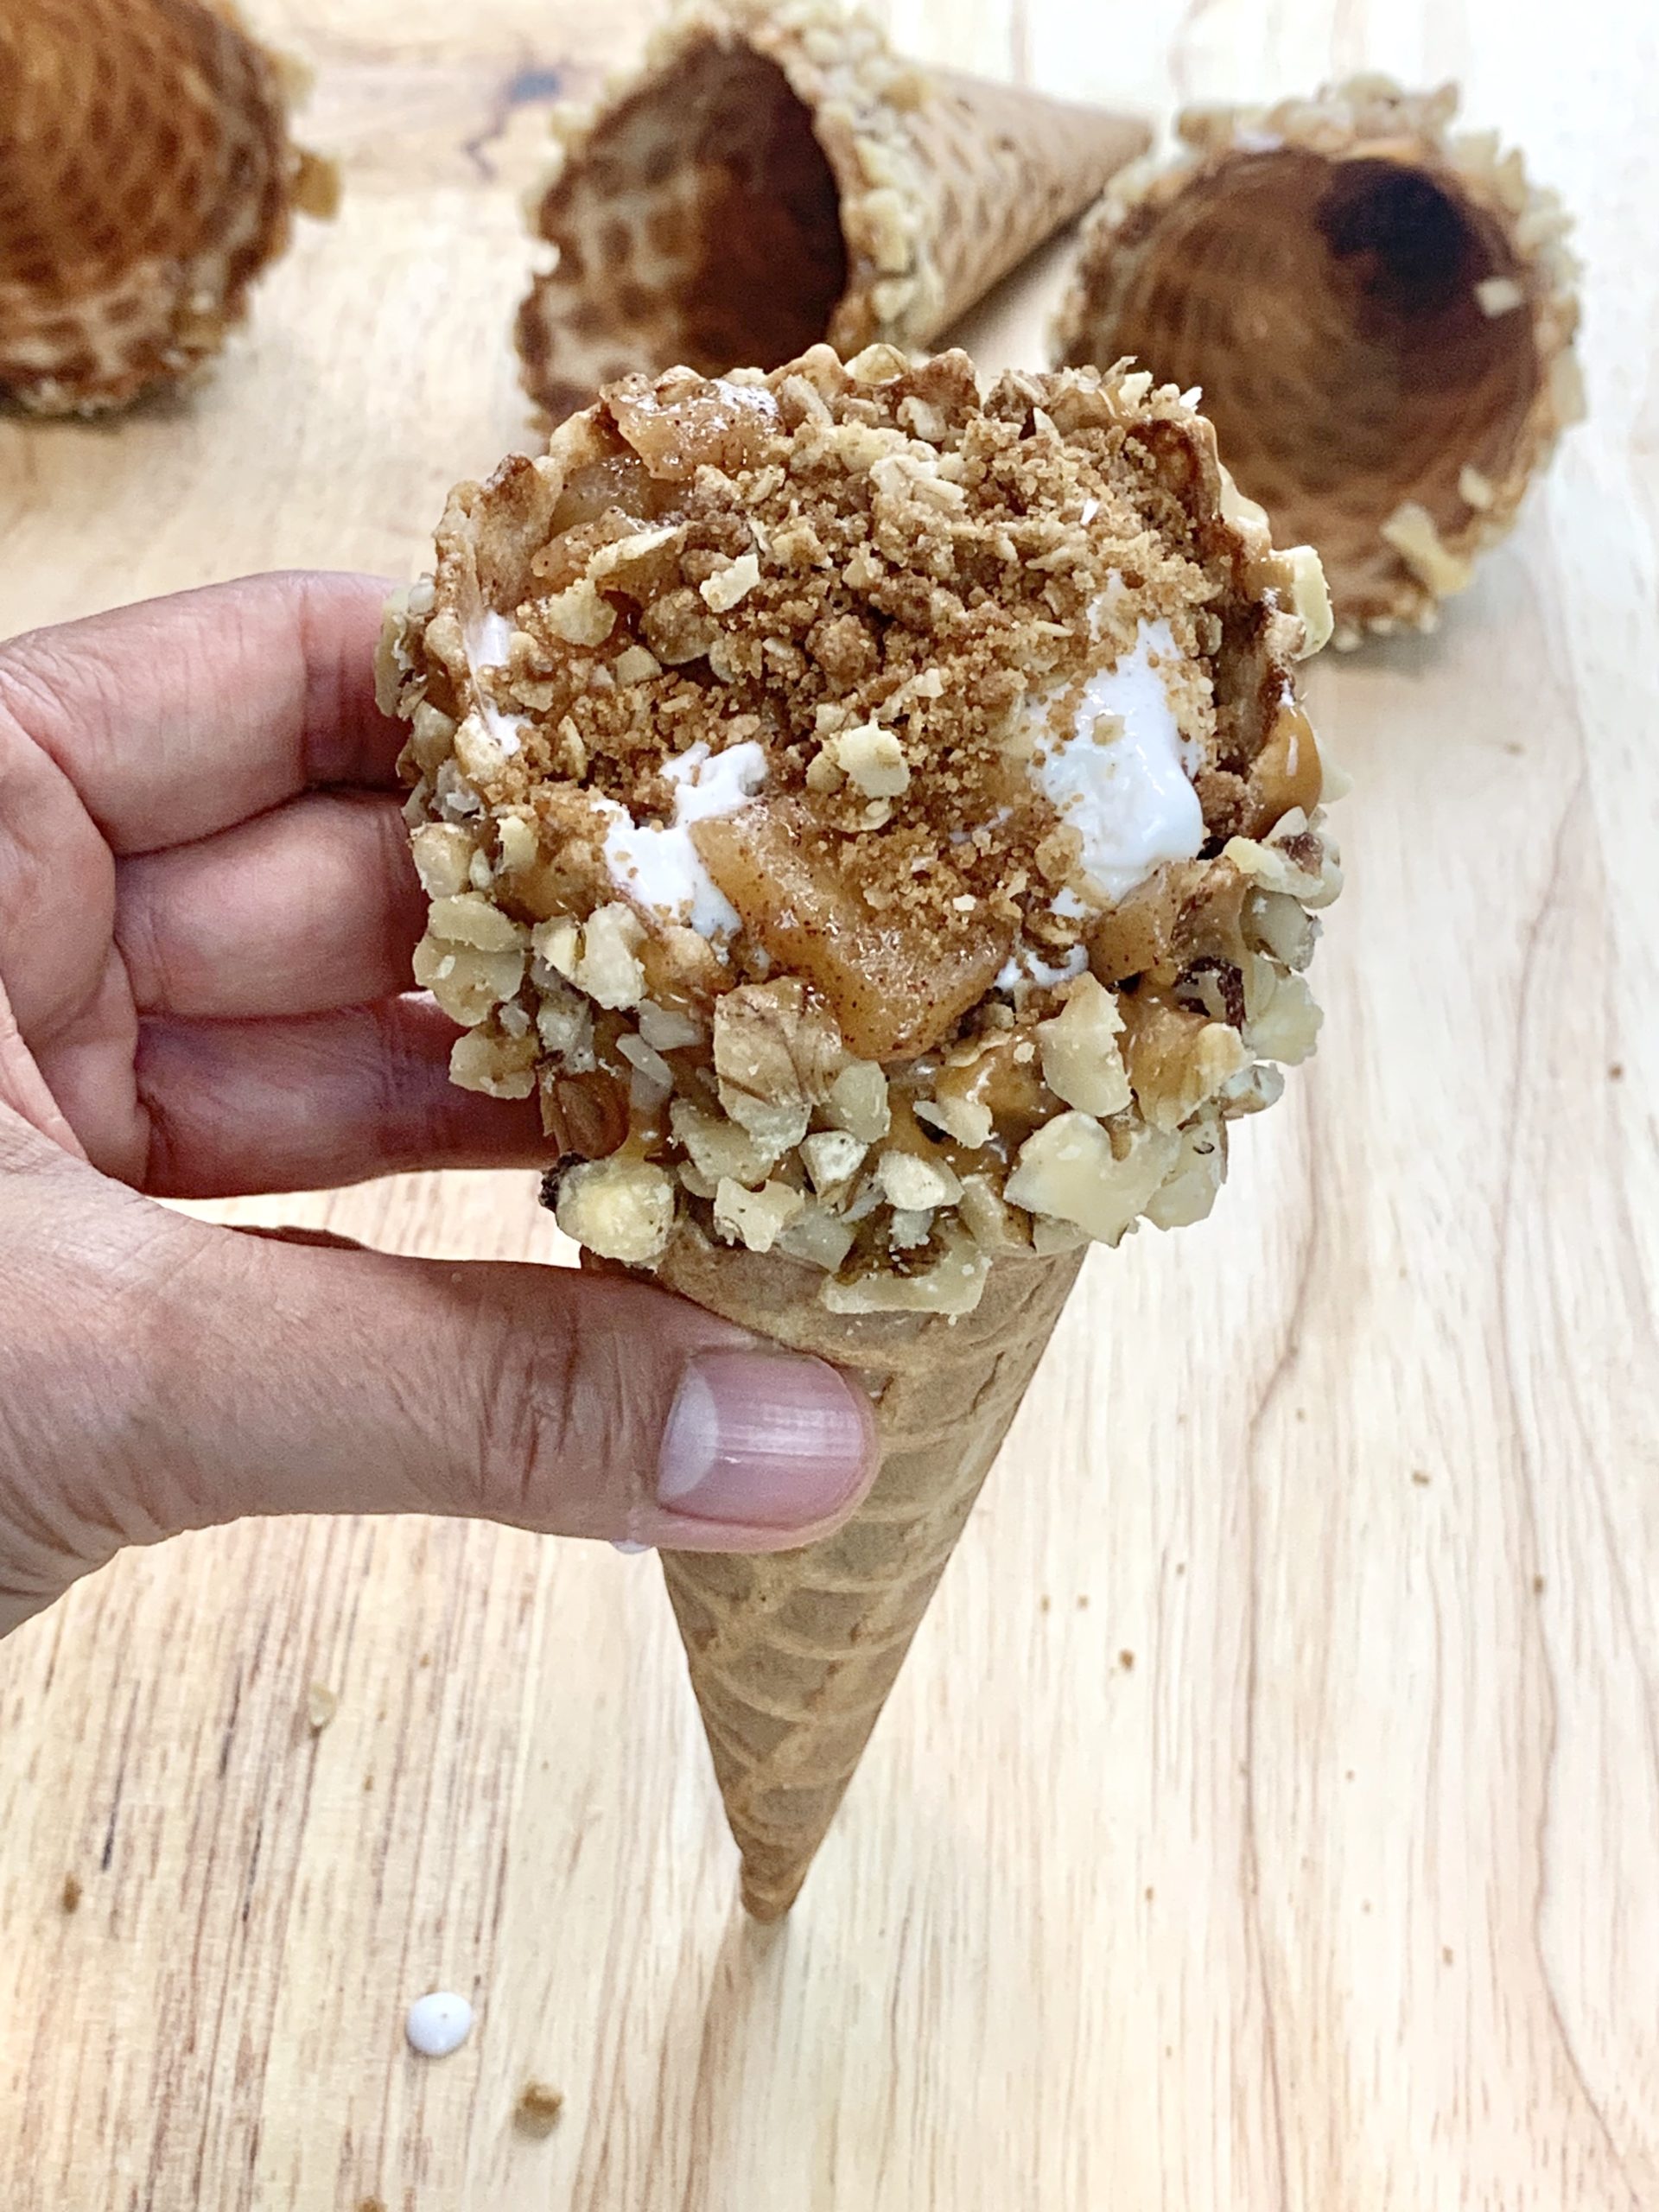
This Apple Crisp in a Cone is a fun way to add a summer twist on a favorite fall dessert. It has layers of apple filling, buttery streusel, and vanilla ice cream. All of this is served in a caramel and walnut rimmed waffle cone!
If you read this blog regularly, you might have noticed the last several posts have been sweets. At this point, you’re probably ready for something savory. I promise it’s coming up next! However, apple picking season is about to start here in Massachusetts. That makes me so excited about sharing this recipe first!!
I realized that it might be a bit early to think about fall desserts, especially when the temps have been soaring well into the 90’s. But this cone perfectly bridges summer and fall sweet treats. Keep this recipe in mind when you need ideas for those fresh picked apples.
This cone is a fun way to present and serve apple crisp. One of the best things about any apple crisp is the mouthfeel of warm apple and cold ice cream. The sensation between the two is palatable and satisfying. Anyhow, apple crisp is delectable hot, cold, or anywhere in between. Don’t you think? This apple crisp cone is no different.
To add to all the deliciousness, the waffle cone is dipped in melted caramel and chopped pecans. What’s not to love about the added layers of decadence and textural contrast?
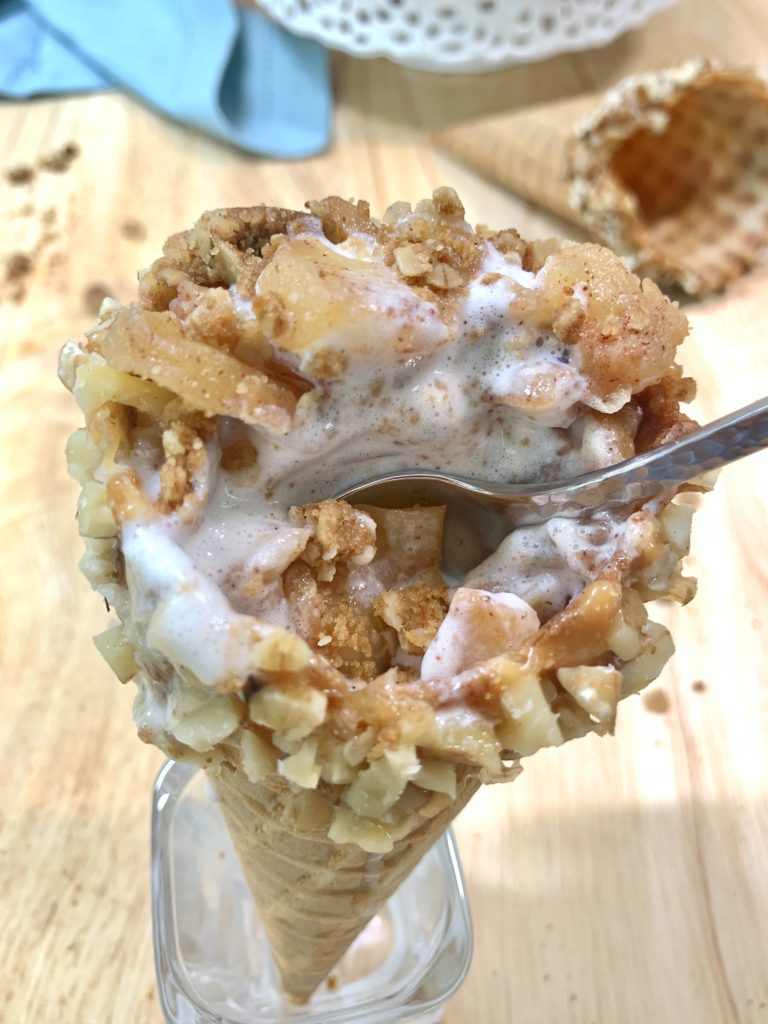
I do suggest you eat this treat with a spoon. These cones are fun but could be messy without the utensil.
How is the apple crisp prepared?
The apple filling is cooked on the stovetop while the streusel is baked in the oven. Speed is the deciding factor on the cooking method. I chose the one that got the cones into my mouth as quickly as possible😀 The apple crisp requires less time to cook on the stovetop.
Ingredients needed:
- All-purpose flour
- Quick cooking oats
- Butter
- Dark brown sugar
- Apples
- Cinnamon
- Salt
- Waffle cones
- Soft caramel candy
- Chopped pecans or walnuts
- Vanilla ice cream
Recipe highlights:
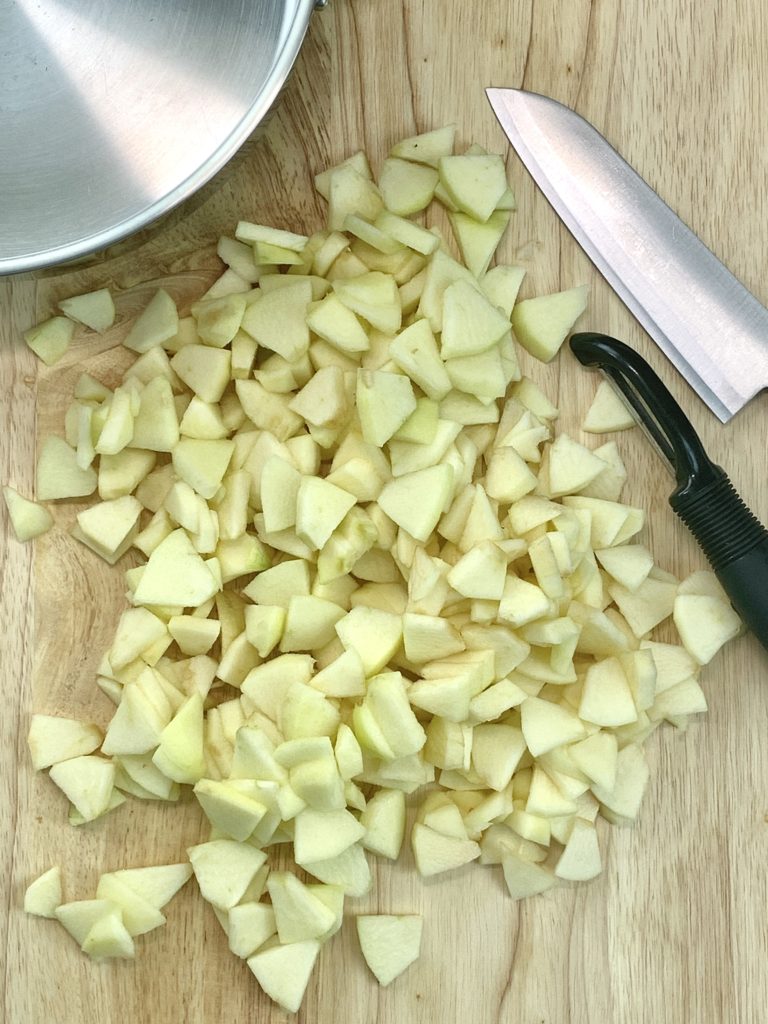
- Peel, core and cut apples into thin bite size pieces.
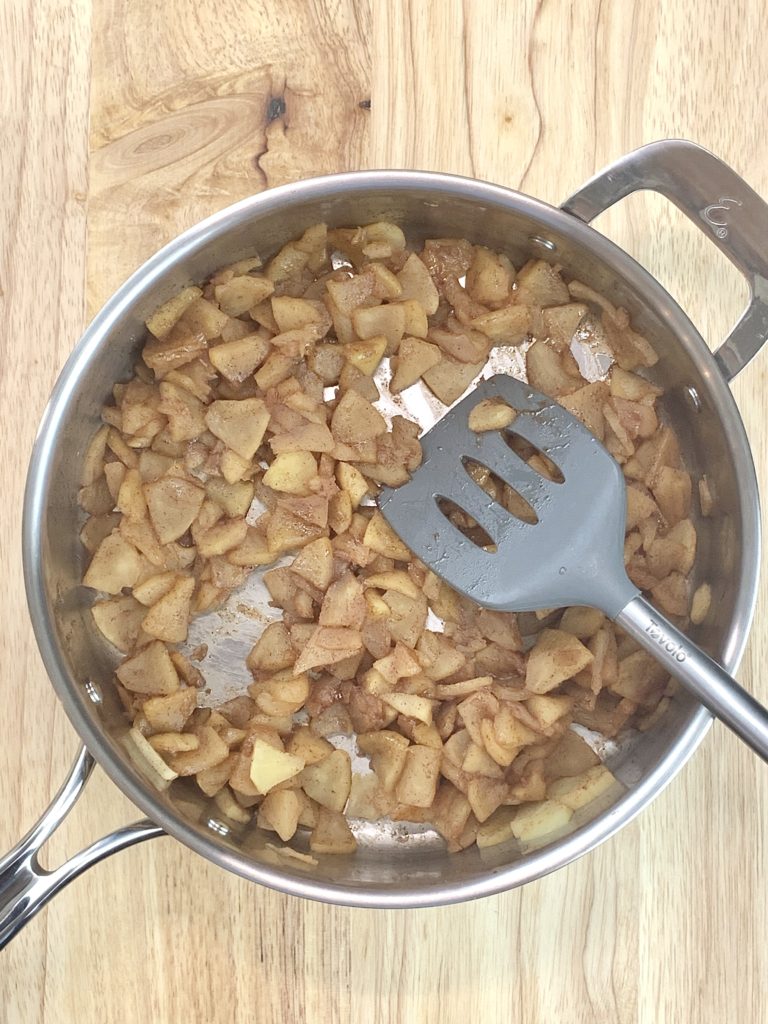
- Cook apples in butter, brown sugar, cinnamon, and a pinch of salt until tender.
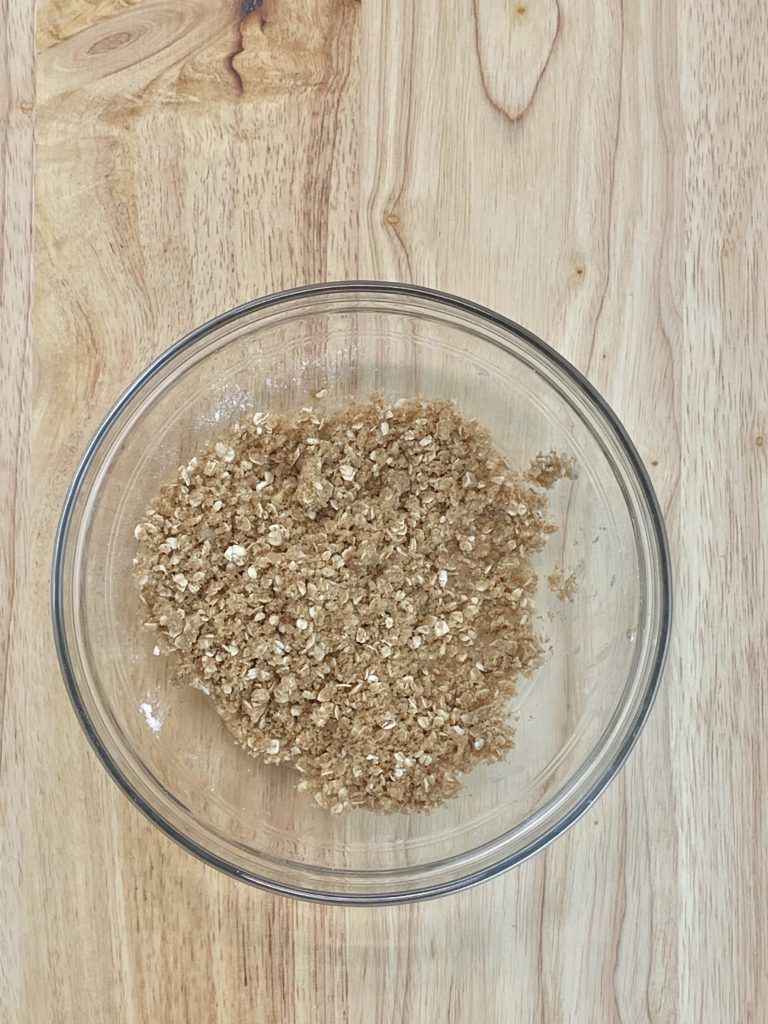
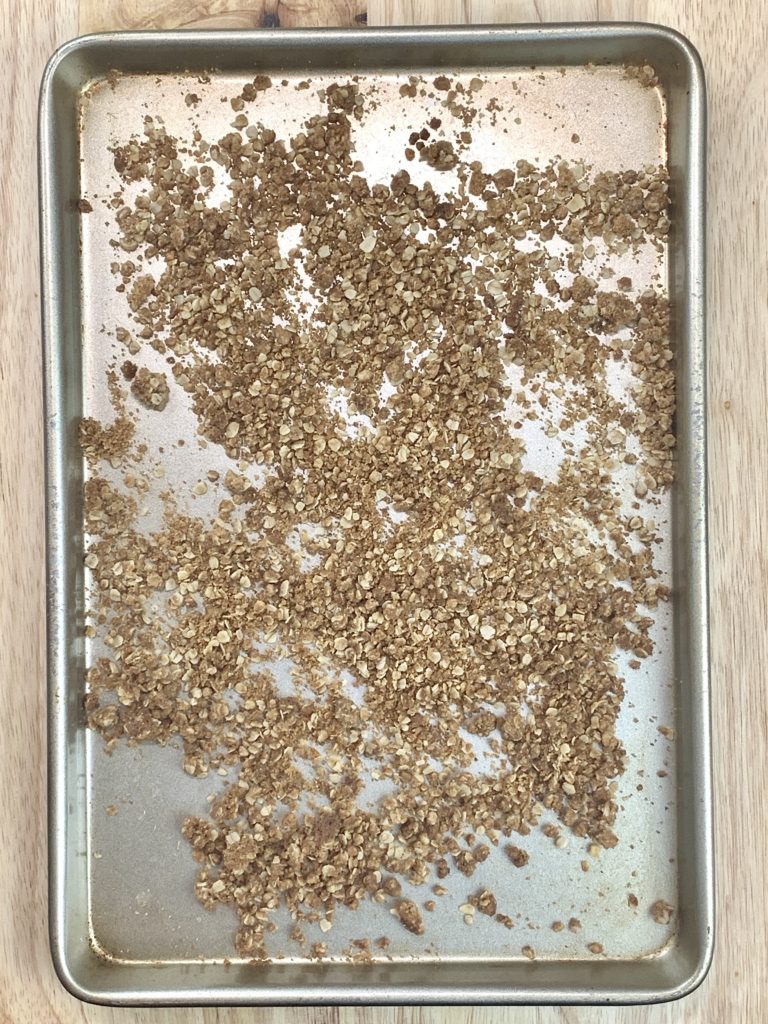
- Combine streusel ingredients. Work until mixture is moist and crumbly. Bake at 350° F until toasted and crunchy, about 8-10 minutes.
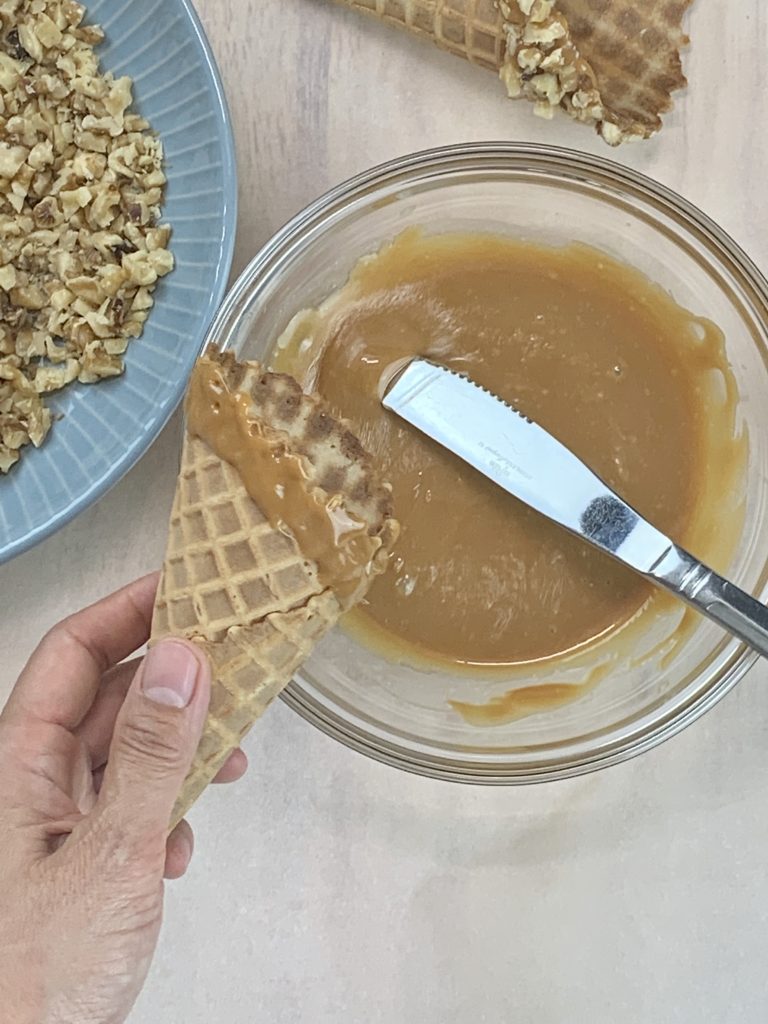
- Melt caramel in the microwave or on a double boiler. I prefer microwave. It’s fast.
- Use a butter knife to smear a 1/2 to 3/4-inch band of caramel around the top outer edge of an ice cream cone.
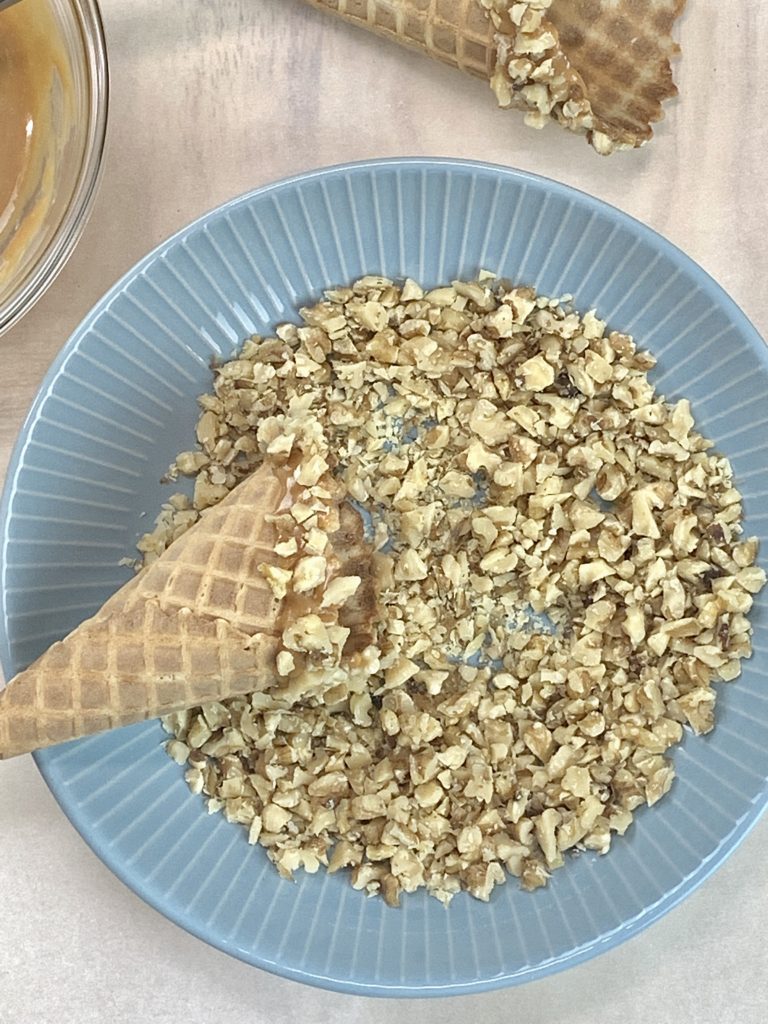
- Roll in chopped nuts. Continue rimming the remaining cones with caramel.
- Layer the ice cream cones as follows: apple crisp, streusel, ice cream. Repeat. Top with streusel.
- Refer to recipe card below for detailed instructions.
View the how-to video or save for later with this Pinterest Pin.
Shortcuts:
I highly suggest you make this recipe, but for convenience, store bought apple crisp would be just fine. My feelings won’t be hurt!
In a pinch, you can even use canned pie filling, and just make the streusel topping. Keep in mind that your apple crisp cones will not taste the same as this recipe’s.
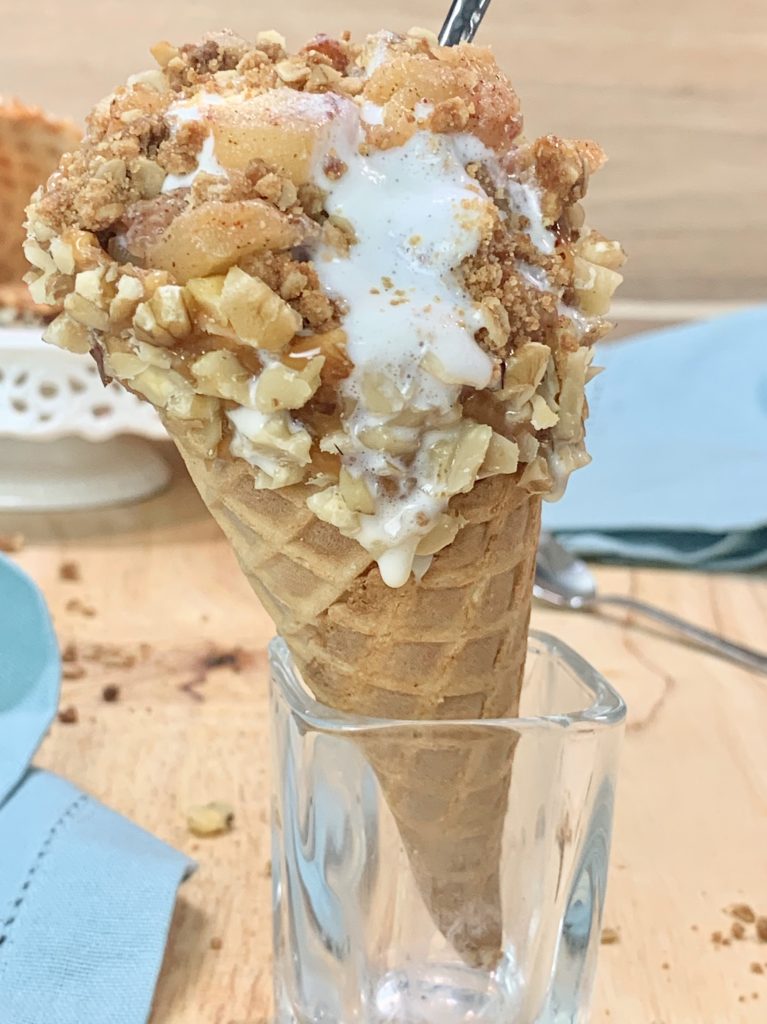
Can you make the cones ahead?
Yes, you can assemble and freeze the ice cream cones ahead of time. After assembling, stand each cone individually in a small heavy jar or a heavy shot glass. Freeze for an hour, then wrap individually in plastic wrap. Place in an airtight container or ziploc bag. Freeze for up to 3 months.
To serve from frozen, leave out at room temperature for about 5 minutes for the apple filling and caramel to soften slightly before biting into the cone. You won’t get the enjoyment of warm apple crisp and cold ice cream, but it’s still delicious!
Helpful tips:
- Cut the apples into small and thin pieces. They cook up faster and are easier to manipulate into the cones.
- Leave the ice cream out at room temperature for a few minutes to soften slightly before layering into the cone. It’s easier to manipulate than rock hard ice cream.
Recommended supplies:
(Affiliate links. The products I recommend are either what I use, are on my wish list, or come highly rated.)
- 4-quart skillet with lid for cooking the apples.
- A spatula for stirring the apples.
- Small baking sheet for the streusel.
YOU MIGHT ALSO LIKE THESE RECIPES
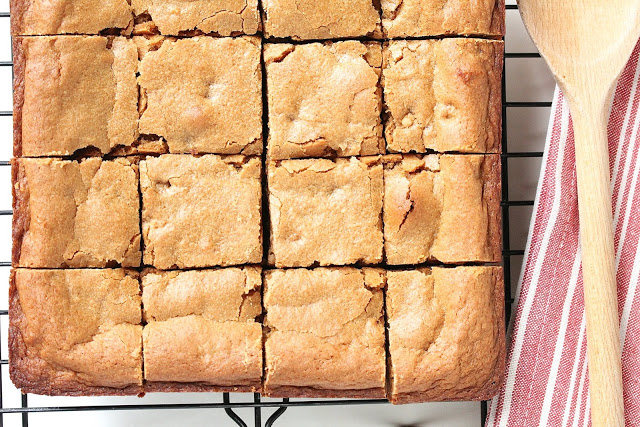 Caramel Apple Butter Blondies
 Microwave Apple Crisp for One
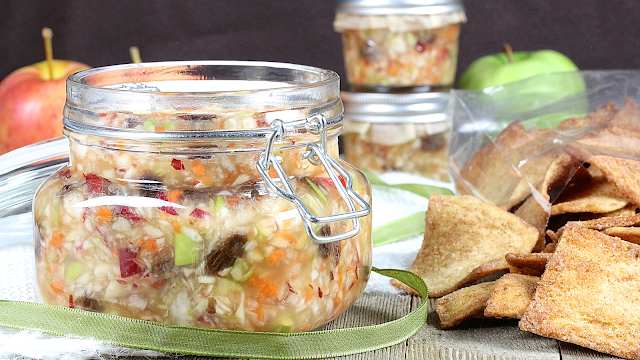 Apple Salsa
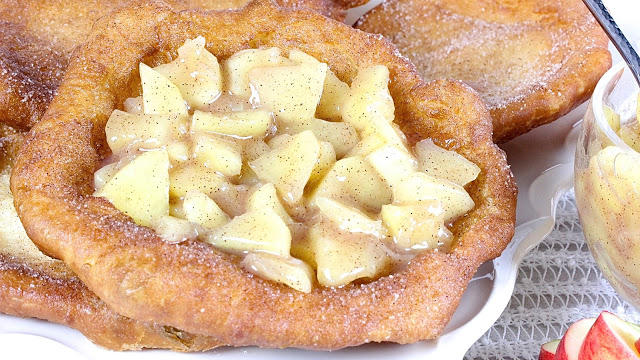 Apple Pie Fried Dough

Apple Crisp in a Cone
Description
This Apple Crisp in a Cone is a fun way to add a summer twist on a favorite fall dessert. It has layers of apple filling, buttery streusel, and vanilla ice cream. All of this is served in a caramel and pecan rimmed waffle cone!
Ingredients
For the apple filling:
For the streusel:
For the cones:
Instructions
- Peel and core apples. Slice in 8 wedges then cut each crosswise into small 1/8-thick slices. Set aside.
- Preheat the oven to 375° F for the streusel.
- Melt butter in a medium saucepan on medium heat. Add brown sugar. Stir until sugar is dissolved.
- Add apple, cinnamon, and salt. Stir to combine. Cover and increase heat to medium high for 5 minutes. Stir. Cover. Reduce heat to medium and cook for 5 to 10 minutes, stirring every few minutes. Remove from heat when apples are fork tender or to your desired doneness.
- While the apples filling cook, prepare the streusel.
- Combine oats, flour, sugar, and salt. Add melted butter. Work the mixture with your hand until it forms small crumbles.
- Place on a greased baking sheet. Bake until toasted and crunchy, about 8-10 minutes. Remove from oven. Set aside.
- Melt caramel—stovetop method: place caramel in a heat proof bowl set over a pan of simmering water. Stir frequently until melted and smooth.
Melt caramel—microwave method: place caramel in a microwave safe bowl. Melt on the “chocolate melt” setting at 20 second intervals, stirring in between each until smooth. Or melt on 50% power at 20 second intervals. - Smear a 1/2 to 3-4-inch wide band of caramel onto the outside edge of the cone using a butter knife. Roll the top of the cone into chopped nuts. Press the nuts onto any bare caramel areas with your fingers. Set rimmed cone on parchment paper. Continue to run the remaining ice cream cones.
- Fill the bottom 1/3 of the cone with the apple filling. Add 1 tablespoon ice cream. Top with 1 teaspoon streusel then 1 tablespoon ice cream. Fill cone 3/4 full with apple filling. Add a generous teaspoon streusel. Top with ice cream, leaving a couple of small pockets to add dollops of apple filling. Finish with more streusel.
- Continue filling all the cones.
- Serve immediately with a spoon.
- Makes 6 cones.
For the apple filling:
For the streusel:
To rim the waffle cones:
Layer the ice cream cone:
Notes
- Cut the apples into small and thin pieces. They cook up faster and are easier to work with than large slices when layering the ice cream cones.
- Apple filling cook time can vary depending on the kind of apple used and how soft you like your apples. Check for desired doneness at the 10 minute mark.
- An entire bag of caramel makes more melted caramel than you’ll need for 6 cones. Feel free to use only 3.5 ounces.
- If your caramel becomes too thick while you work, put it back on heat for a minute or two. Or microwave for 10-15 seconds. You can also add HOT milk or cream, 1 tablespoon at a time to get desired consistency.
Disclosure: This site contains paid advertising and affiliate links. In Good Flavor is a participant in the Amazon Services LLC Associates Program, an affiliate advertising program designed to provide a means for sites to earn advertising fees by advertising and linking to Amazon.com.
What a terrific dessert idea. Wish I had it when we had our apple orchard, I would have shared it with everyone who came to pick apples.
That apple orchard must have been a joy (and a lot of work)!! I would have loved it if you still had the orchard and shared the recipe idea with the apple pickers!