Vanilla Bean Butter Cookies are crisp and buttery, featuring tender crumbs that melt in your mouth. Vanilla bean paste enhances the flavor and infuses dark specks throughout the cookies. Made with just a few basic ingredients, these cookies truly shine thanks to the quality of the ingredients used.
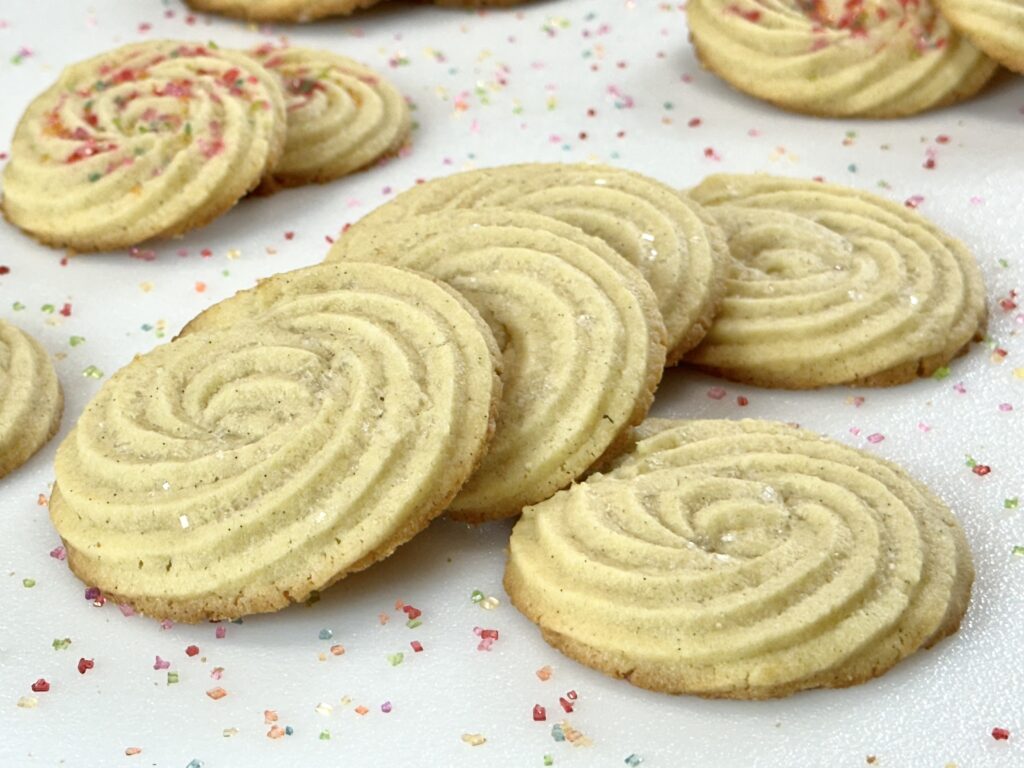
No wonder butter cookies are a classic. The butteriness, the crispy edges, the tender crumb, and a melt-in-your-mouth feel are irresistible. They are a staple around the holiday season. During this hectic time of year, butter cookies also make life a bit easier. And that is because the dough is great for freezing. So you can prep ahead and bake when needed. Just like that, you have fresh homemade cookies on demand. (The baked cookies are great for freezing as well!)
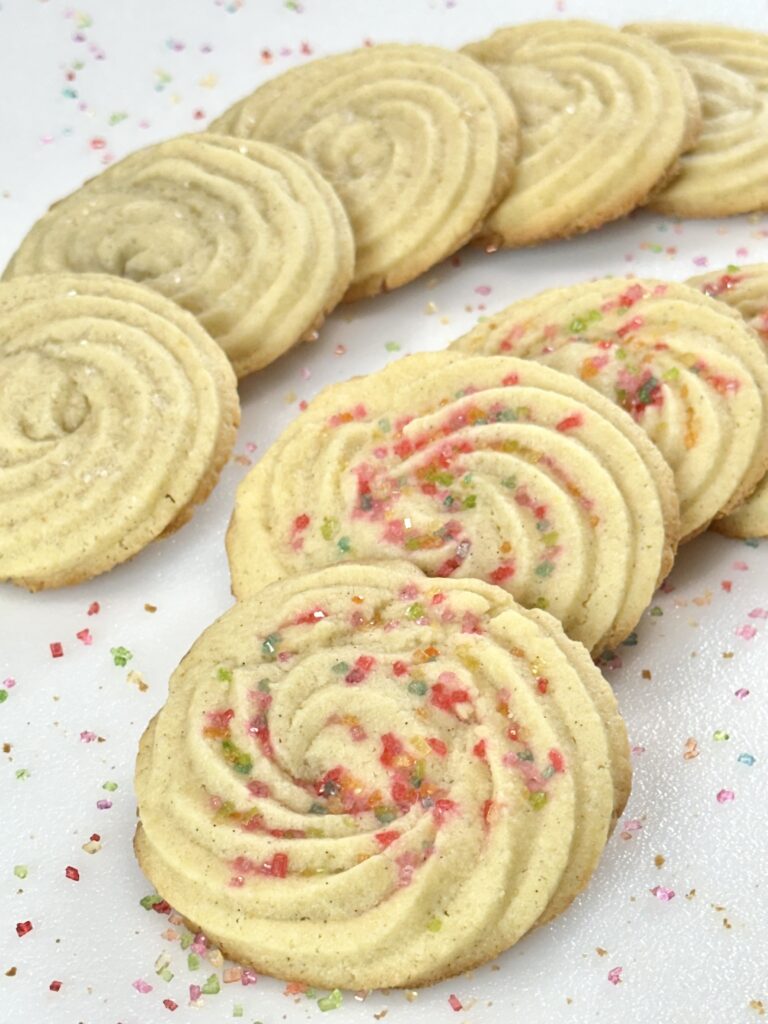
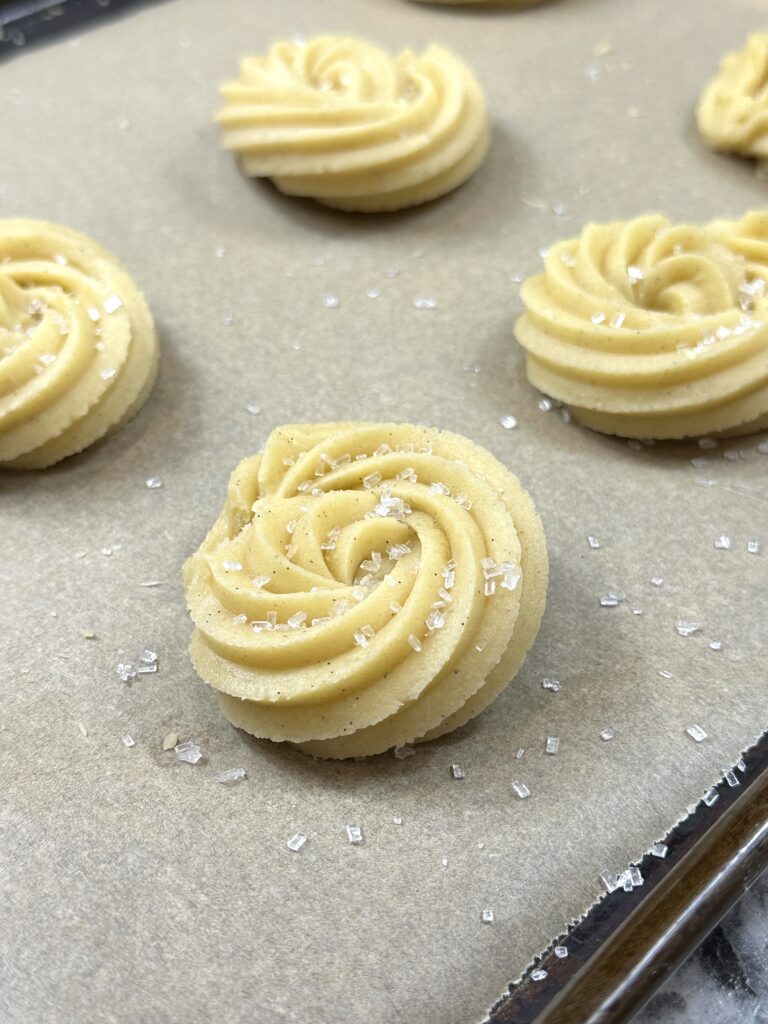
Another aspect I love about butter cookies is their natural beauty, especially when piped. While I like to sprinkle some sanding sugar on top for a touch of sparkle, it’s entirely optional. They can also be decorated in various ways, with options like sprinkles, nuts, or a chocolate dip.
This is a butter cookie recipe with an emphasis on the vanilla flavor. A little more than typical is used. Not only does it impart a delicate flavor, but it also adds dark specks of color throughout.
Difference between butter cookies and shortbread:
Both are very similar but with a few differences. Shortbread has a greater butter content and a lower amount of sugar and is baked at a lower temperature. All this contributes to its delicate crumbly texture. Butter cookies are baked at a higher temperature. They have a higher ratio of sugar to butter, which makes them sweeter than shortbread and less crumbly. Also, the dough holds its shape and is better suited as cutout cookies.
Ingredients needed:
- Vanilla bean paste—is thicker and slightly more intense in flavor than vanilla extract.
- Butter—use unsalted if you can for better control. If using salted butter, back off on the salt a bit. Butter with the highest fat content yields the best flavor.
- All-purpose flour— it’s extremely important to measure the flour correctly to obtain the right texture for the cookies. To measure, fluff the flour with a fork. Use a spoon to scoop into the measuring cup. Level off with the flat blade of a butter knife.
- Cornstarch—helps with the formation of tender crumbs.
- Sugar—for sweetness.
- Egg yolks—to add richness, provide texture, and make the dough pliable and less crumbly.
- Sanding or sparkling sugar—optional. For decorating.
Recipe highlights:
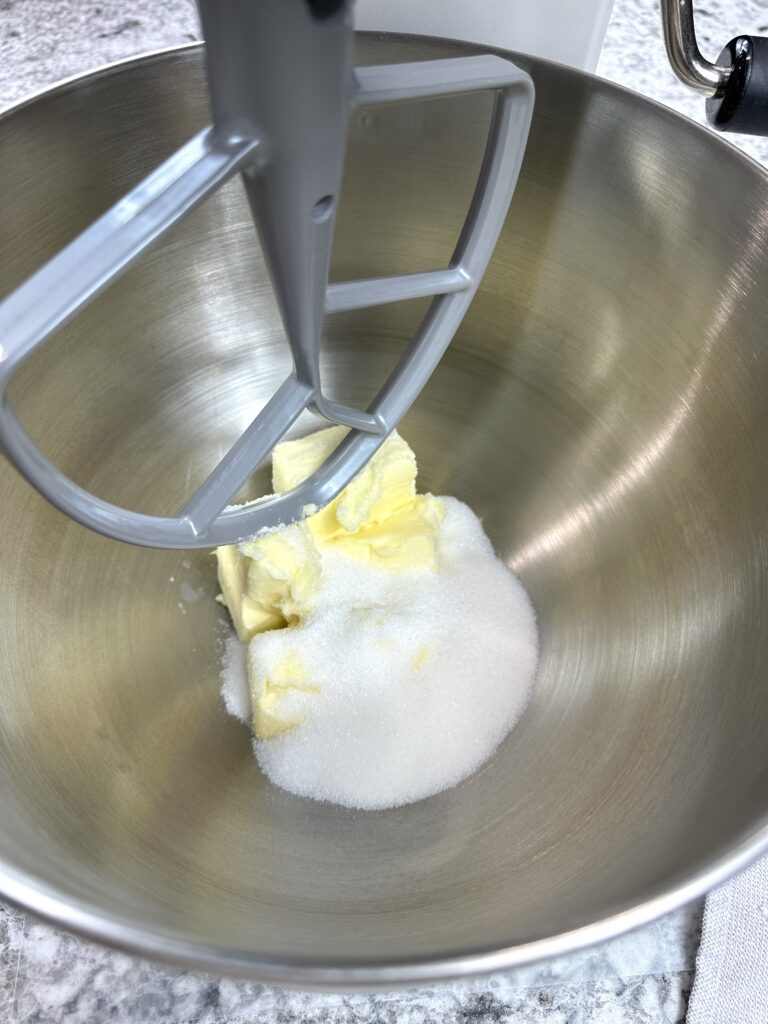
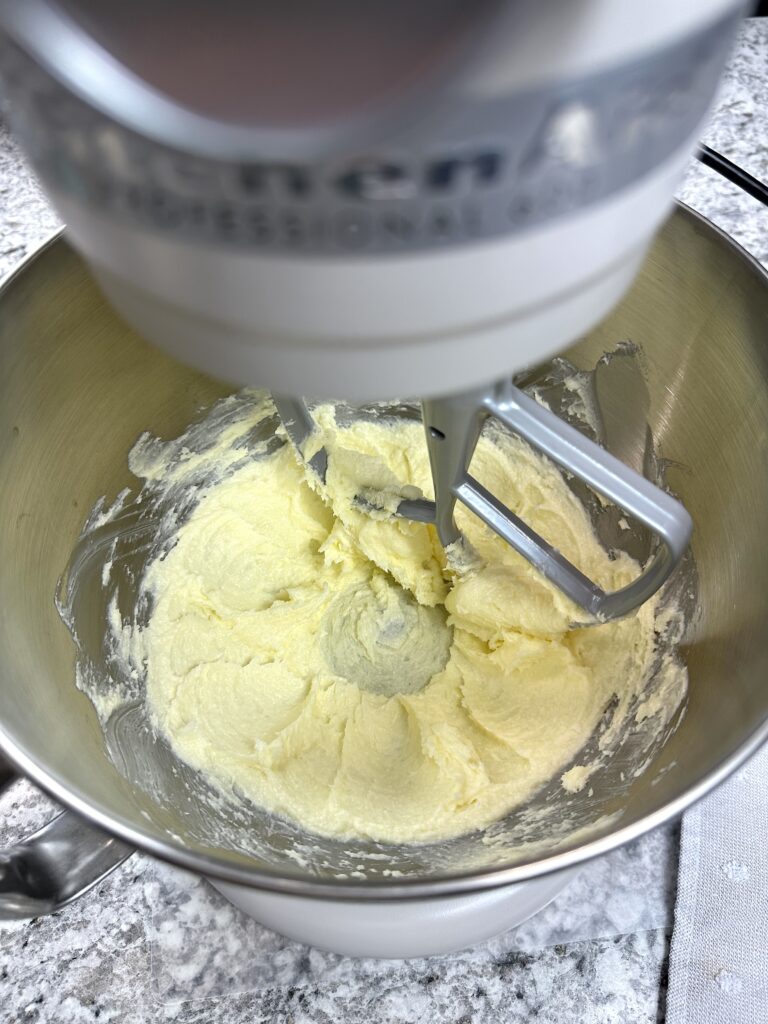
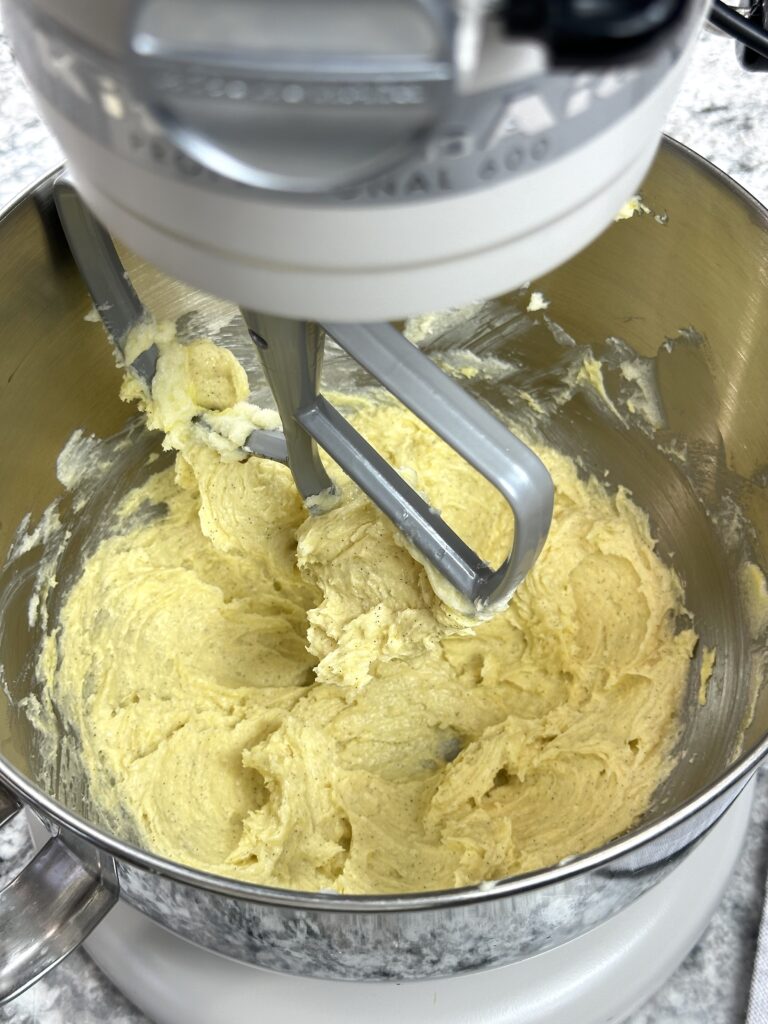
- Beat butter and sugar on medium speed for two minutes.
- Add vanilla and eggs one at a time. Beat for 1 minute.
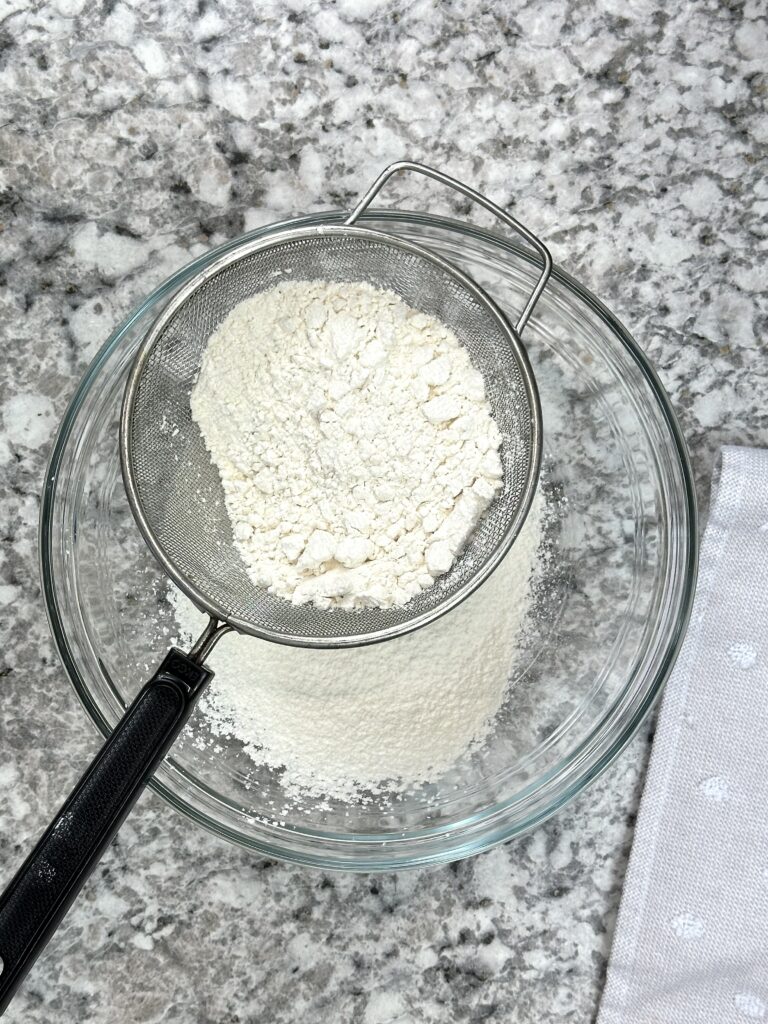
- Combine flour, salt, and cornstarch in a fine mesh sieve held over a bowl. Sift the contents into the bowl.
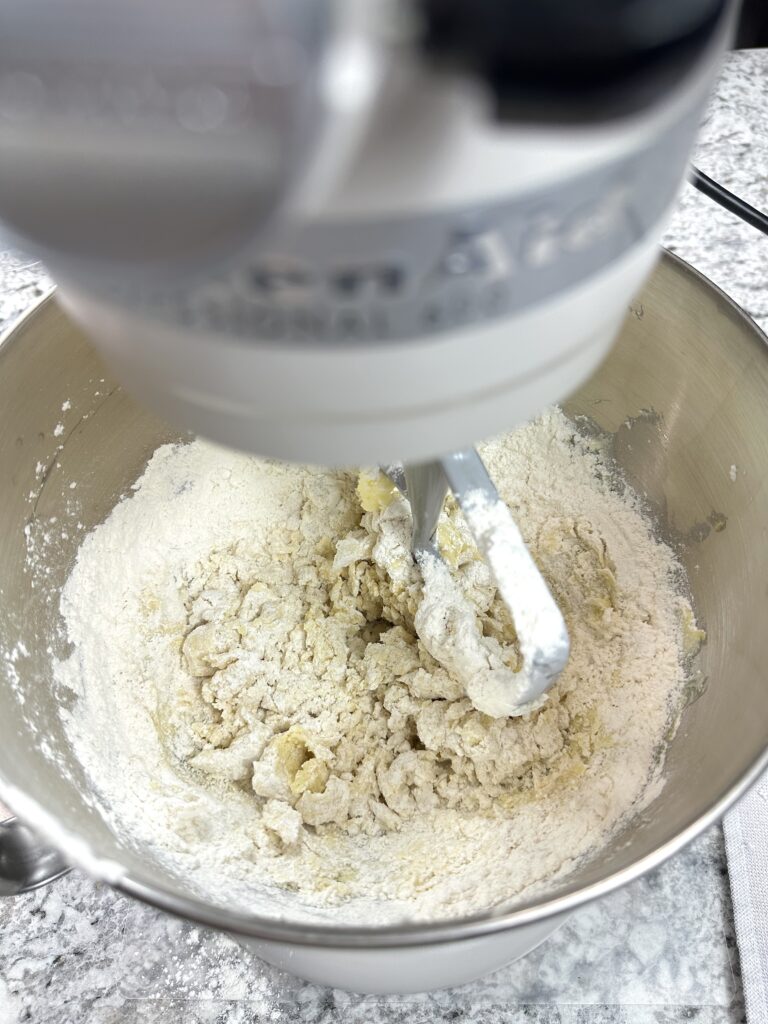
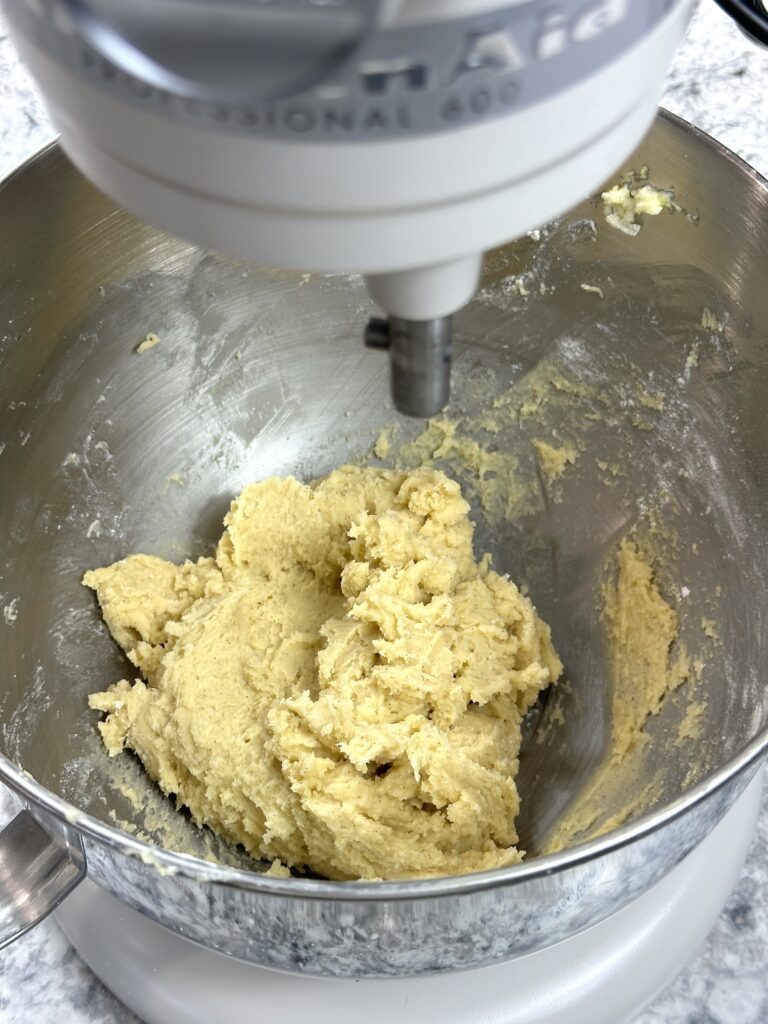
- Gradually add the flour mixture to the sugar-egg-butter mixture. Beat until the flour mixture is just combined.
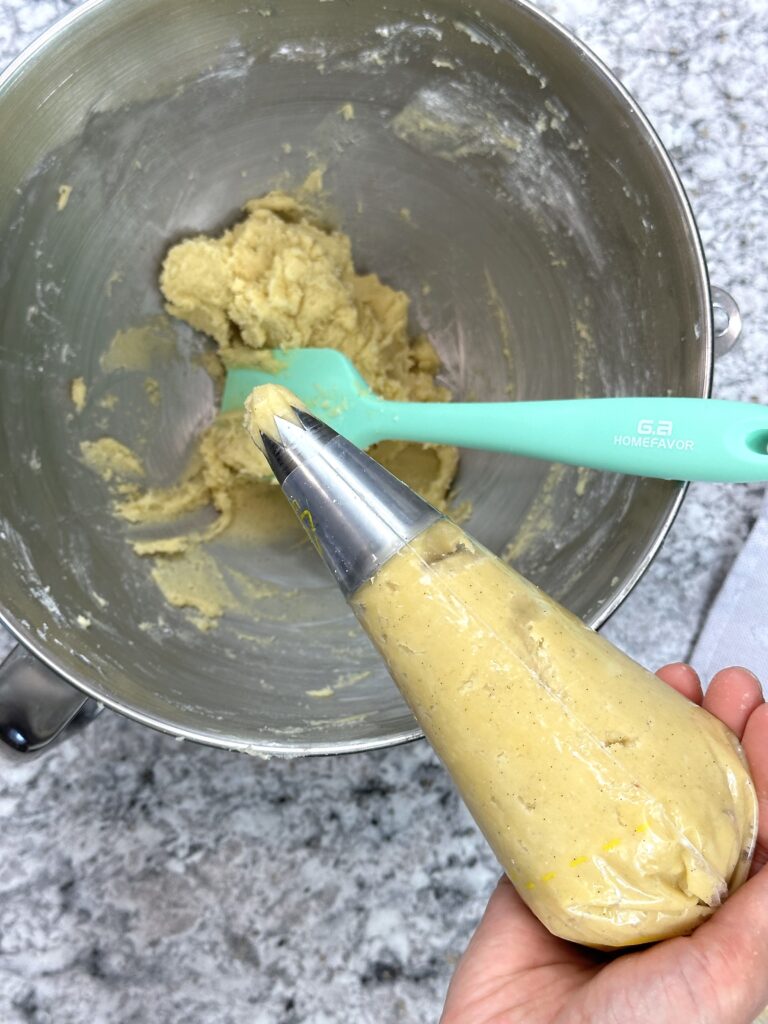
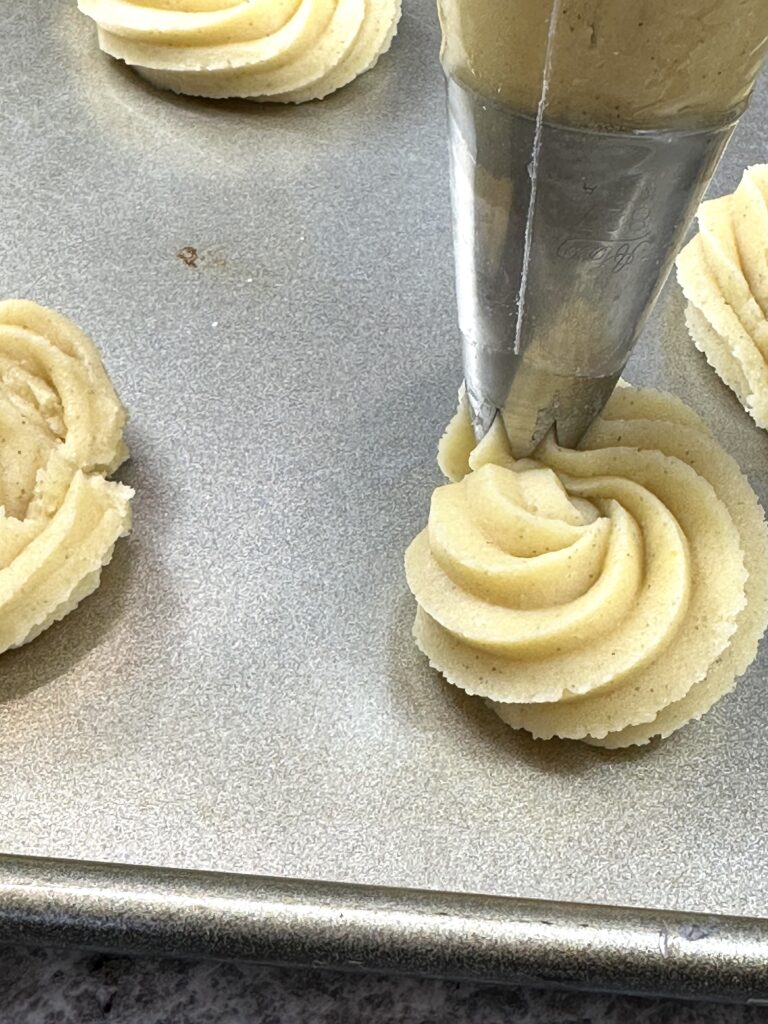
- Fill a pastry bag equipped with a large star-shaped tip. Pipe 2 to 2 1/2-inch wide rosettes 2 inches apart onto a bare non-stick or parchment paper lined baking sheet. Add a sprinkling of sparkling or sugar, optional. Refrigerate for at least 1 hour, 2 is better.
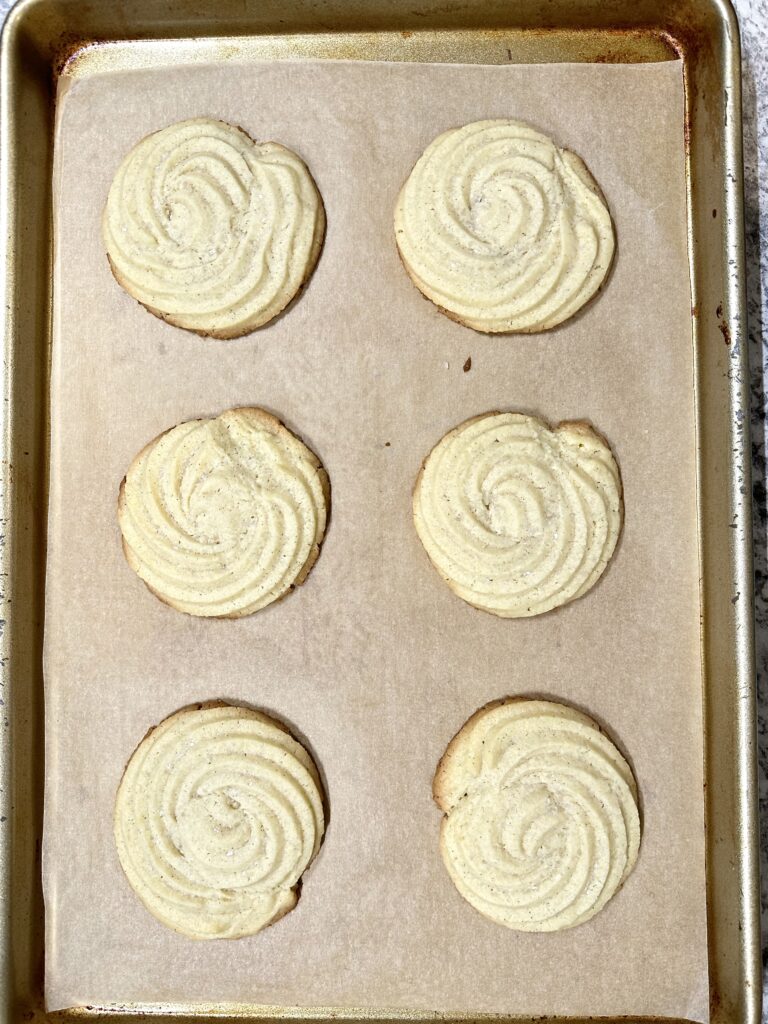
- Bake in a preheated 350° F oven for 10 to 13 minutes or until the bottom turns to a light golden brown.
- Cool on the baking sheet for 5 minutes before transferring to a cooling rack.
- Detailed instructions are in the recipe card below.
Why use vanilla bean paste?
These cookies have more vanilla flavor than the standard butter cookie and require more of the ingredients. But to maintain the integrity and texture of butter cookies, avoid adding too much liquid, as it thins out the dough. Since this recipe uses more vanilla than is typically used, the thicker and more flavorful paste is a better choice than the liquidy extract.
Feel free to use vanilla bean pods. I don’t usually have it, and it’s the most expensive of the three options. However, it’s also the most flavorful. To use, slice the pod open lengthwise, then scrape the seeds out with the edge of your knife. Next, add the seeds to the cookie batter. To substitute with pods, use this guideline: 1 teaspoon of extract or paste = 1/3 vanilla bean pod. A 1/3 of a pod is about a 2-inch section of a vanilla bean pod. You can practically add as many seeds as you want without worrying over thinned-out cookie batter.
Can I use vanilla extract?
If you want to use vanilla extract, by all means, go for it! Make sure to use a good quality vanilla like this one. Whichever brand you choose, be sure it’s PURE vanilla extract. When substituting, use a 1:1 substitution for vanilla bean extract and paste—1 teaspoon of vanilla extract = 1 teaspoon vanilla bean paste.
Does the type of butter matter?
To be honest, with so much butter, the result will be delicious regardless of the brand. With that said, subtle differences make a lot of difference. With only a few ingredients, every ingredient plays a key role. The high ratio of butter makes these cookies flavorful, crispy, and crumbly.
I typically use Land O Lakes, which provides a full-body buttery taste. But on special occasions, I splurge on a good European butter, like Kerrygold. Its higher fat content makes it extra rich, flavorful, and decadent.
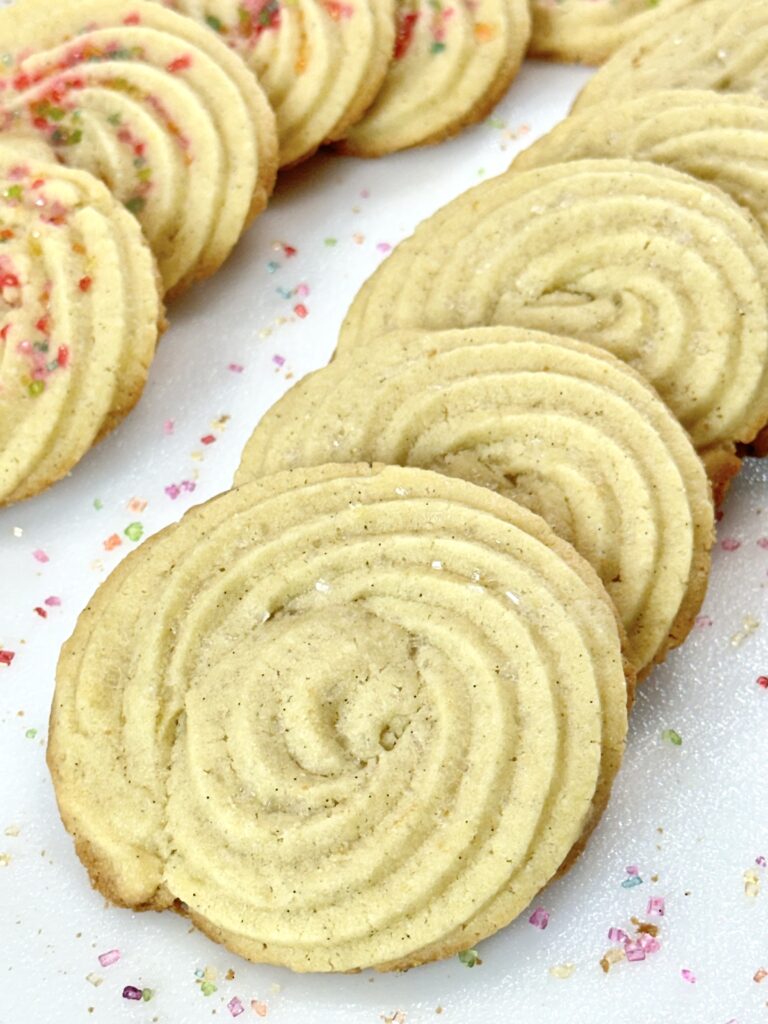
Ways to form the cookies:
Once the dough is made, you can form the cookies in several different ways: cutout cookies, sliced cookies, dropped cookies, or piped. I focus on the piping method in this post. But I also give instructions on the other three options.
- Piping: Scoop the dough into a pastry piping bag fitted with a large star tip like this Ateco 827, this Ateco 826, or this Wilton 8B piping tip. You want one with a good 1/2-inch opening to allow for the thick dough to pass through. Chill the piped dough before baking.
- Sliced: Roll dough into two 2-inch wide logs. Wrap with plastic wrap. Chill the logs, then cut them into half-inch thick slices with a sharp knife when ready to bake.
- Cutout cookies: Form the dough into 2 round discs, wrap them in plastic wrap, and then chill. Roll it to 1/3-inch thickness (to prevent sticking, roll the dough flat in between two sheets of parchment paper or lightly dust the work surface and top of the dough with flour). Use an approximately 2-inch wide cookie cutter to cut out rounds. Roll out the scraps and repeat cutting out rounds.
- Dropped cookies: Drop them by a rounded tablespoonful or use a 1 1/2 tablespoon capacity cookie scoop, 2 inches apart. Drop onto a parchment paper lined baking sheet. Chill before baking.
Is chilling the dough necessary?
It is necessary to chill the dough to firm up the butter to prevent spreading during baking. Refrigerate the dough for at least one hour and up to 24 hours before baking.
If you’re not going to bake within an hour, tightly cover the piped or dropped cookie dough once they have firmed up enough to hold its shape. This helps to prevent drying out.
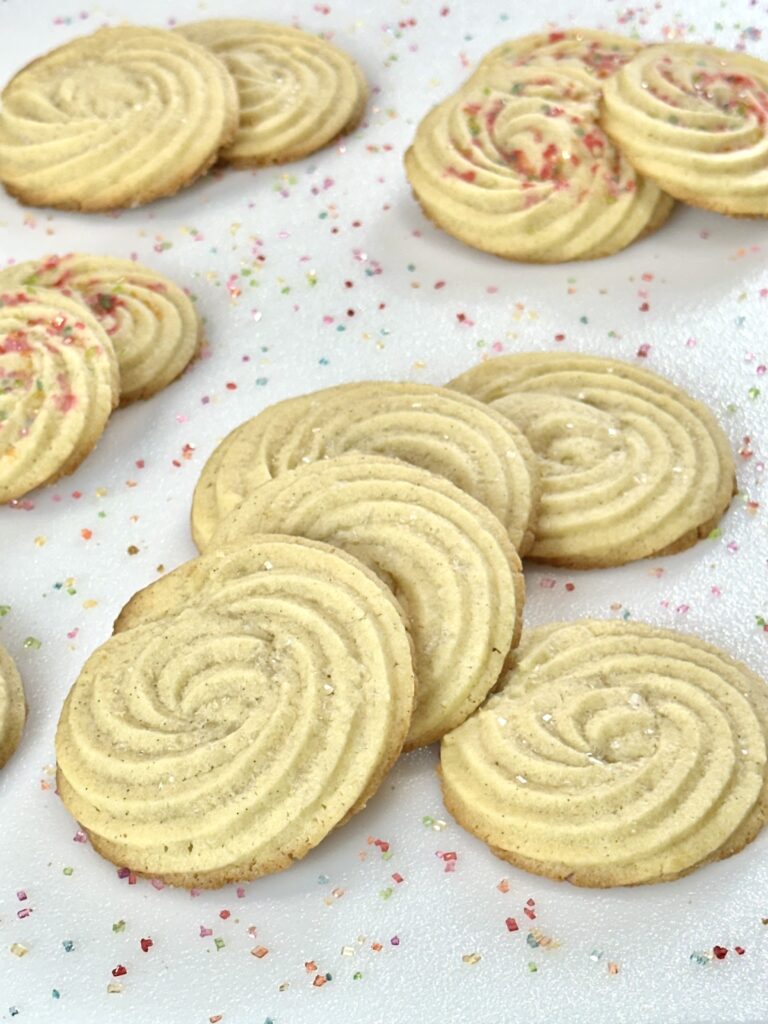
How to store:
Butter cookies are stored well. They keep well at room temperature for up to 5 days and frozen for up to 3 months. A lot of people don’t like to do this, but I like to store my baked cookies in the refrigerator, which preserves the crispiness and extends the shelf life to at least 2 weeks. Allow them to come to room temp about 15 minutes before serving.
To freeze unbaked dough that’s been rolled into logs or discs, wrap it in plastic wrap first. Then wrap with a layer of aluminum foil or place in a freezer-safe container.
To freeze dough that has already been precut or dropped, place it on a baking sheet. Freeze until harden (1-2 hours). Transfer to a freezer-safe container or freezer bag.
To use frozen dough, defrost the log or discs in the refrigerator prior to slicing or shaping. Then slice or cut into shape before baking. (Precut, piped, or dropped cookie dough can be baked from frozen. Simply add a minute or two to the baking time.)
Helpful tips:
If you have problems with spreading, there are a few solutions. Keep in mind that it’s important to measure the flour correctly. Make sure the flour is fluffed with a fork, scooped into the measuring cup with a spoon, and leveled with a flat knife.
Be sure the butter is softened, not melted. For best results, butter should be soft when squeezed but not squishy. In my experience, overly softened butter will cause cookies to spread, even with chill time.
If piping the dough, scoop a very small amount into the piping bag to test the consistency first. If the dough is too thick to pass through the piping tip, add 2-3 teaspoons of milk to the entire batch to thin it out. Do so sparingly because adding too much milk will promote spreading.
To avoid sticking issues, use parchment paper on baking sheets during chilling and baking.
You Might Also Like:
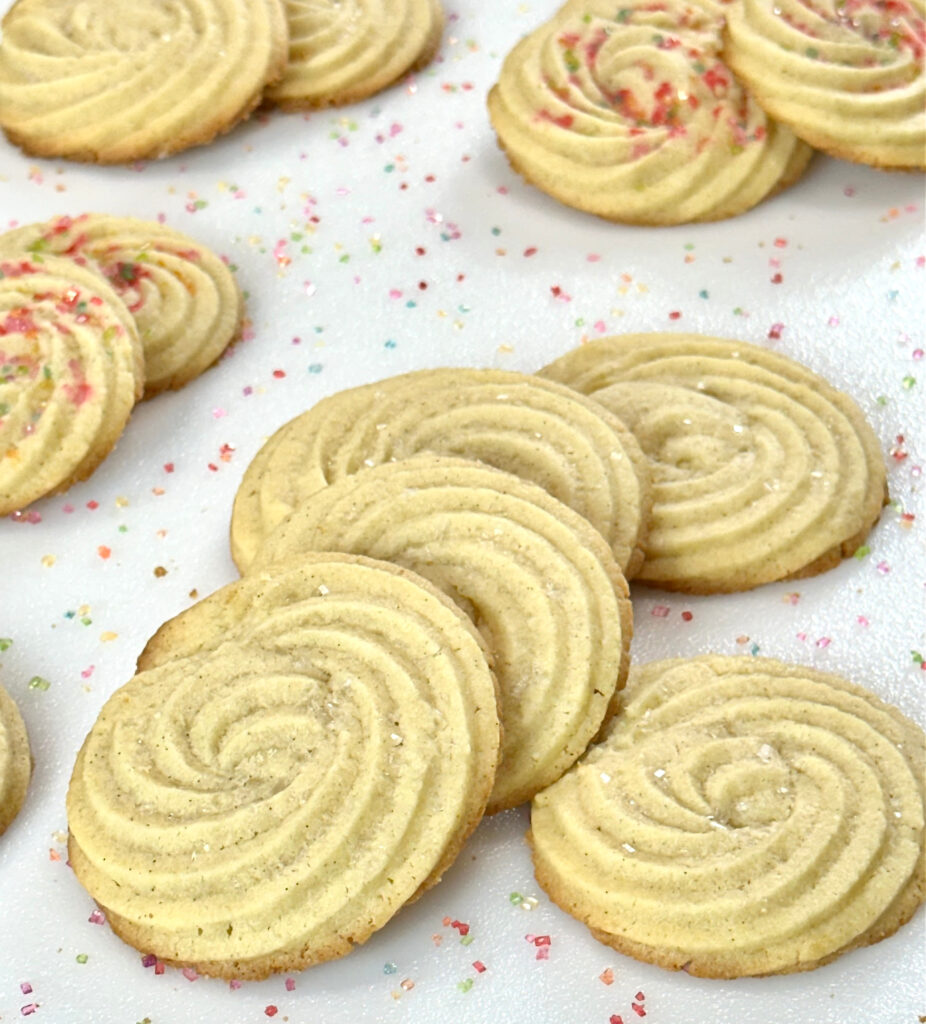
Vanilla Bean Butter Cookies
Description
Vanilla Bean Butter Cookies are crisp and buttery, featuring tender crumbs that melt in your mouth. Vanilla bean paste enhances the flavor and infuses dark specks throughout the cookies. Made with just a few basic ingredients, these cookies truly shine thanks to the quality of the ingredients used.
Ingredients
Special equipment:
Instructions
- Beat butter and sugar on medium speed for two minutes.
- Add vanilla and eggs one at a time. Beat for 1 minute.
- Fluff flour with a fork. Spoon flour into the measuring up and level off with a butter knife. Combine flour, salt, and cornstarch. Whisk to blend. Place in a fine mesh sieve held over a bowl. Sift the contents into the bowl.
- Gradually add the flour mixture to the sugar-egg-butter mixture on low, then gradually increase to medium-low. Beat until the flour mixture is just combined.
- Fill a pastry bag equipped with a large star-shaped tip. Pipe 2 to 2 1/2-inch wide rosettes onto a bare, non-stick, or parchment paper-lined (recommended) baking sheet. Space rosettes 2 inches apart. Add sprinkling of sanding sugar, optional. Refrigerate for at least 1 hour, 2 is better.
- Note: Scoop only enough cookie dough into the piping bag at first to test if the dough is able to pass through the piping tip before filling up the pastry bag. If it’s too thick, add 2-3 teaspoons (or more if needed) of milk to the entire batch to very slightly thin out the dough. Avoid doing this if you can because adding moisture promotes spreading.
- Preheat oven to 350° F. Position the rack just above the middle of the oven. Bake for 10 to 13 minutes or until the bottom turns a light golden brown.
- Cool on the baking sheet for 5 minutes before transferring to a cooling rack to cool completely.
- Makes 14 3-inch cookies. This amount was obtained using an Ateco 827 tip with a .63-inch opening, piped into 2 1/2-inch rosettes. You can get a larger quantity using slightly smaller diameter tips or when the dough is sliced into smaller diameter rounds. Keep in mind that the smaller and thinner you cut the cookie dough, the less baking time it requires.
Notes:
- For best results, butter should be soft when squeezed but not squishy. In my experience, overly softened butter will cause cookies to spread, especially with the shorter chill time.
- Vanilla bean paste or seeds from a pod is preferred over vanilla extract. The extract is watery, and the large amount used may contribute to the cookies spreading.
- To avoid sticking issues, I highly recommend placing cutouts or piped dough on parchment paper during the chill time and while baking to avoid sticking. Do not grease baking sheets. It will make the cookies spread.
- Alternative to piping the cookies:
- Sliced: roll dough into two 2-inch wide logs. Wrap with plastic wrap. Chill the logs, then cut them into half-inch thick slices with a sharp knife when ready to bake.
- Cutout cookies: form the dough into 2 round discs, wrap them in plastic wrap, and then chill. Roll it to 1/3-inch thickness (to prevent sticking, roll the dough flat in between two sheets of parchment paper or lightly dust the work surface and top of the dough with flour). Use an approximately 2-inch wide cookie cutter to cut out rounds. Roll out the scraps and repeat cutting out rounds.
- Dropped cookies: drop by rounded tablespoonful or use a 1 1/2 tablespoon capacity cookie scoop. Drop 2 inches apart onto a parchment paper-lined baking sheet. Chill before baking.
- Lining the baking sheet with parchment paper while piping the dough is not necessary but recommended. However, the paper might move around as the first few rosettes are piped. To avoid this, securing the corners with small heavy objects helps to keep the parchment stationary while you pipe.
- How to store:
- Store baked cookies in an airtight container for up to 5 days at room temperature or refrigerate for at least 2 weeks. Allow chilled cookies to come to room temp before eating for best consistency.
- To freeze dough that’s been rolled into logs or discs, wrap it in plastic wrap first. Then wrap with a layer of aluminum foil or place in a freezer-safe container. Freeze for up to 3 months.
- To freeze dough that has already been shaped: Place shaped cookies on a baking sheet. Freeze until harden (1-2 hours). Transfer to a freezer-safe container or freezer bag. Store for up to 3 months.
Disclosure: This site contains paid advertising and affiliate links. In Good Flavor is a participant in the Amazon Services LLC Associates Program, an affiliate advertising program designed to provide a means for sites to earn advertising fees by advertising and linking to Amazon.com.

 Messed up Chocolate Chip Cookies
 Peanut Butter Cup Cookies
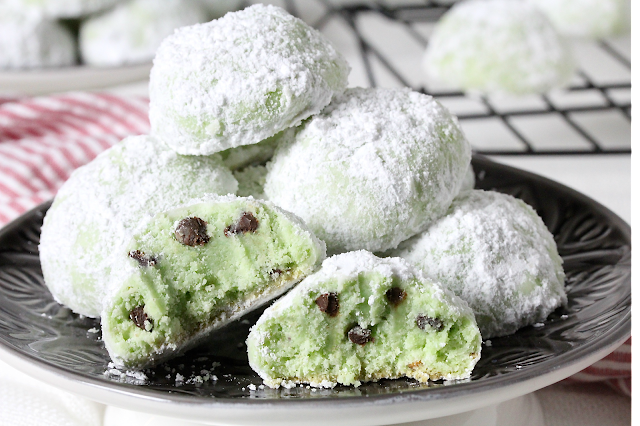 Pistachio Chocolate Chip Snowball Cookies
 Cranberry Lime Snowball Cookies
An excellent post and your cookies are beautifully done, they look like they came from a high end pastry shop. 😊
Thank you Karen! Using a piping bag makes it look a little more polished 🙂