In Good Flavor
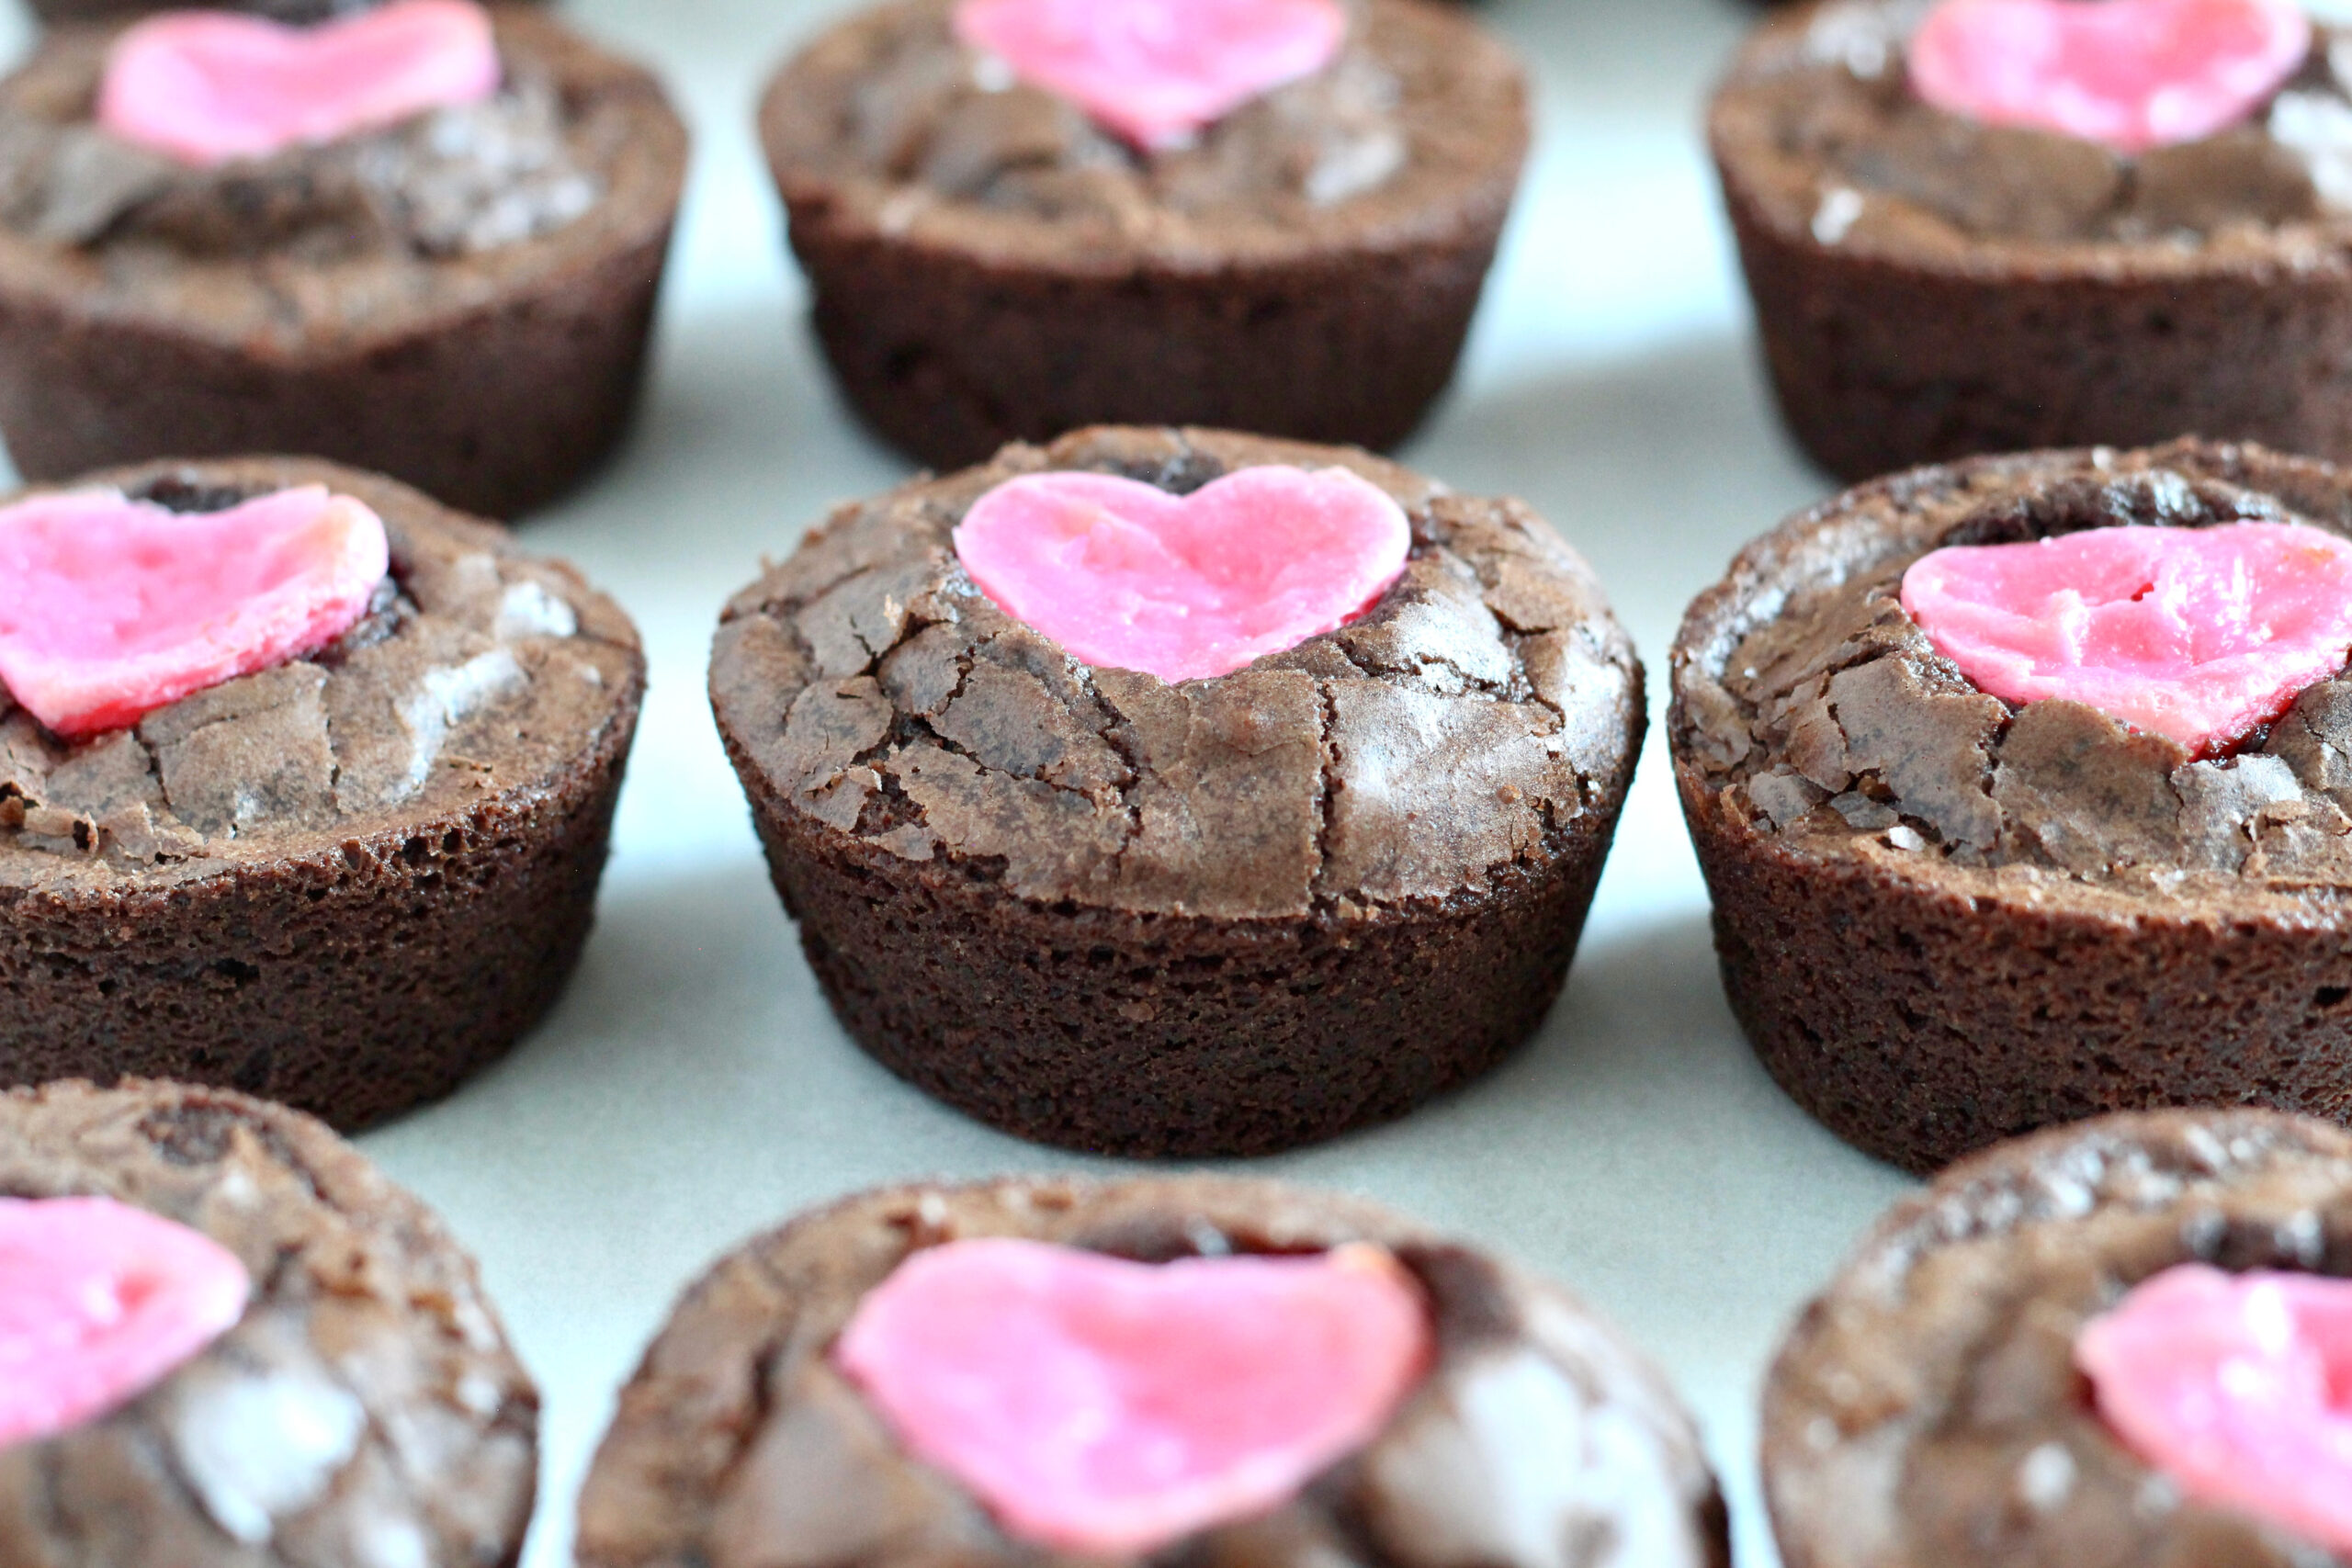
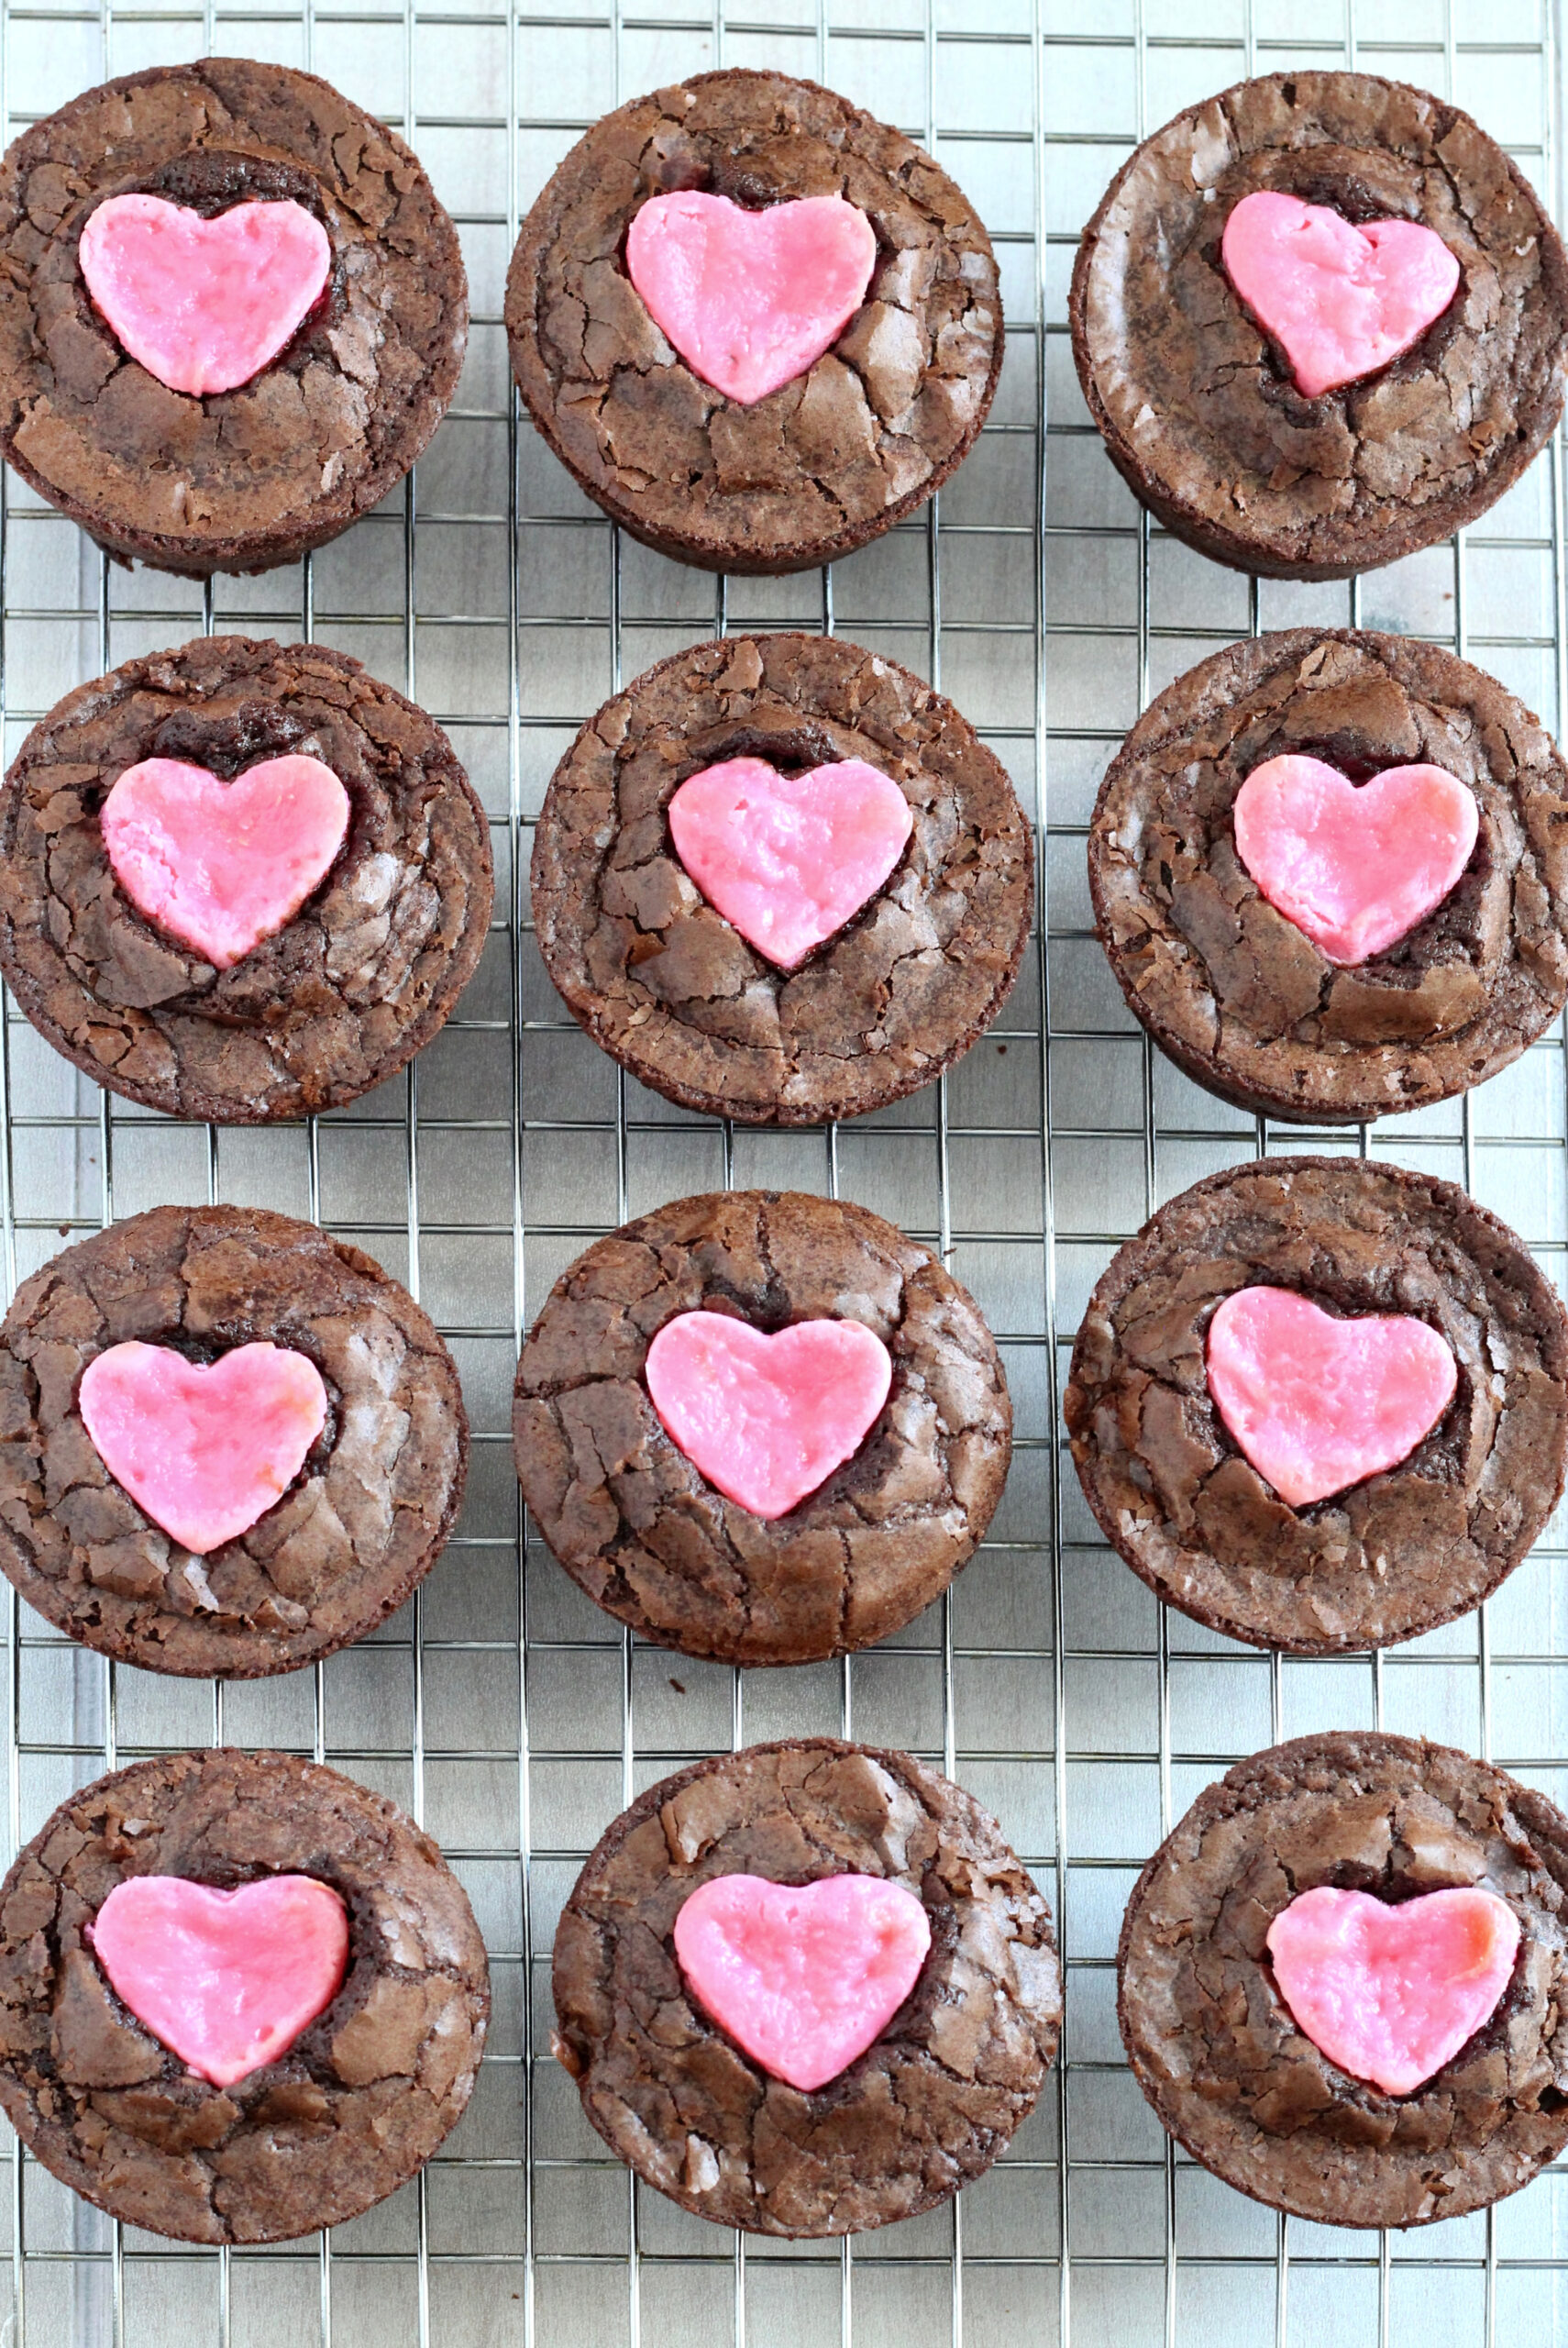
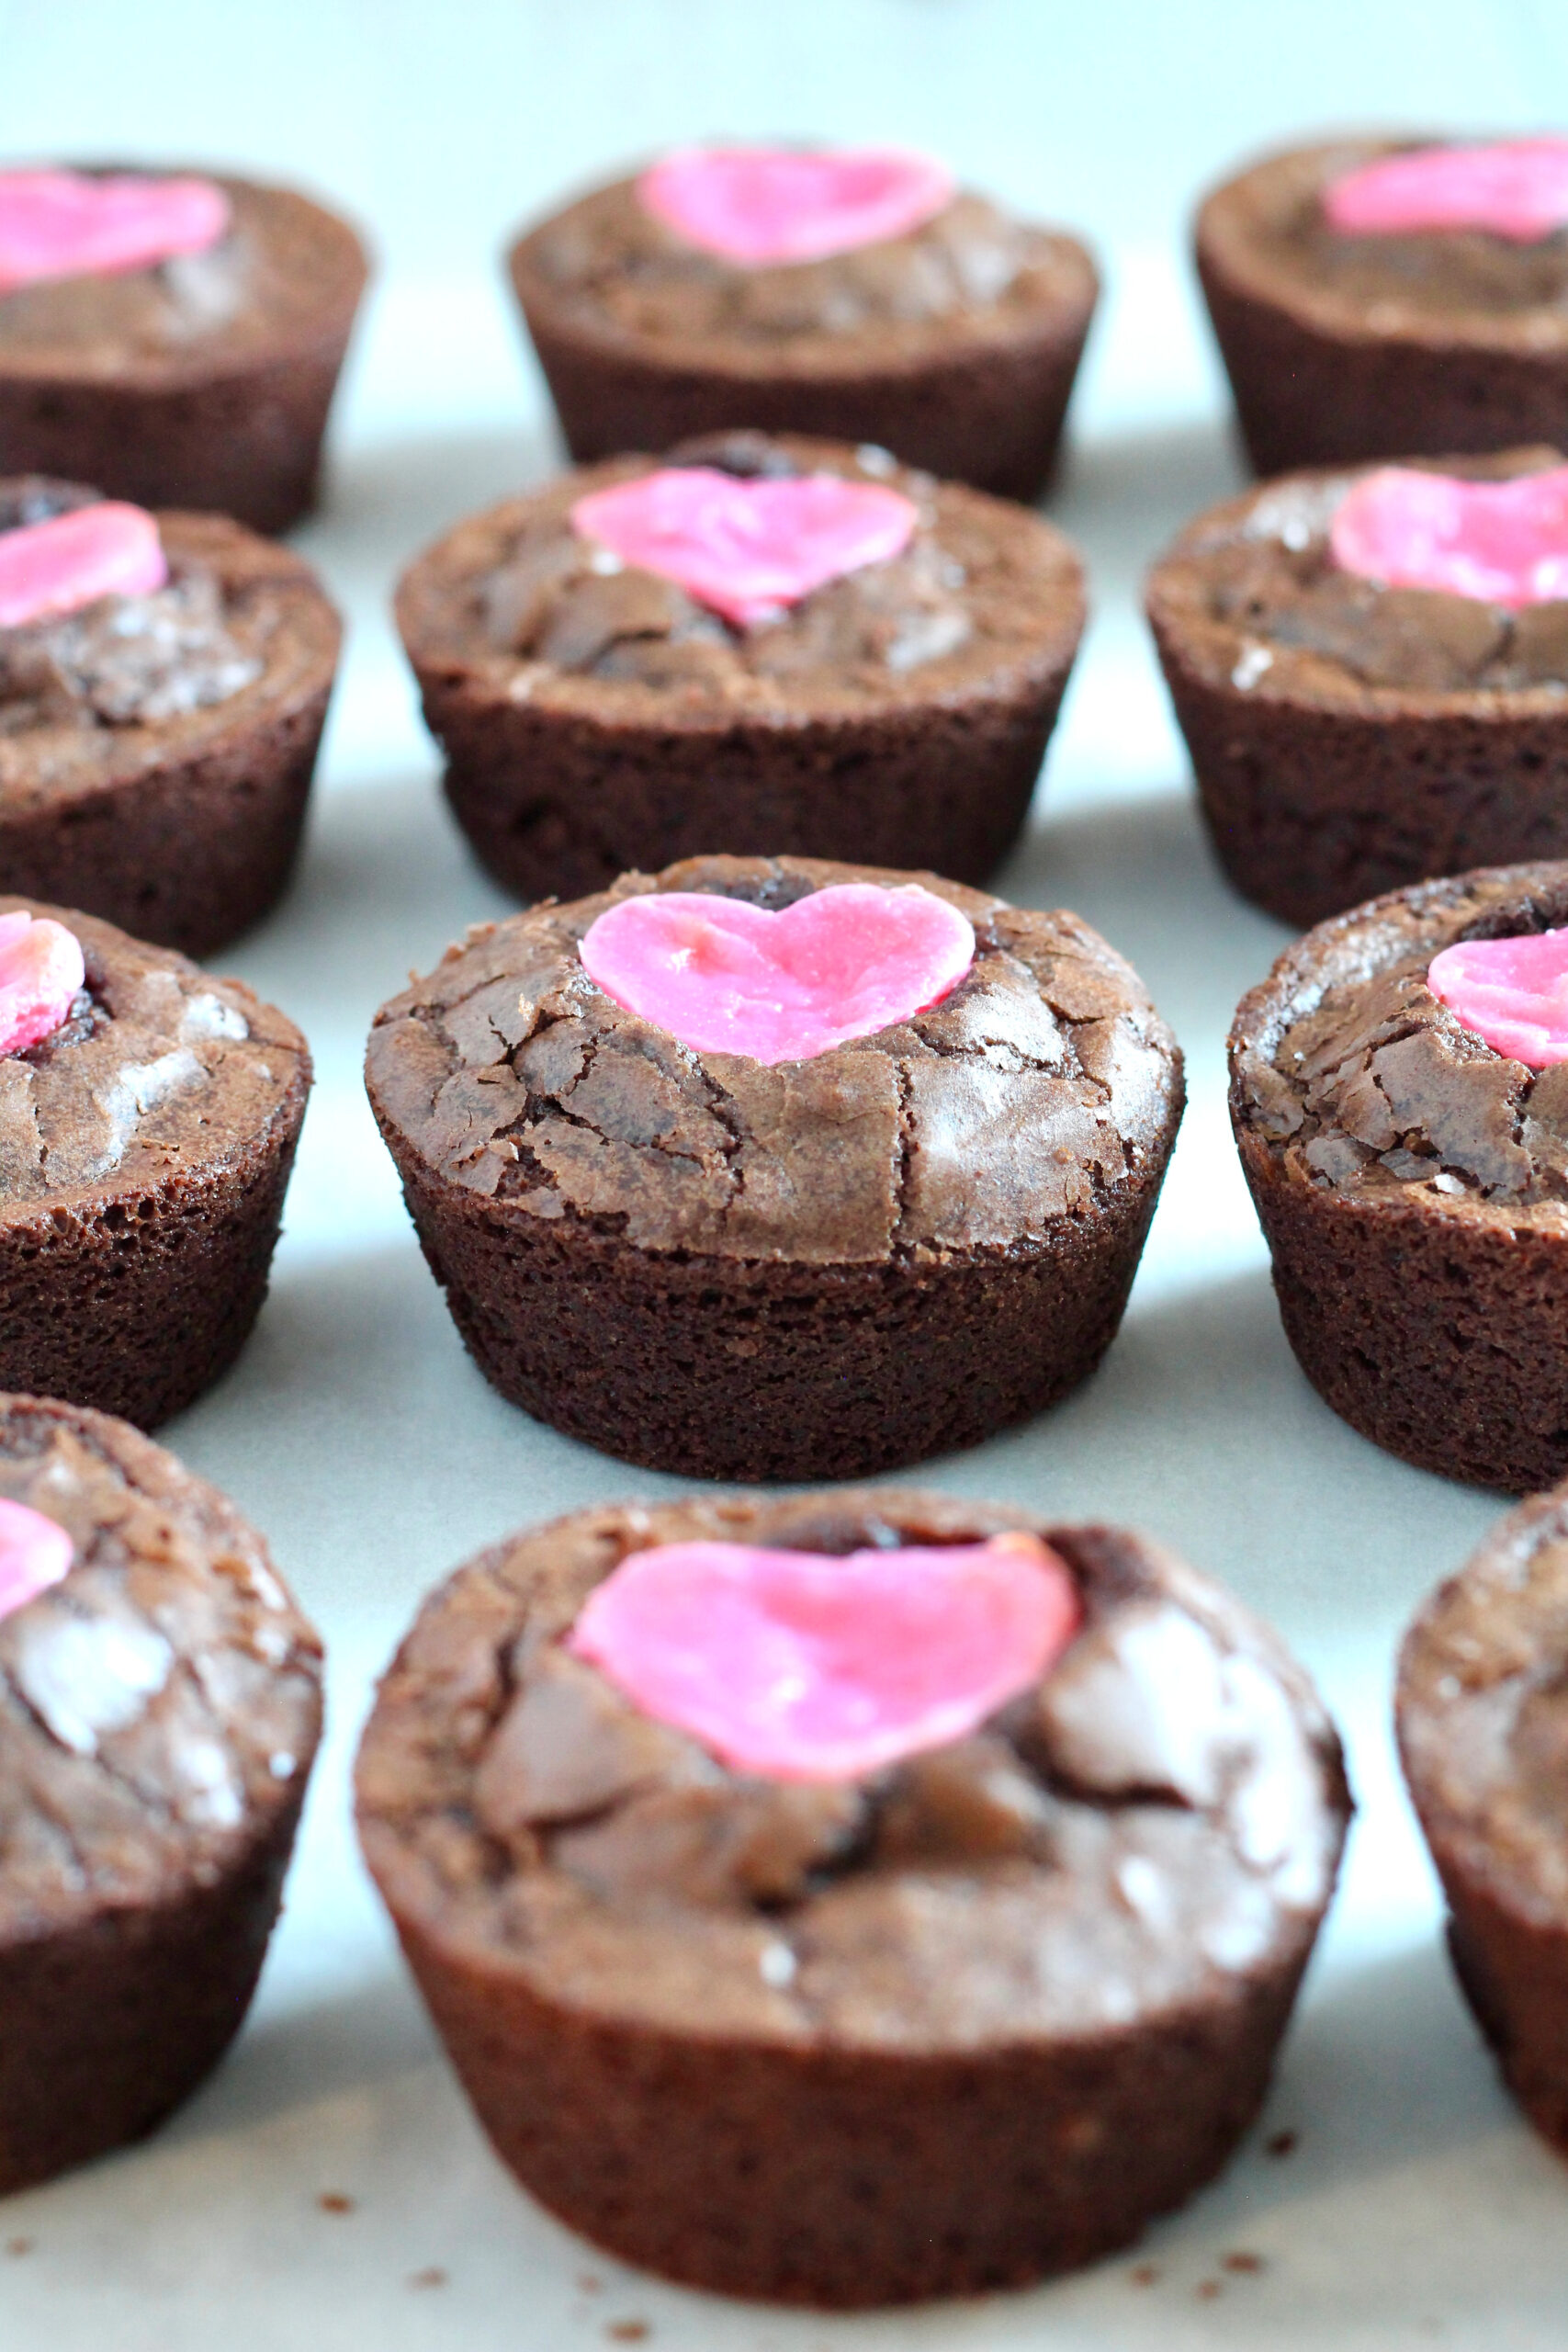
These adorable Cream Cheese Heart Brownie Cups are rich, chocolaty, and perfectly fudgy in every bite. Thanks to a simple brownie mix, they come together with minimal effort, while the creamy cheesecake hearts in the center add a delightful touch of tangy sweetness. Delicious and easy to make, they’re a perfect Valentine’s Day treat—or anytime you want to share the love.
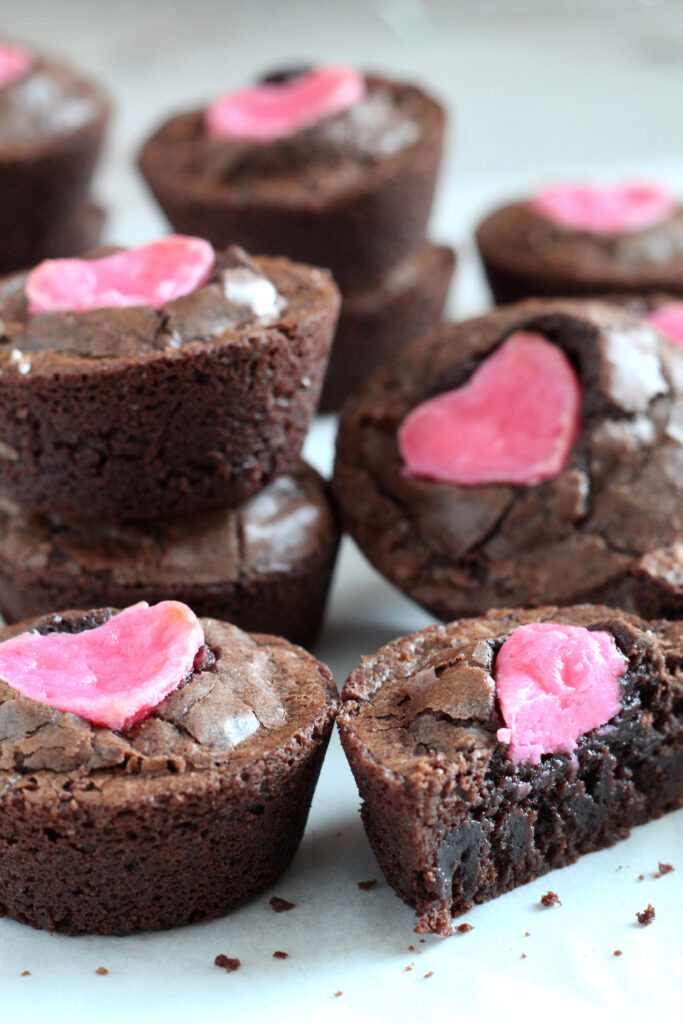
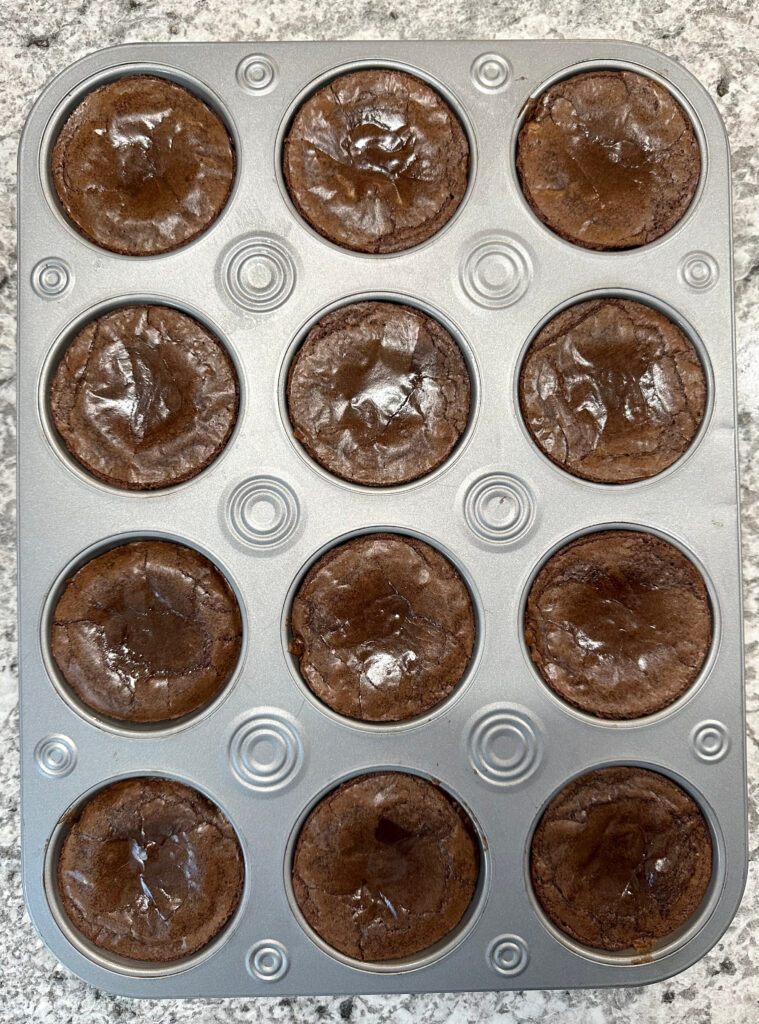
I’m a big fan of brownie mix—it delivers rich, chocolatey, fudgy brownies every time and is the perfect fix for a sudden sweet craving. Even better, it’s completely effortless to prepare. For this recipe, I bake one of my go-to brownie mixes in a muffin pan, giving each brownie cup the ultimate balance of dense, fudgy centers and perfectly chewy edges.
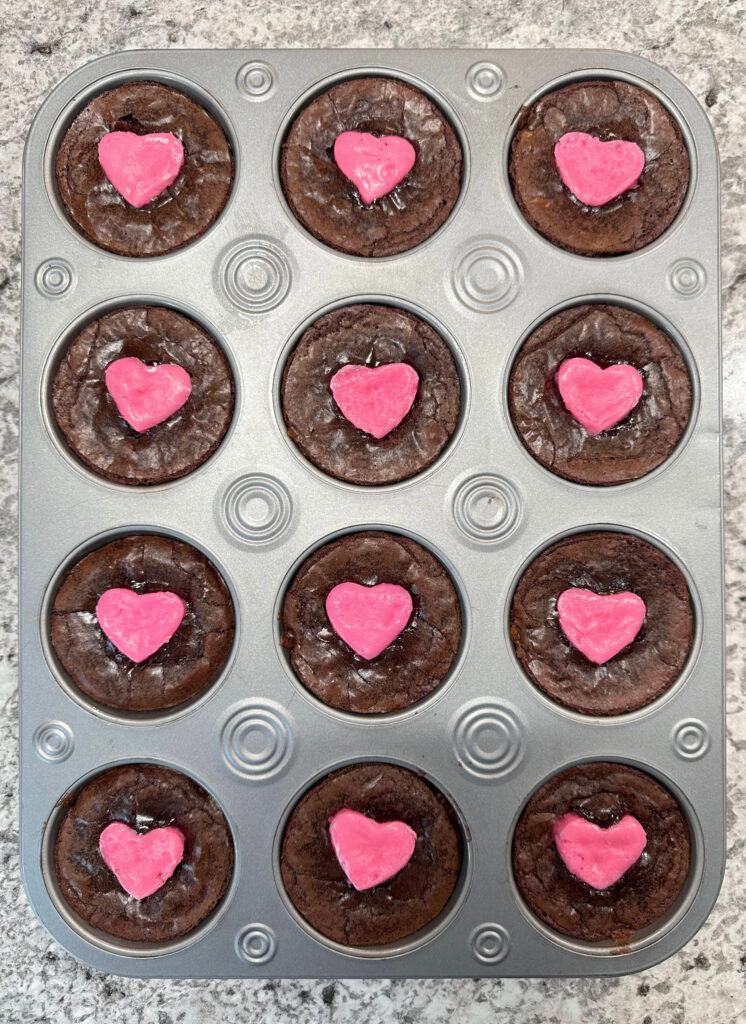
To take them over the top, mini cheesecake hearts are tucked right into the center. They add a creamy, tangy contrast that makes these brownies extra special. The cheesecake hearts are baked and chilled beforehand, then gently pressed into the brownies halfway through baking.
I use these heart-shaped molds to bake the hearts, but you don’t want to get them—simply bake the cheesecake layer in a mini baking pan. Whatever pan you choose, make sure it’s filled with slightly less than 1/2-inch of cheesecake batter. After chilling, use a mini heart-shaped cookie cutter to cut out the hearts.
Ingredients needed:
- Brownie mix + ingredients to make brownies—I used Duncan Hines Chewy Fudge Brownie Mix, but you can use whatever you like. Try to get a mix that’s about 18 ounces. Prepare the batter according to the package directions.
- Cream cheese—use full-fat for the richest and creamiest cheesecakes.
- Granulated sugar—to sweeten the cheesecakes.
- Egg—to add richness, binding, and structure for the cheesecakes.
- Vanilla Extract—for flavor enhancing.
Recipe highlights:
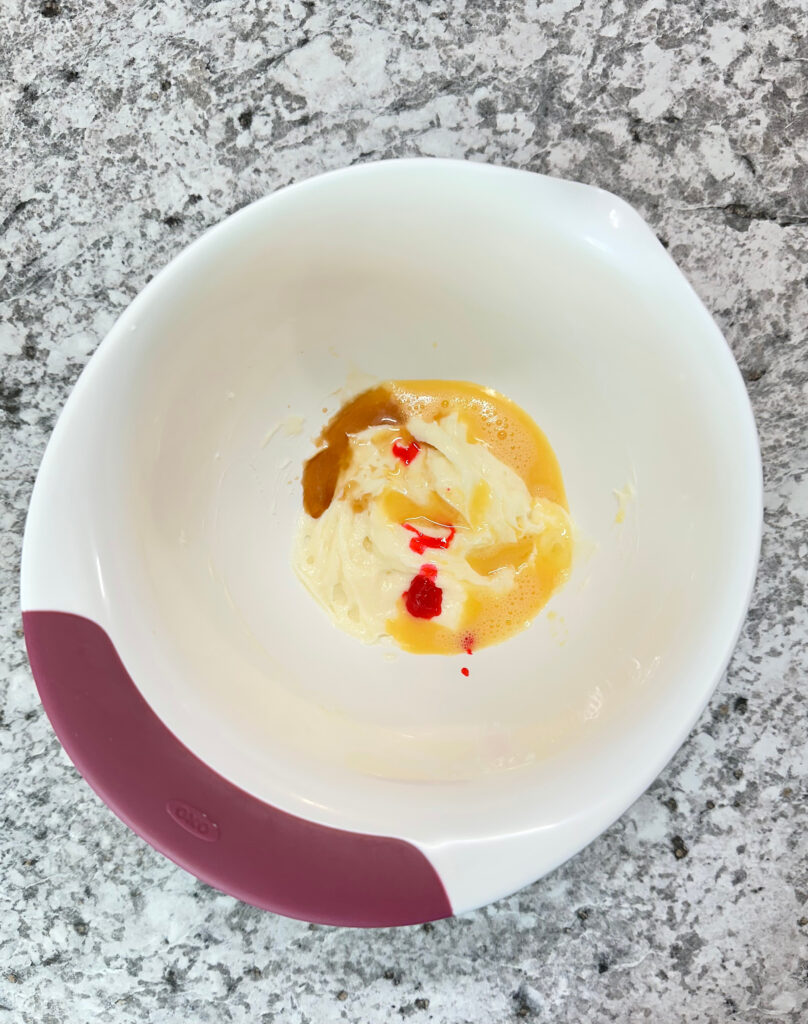
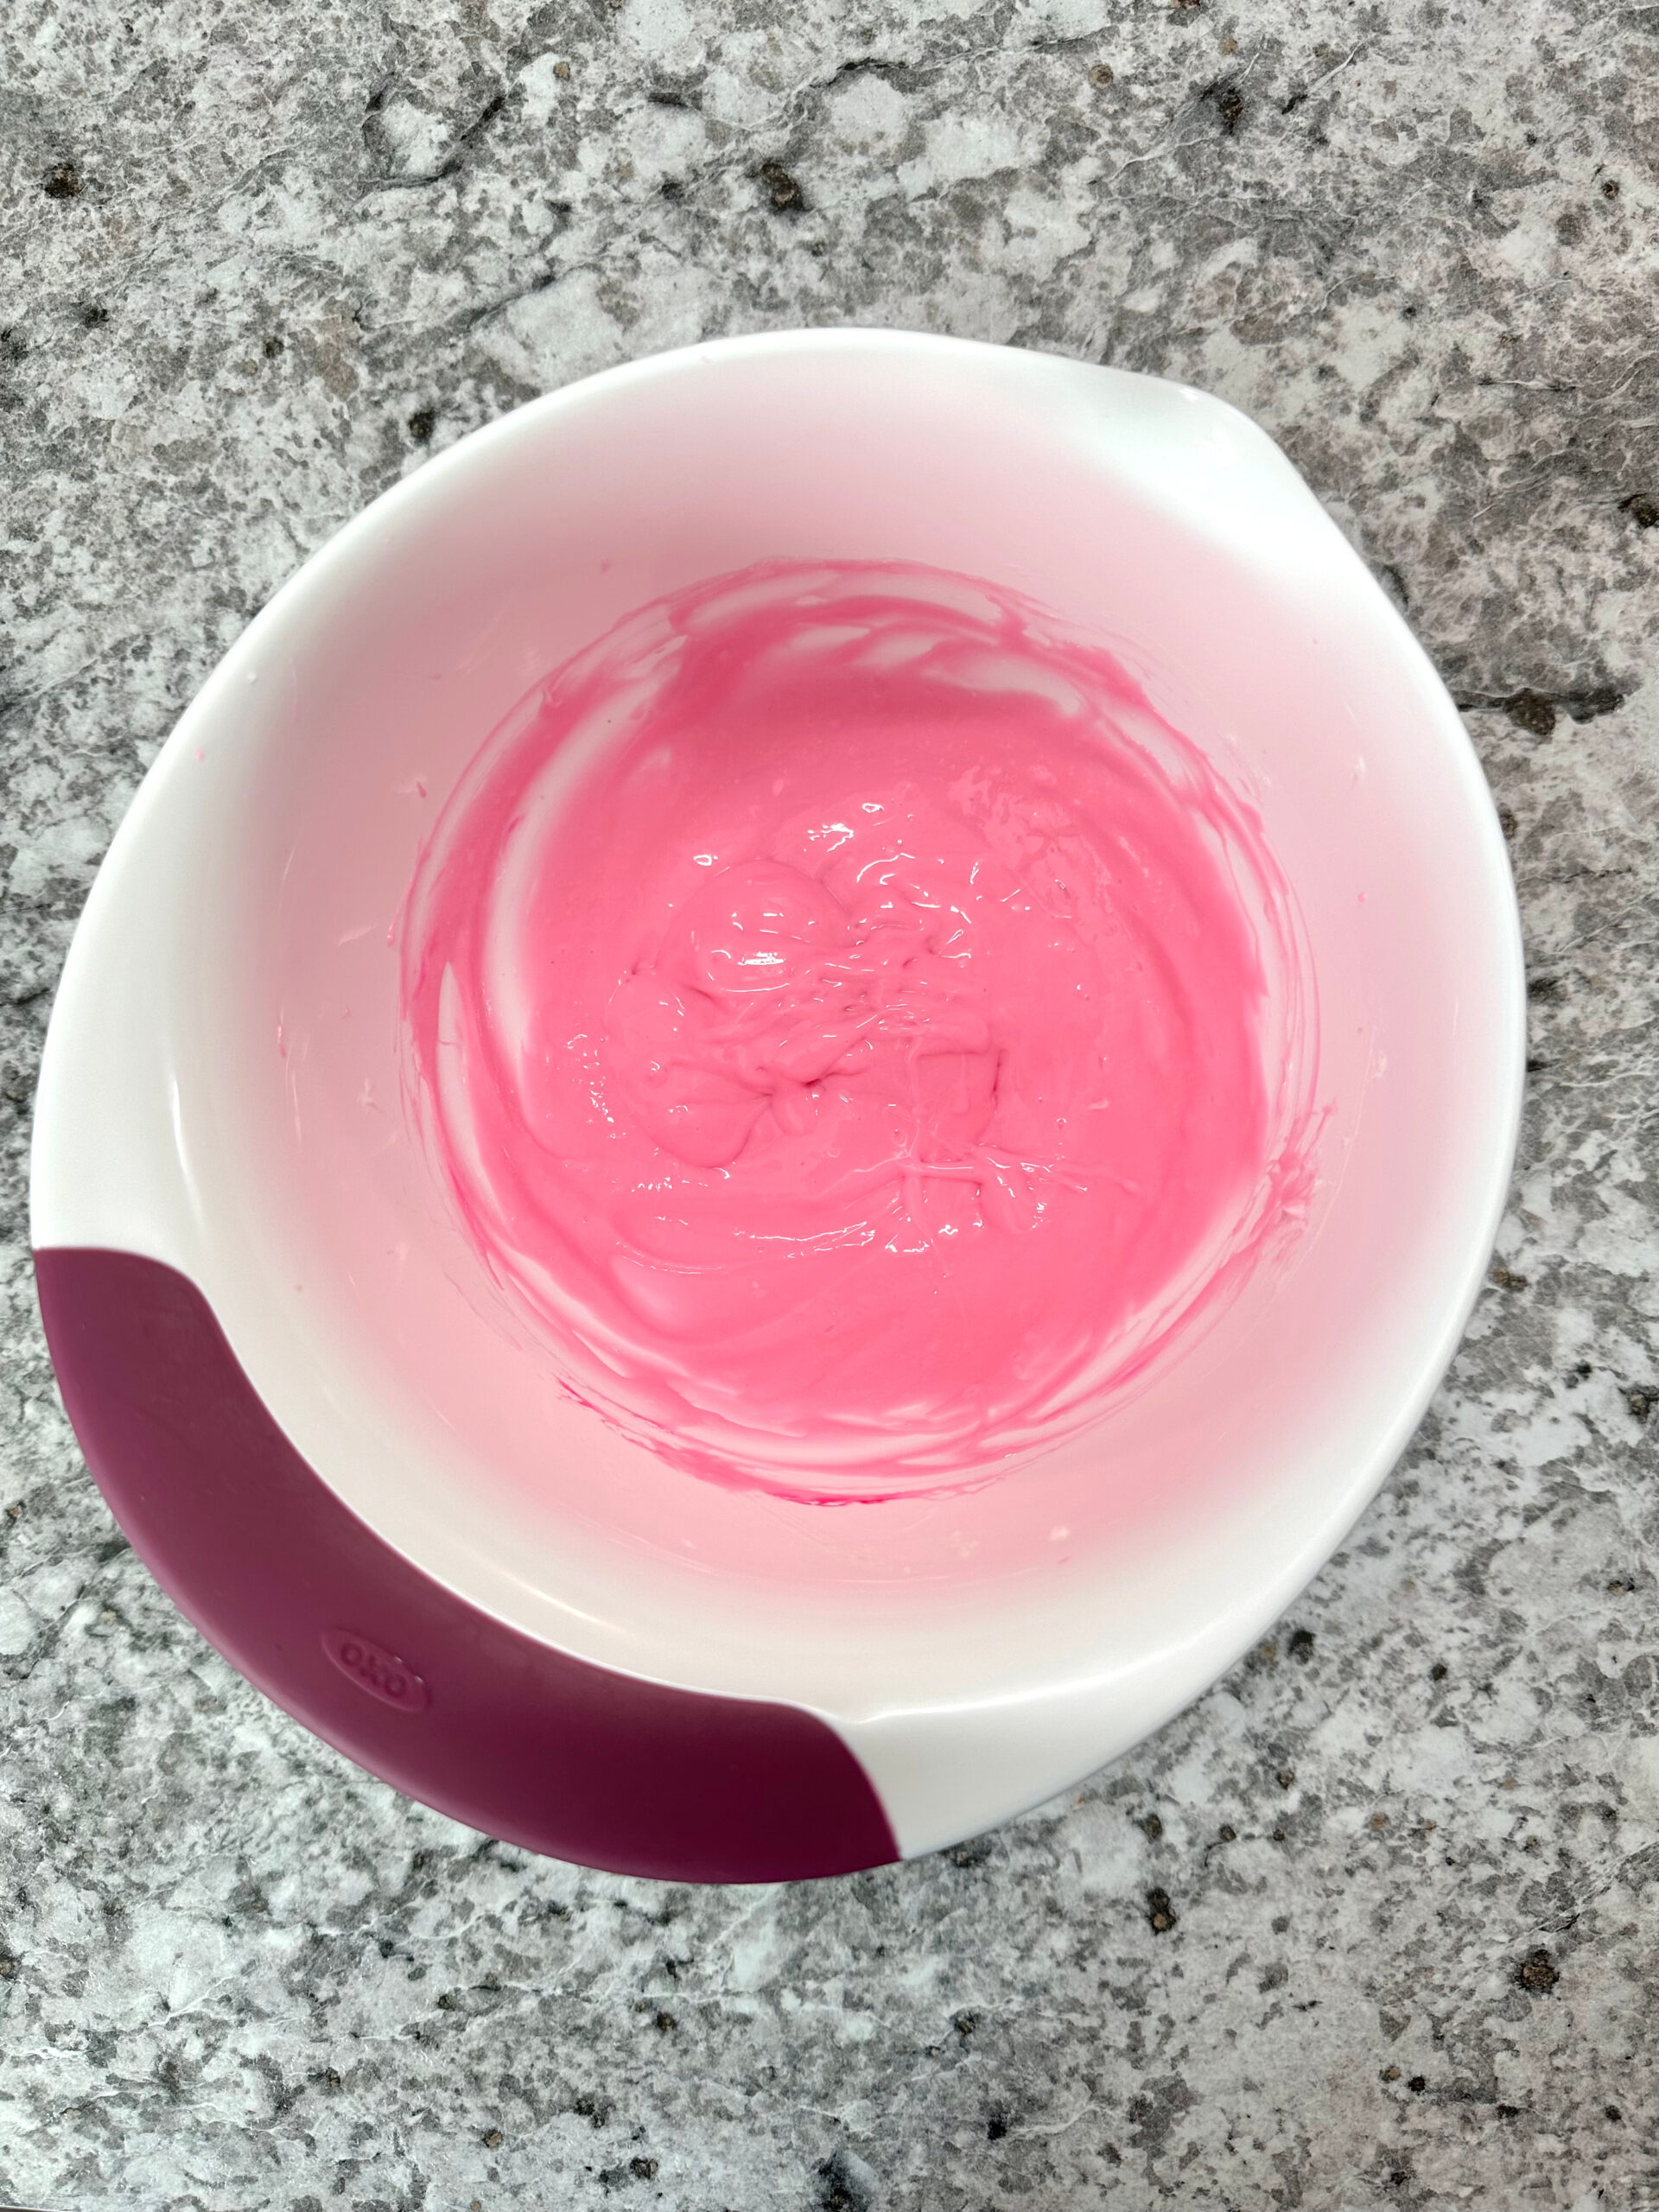
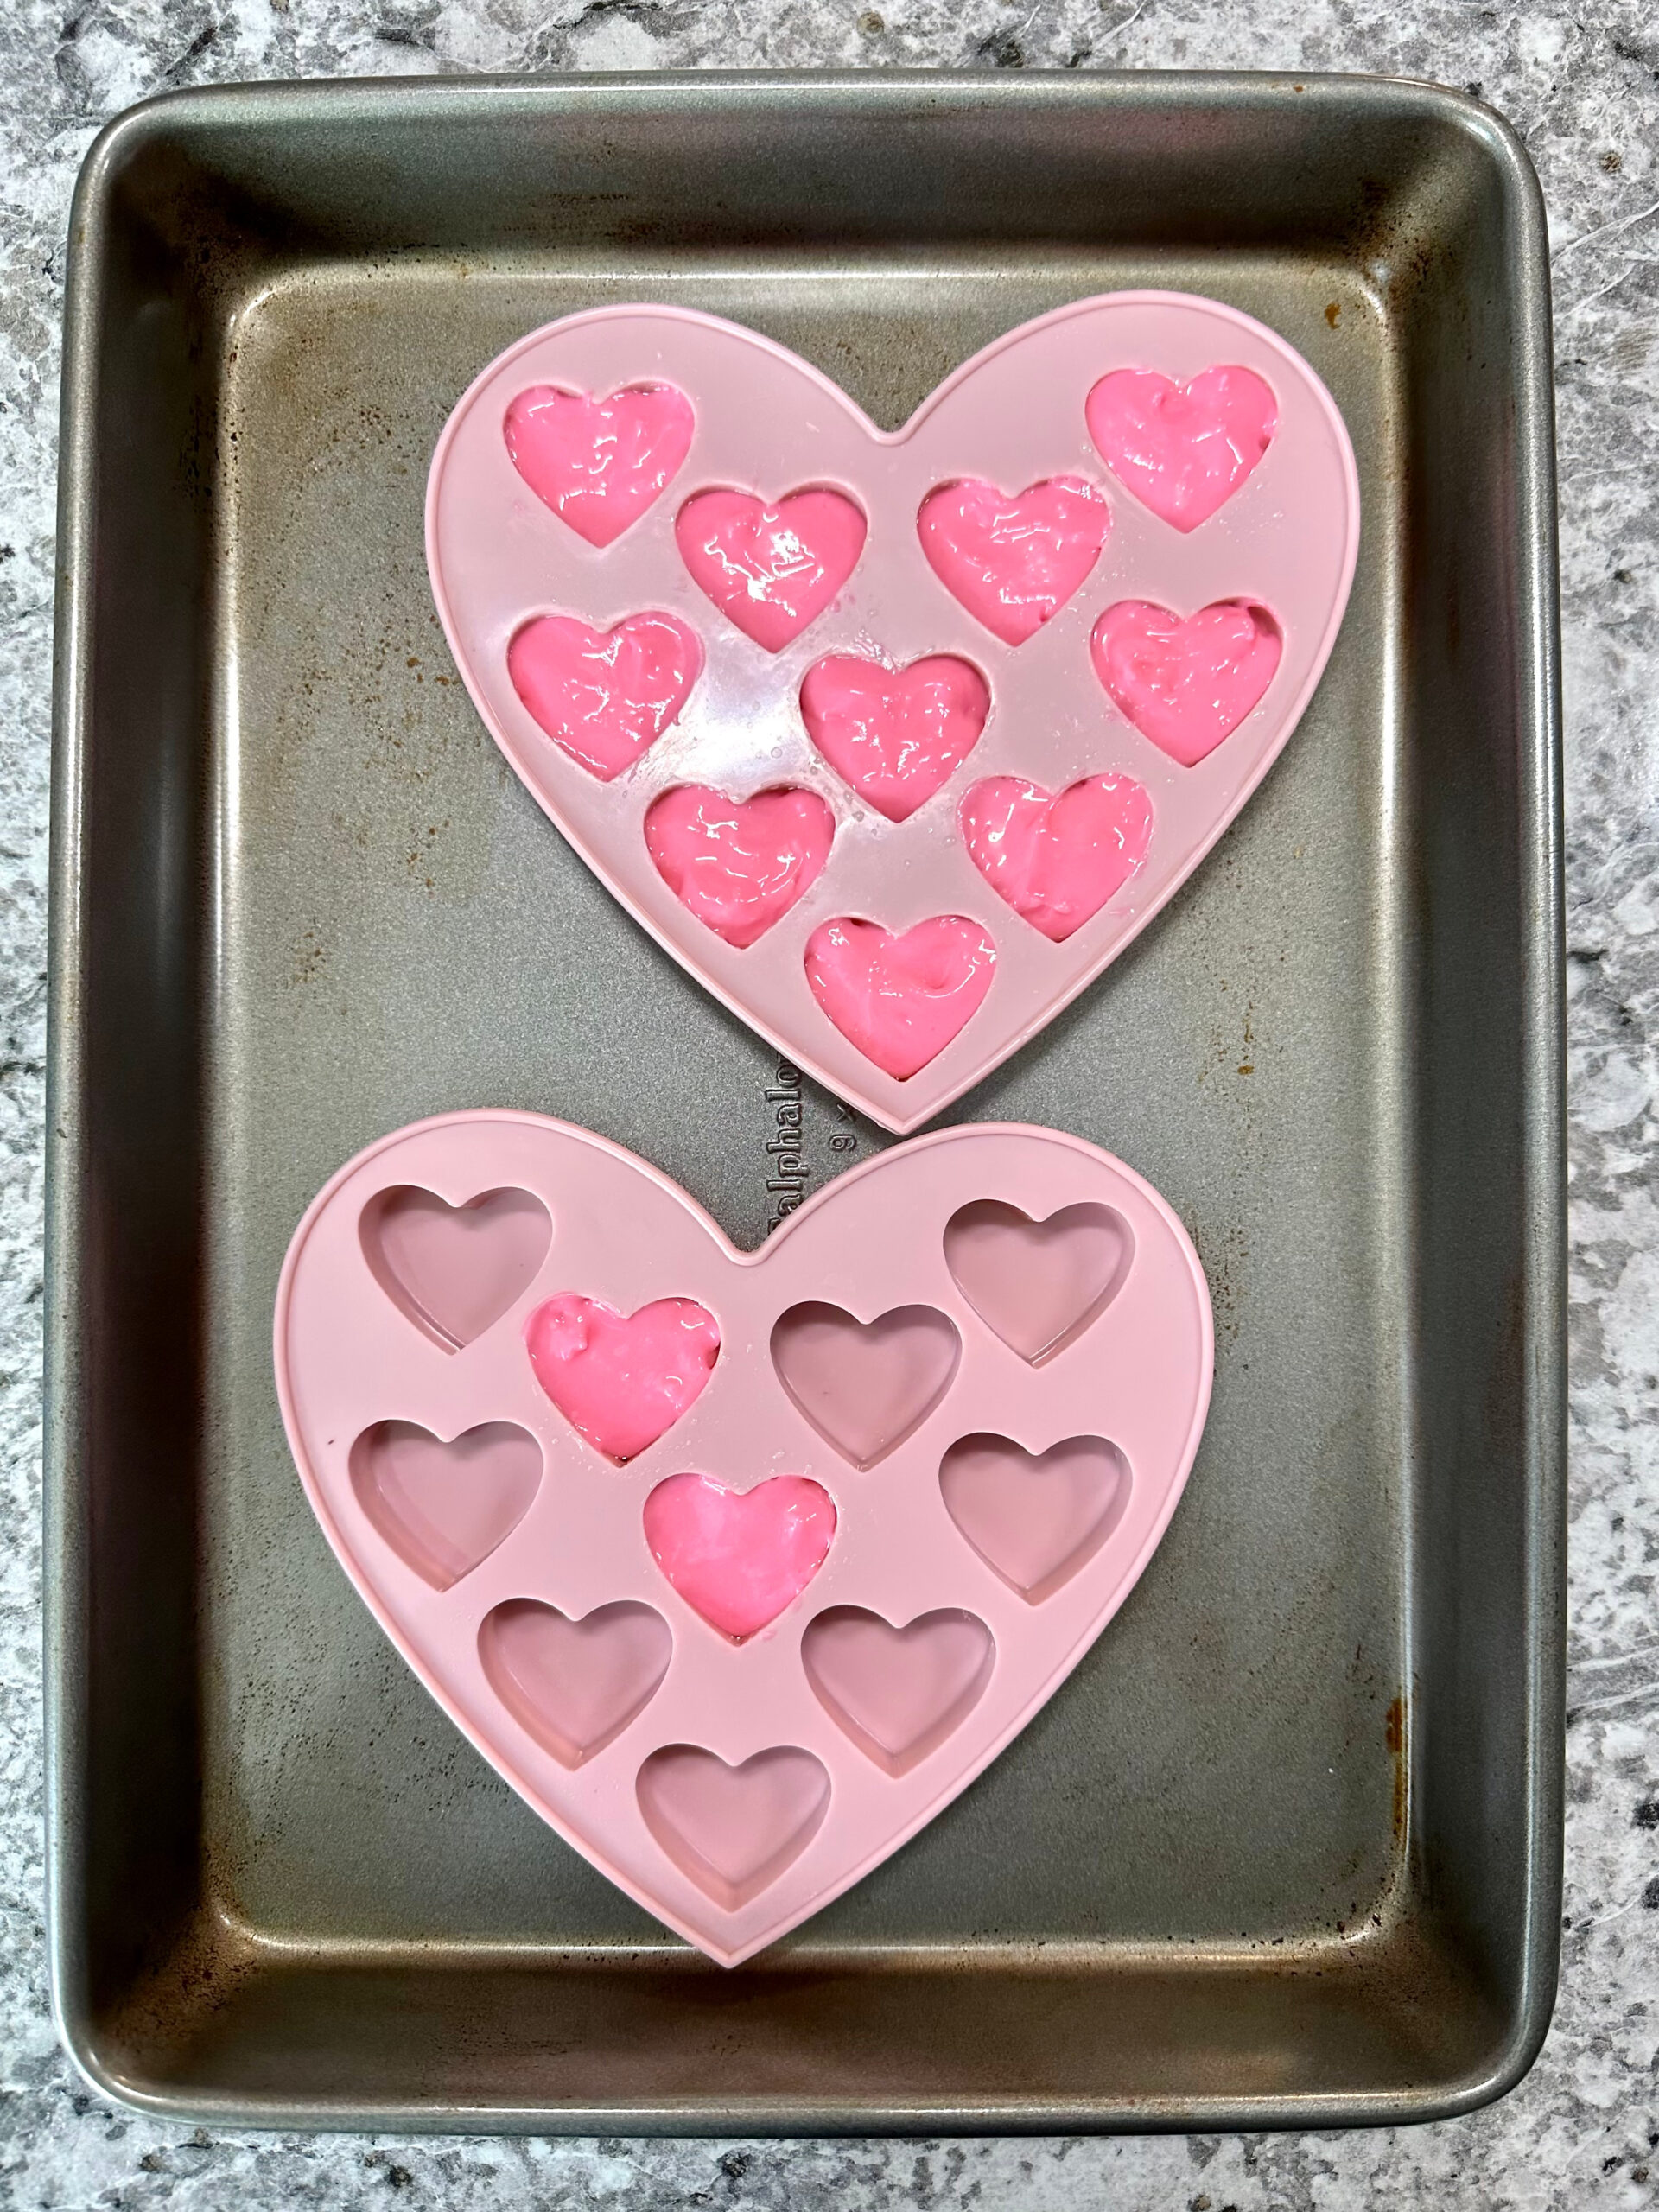
- In a mixing bowl, whisk the cream cheese and sugar until light and fluffy. Add 1 tablespoon of beaten egg, vanilla extract, and food coloring. Whisk until well blended.
- Grease 12 mini heart-shaped molds on a baking sheet, then fill them with the batter.
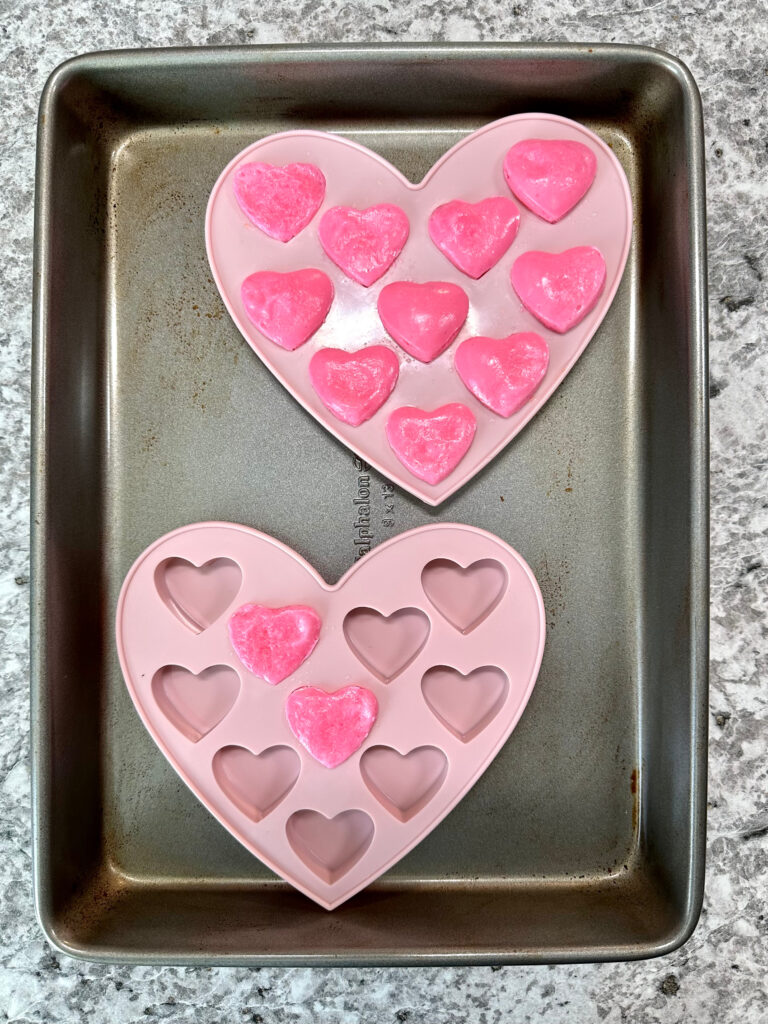
- Bake for 9–11 minutes, until the cheesecakes are puffed and the tops are set. Cool for 10 minutes, then chill in the refrigerator for at least 10 minutes.
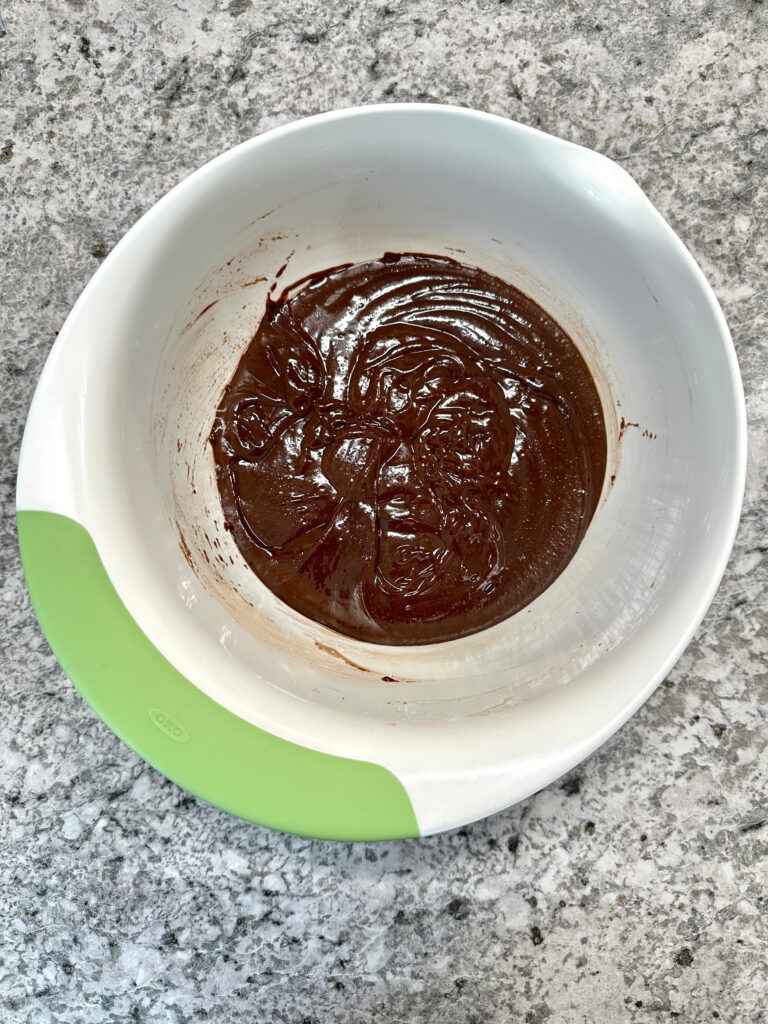
- Prepare the brownie batter according to the package instructions. Fill 12 greased muffin cups 2/3 full with the batter.

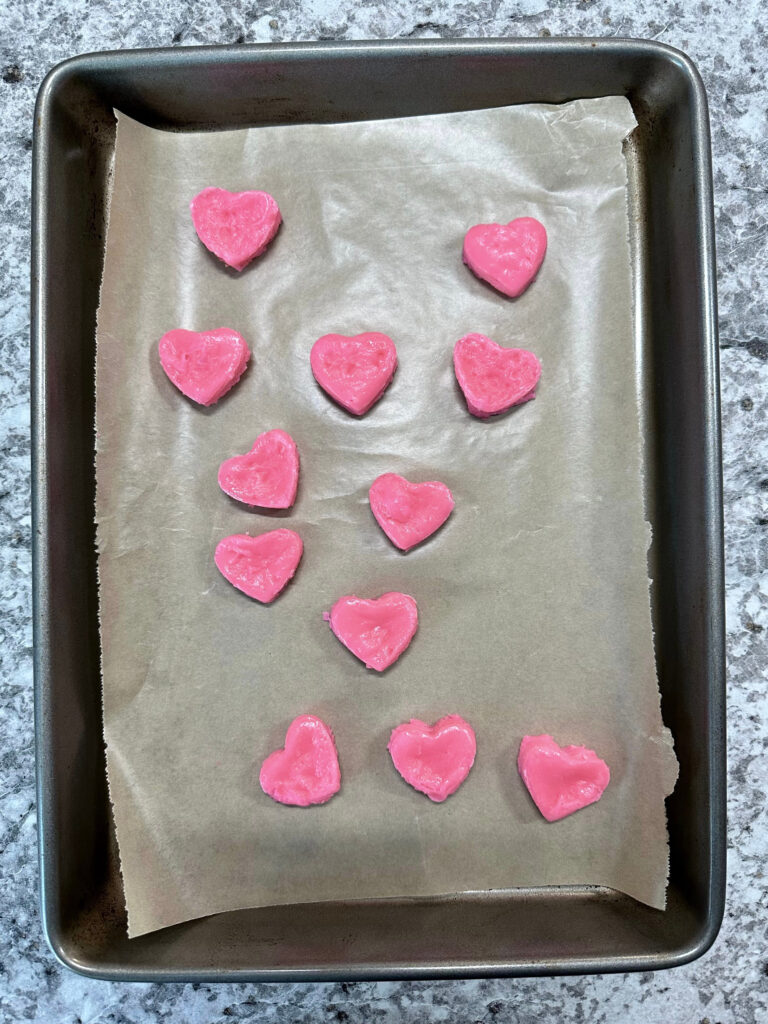
- Bake for 12 minutes, or until the outer half of the edges are crusty. Unmold the heart-shaped cheesecakes before removing the brownies from the oven. Then promptly press the cheesecake hearts into the centers of the brownies. Return the brownies to the oven.
- Bake for an additional 12-14 minutes, or until a toothpick inserted into the brownie closest to the center comes out with a few moist brownie crumbs.
- Cool for 10 minutes before removing from the pan, then let it cool completely on a wire rack.
- Detailed instructions are in the recipe card section below.
Pro tips:
- Do not overbake the cheesecake hearts, as they will continue to bake when added to the brownie.
- If you don’t have heart-shaped molds, bake the cheesecake in a small baking pan. Chill, then use a cookie cutter to cut out the hearts. Grease the inside of the cookie cutter to prevent sticking and make the cutouts easy to remove. Note that you will need to increase the cheesecake filling by 50% to account for waste from the cutouts.
How to store:
Store the brownies in an airtight container in the refrigerator for up to five days.
They also freeze well. To freeze, wrap the brownies in plastic wrap, then add a layer of aluminum foil (optional). Store them in a sealed freezer bag for up to three months.
Recommended supplies:
(Affiliate links. The products I recommend are either what I use, are on my wish list, or are highly rated.)
- Heart-shaped molds—this 3-piece silicone set has a total of 40 cavities.
- Muffin baking pan — this one is nonstick and has silicone handles for a secure grip.
- Wire whisks—this set of 4 varying-size whisks will meet all your cooking needs.
- Rubber spatula—for mixing, scraping, and cooking. This set of five silicone spatulas is heat-resistant up to 500° F.
- Mixing bowls—this set of three stackable mixing bowls comes in varying sizes and has a nonslip base.
Check out Prime Big Deal Days on Amazon Prime. Up to 50% off!
You Might Also Like:
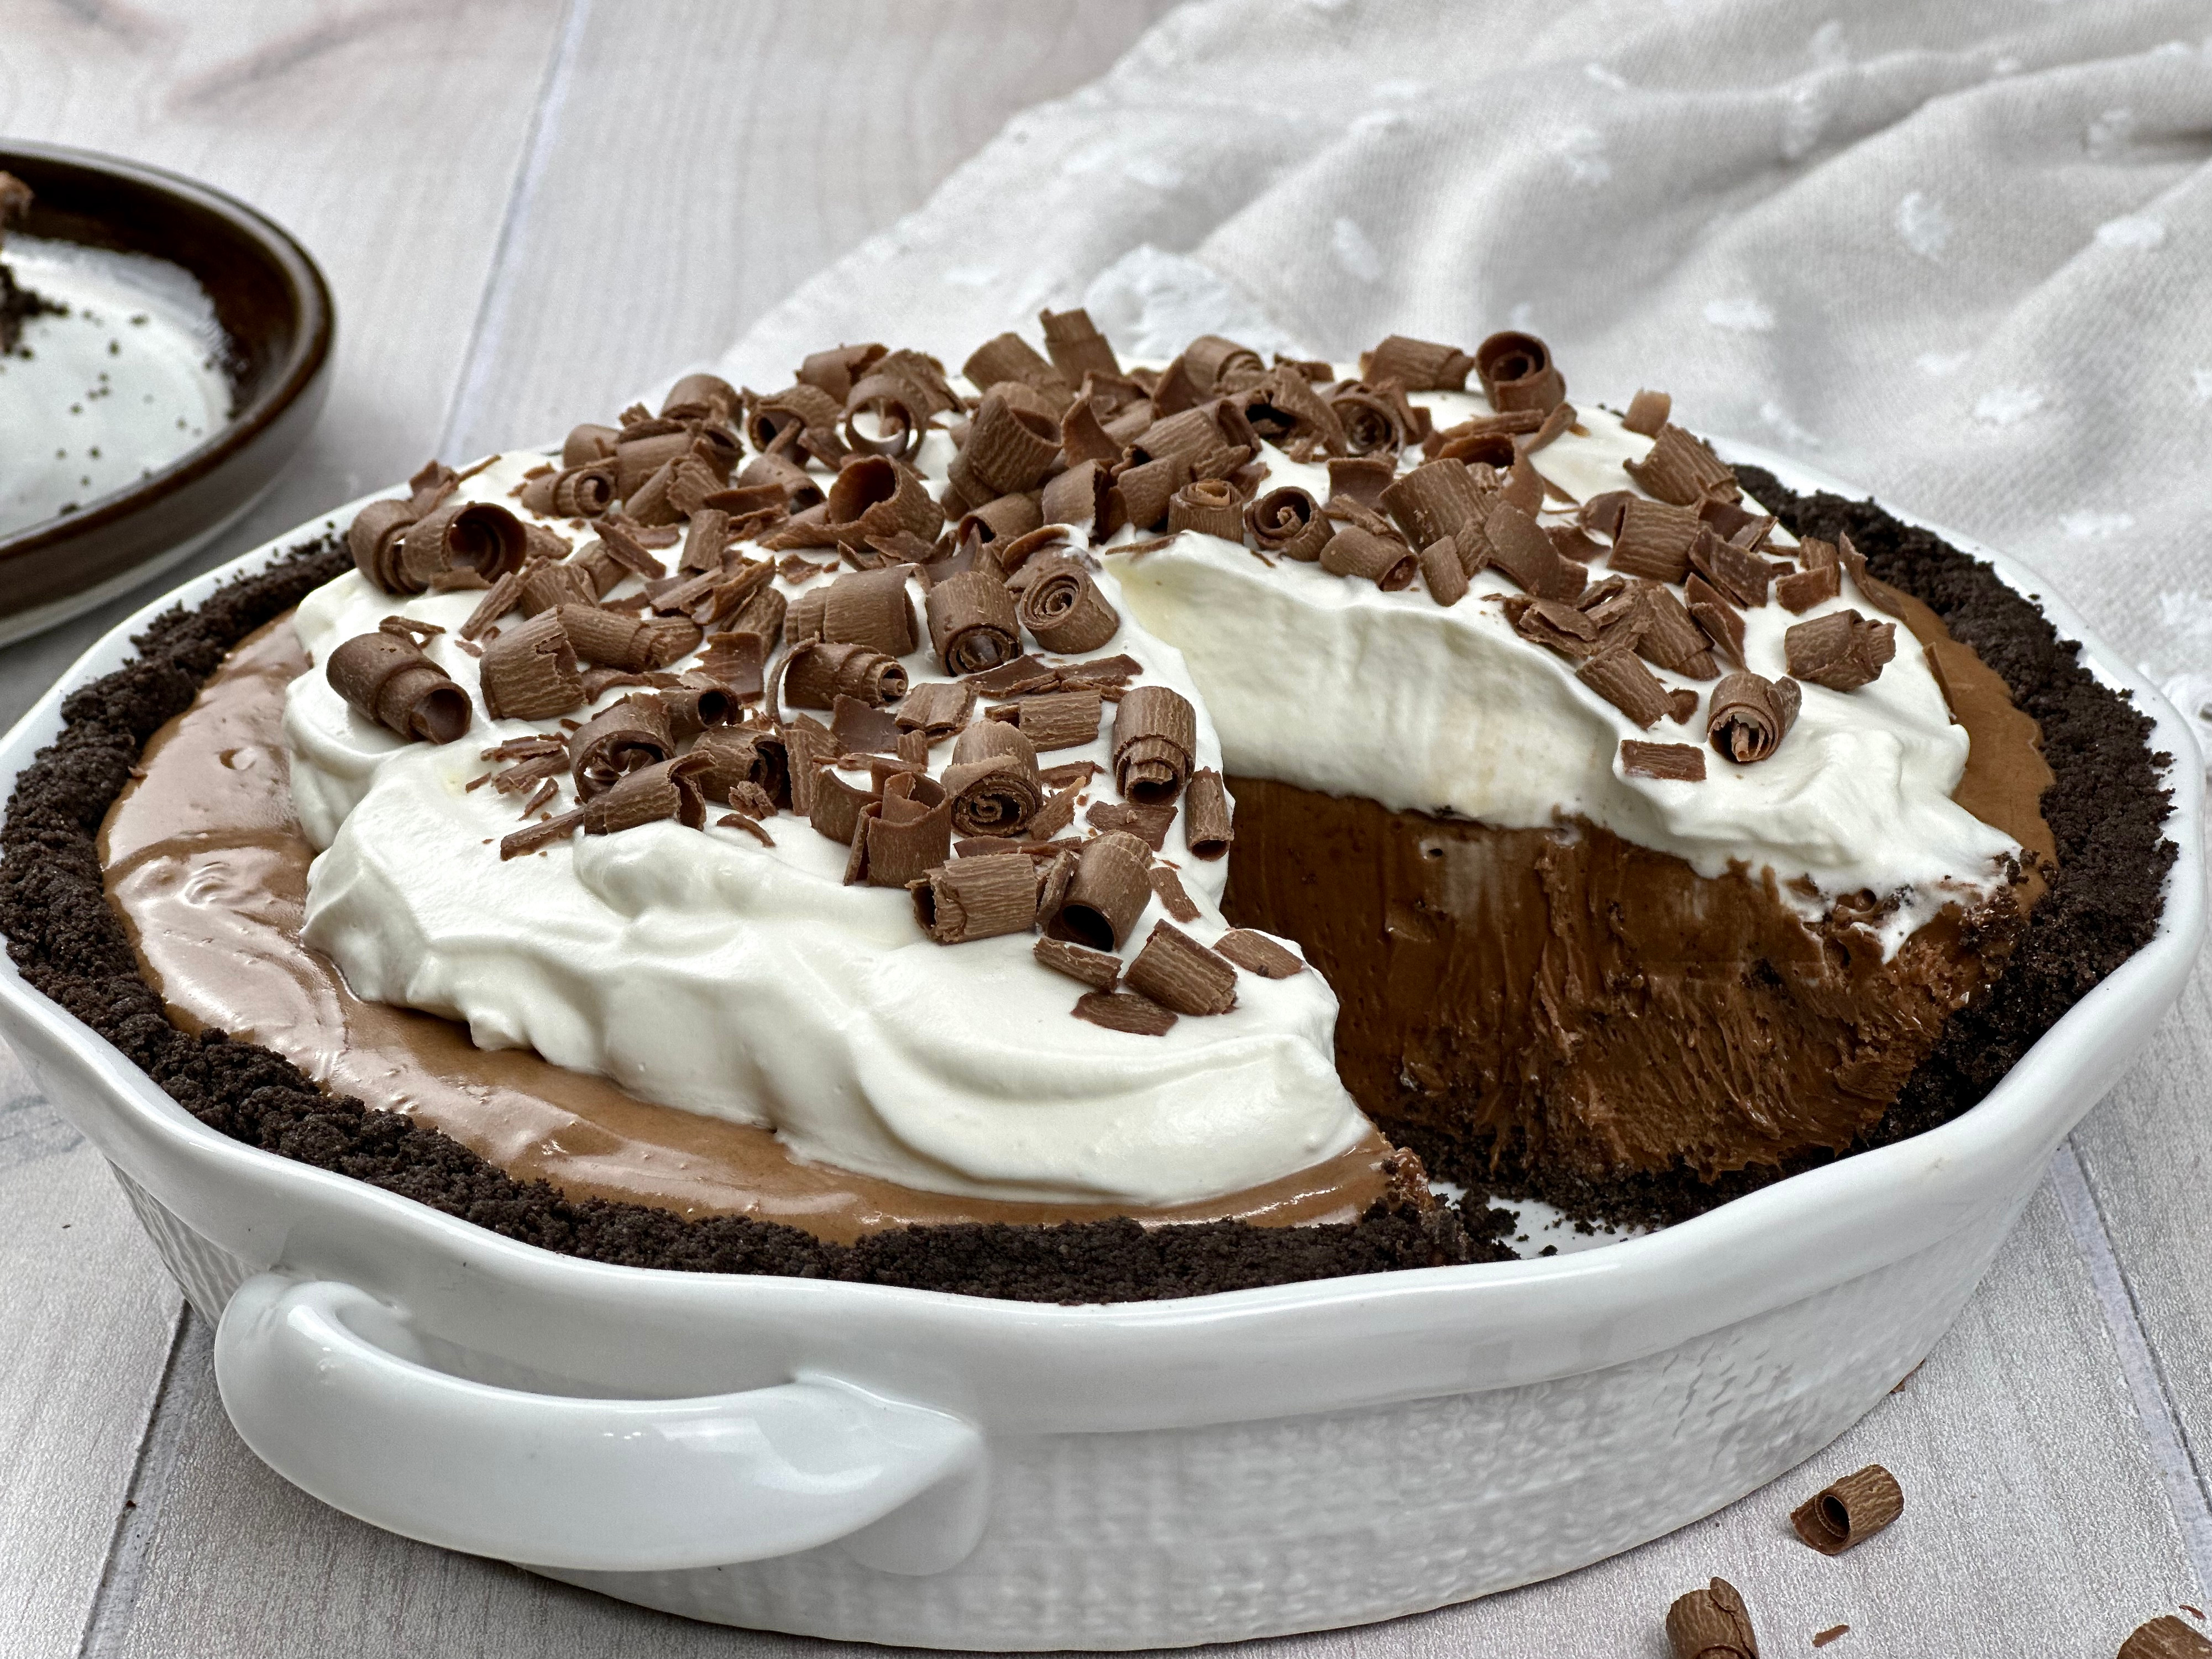 Nutella French Silk Pie
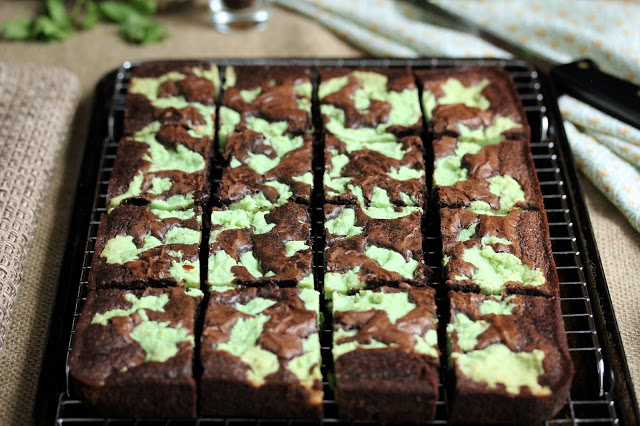 Pistachio Brookie Bars
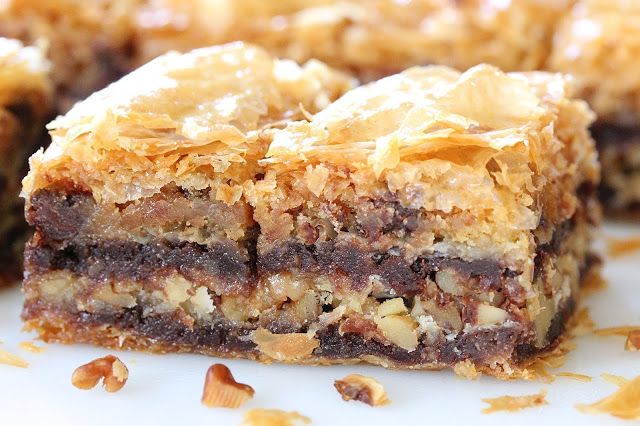 Brownie and Things Baklava
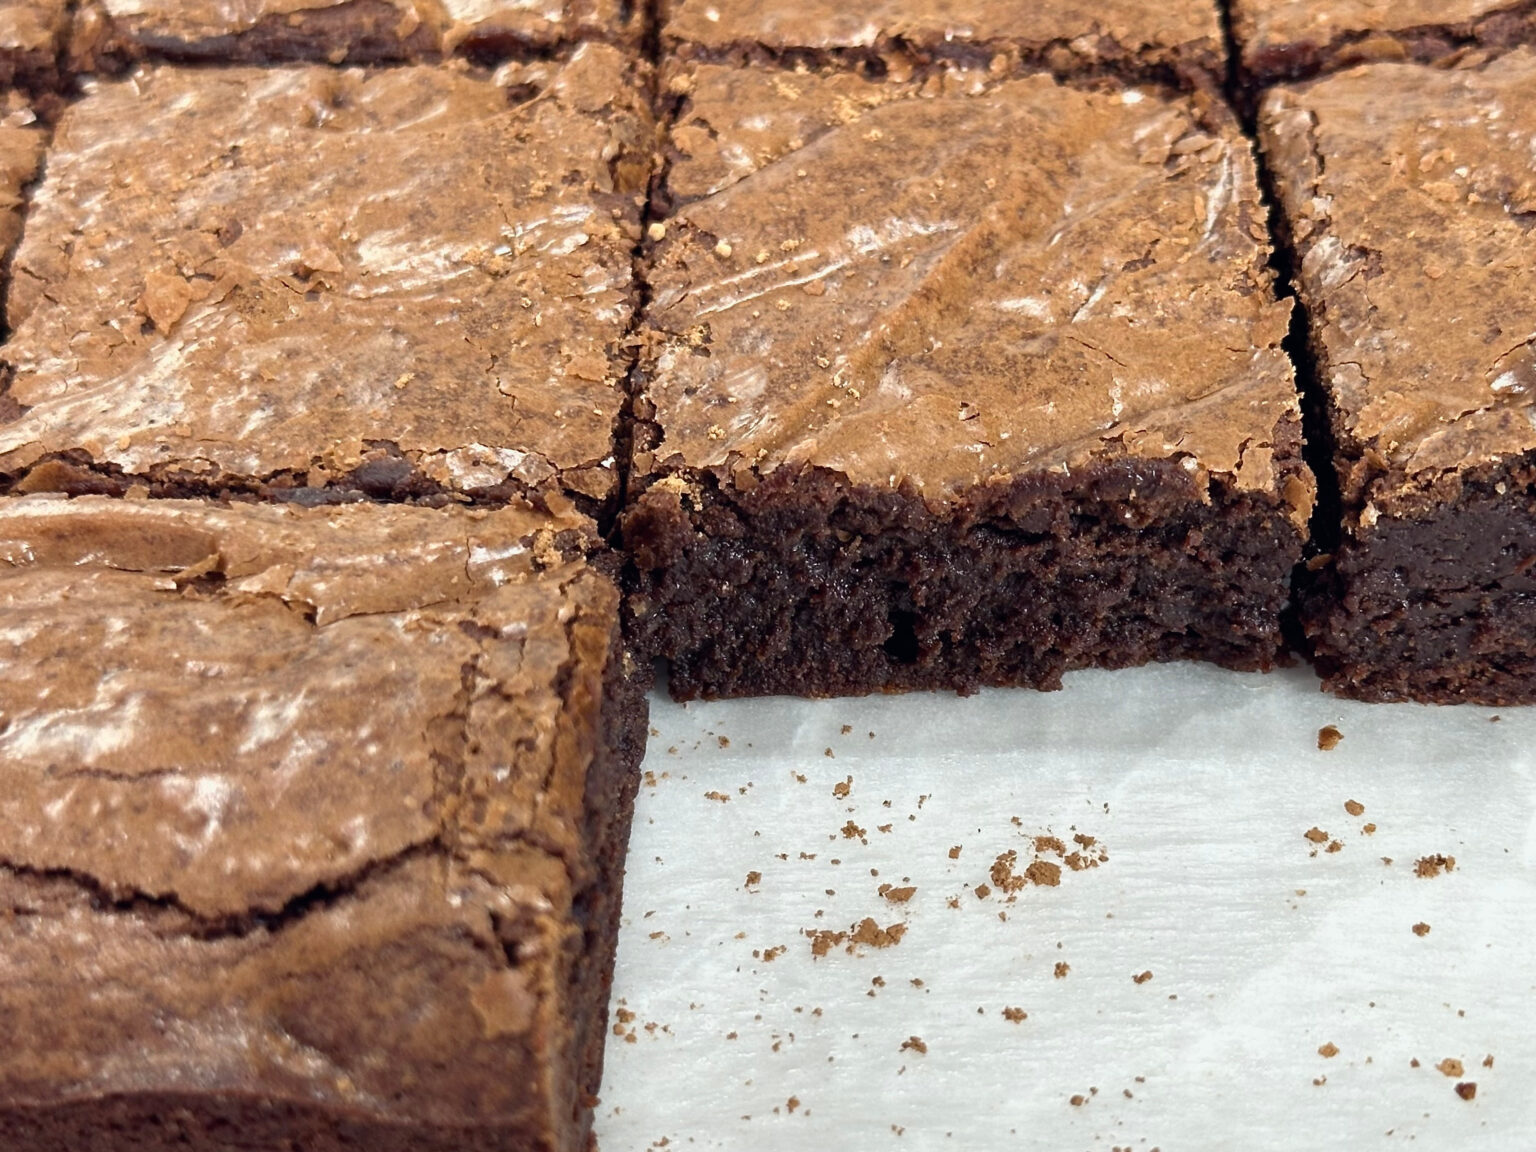 Fudgy Brownies Recipe (From Scratch)
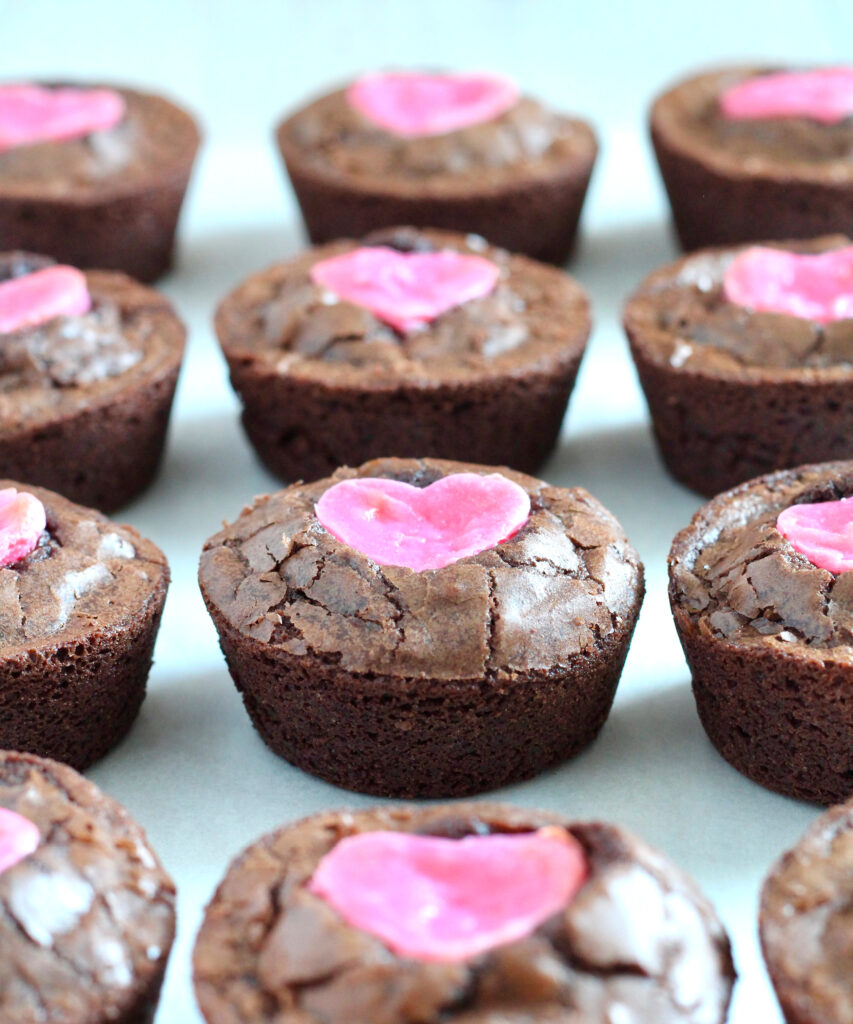

Cream Cheese Heart Brownie Cups
Description
These adorable Cream Cheese Heart Brownie Cups are rich, chocolaty, and perfectly fudgy in every bite. Thanks to a simple brownie mix, they come together with minimal effort, while the creamy cheesecake hearts in the center add a delightful touch of tangy sweetness. Delicious and easy to make, they’re a perfect Valentine’s Day treat—or anytime you want to share the love.
Ingredients
Special equipment:
Instructions
- Preheat the oven to 350° F.
- In a mixing bowl, combine the cream cheese and sugar, then whisk with a small wire whisk until light and fluffy. In a separate bowl, beat the egg well, then measure out 1 tablespoon and add it to the cream cheese mixture, reserving the remaining egg for another use. Add the vanilla and a generous 1/8 teaspoon of food coloring (or enough to reach the desired shade). Whisk until fully blended.
- Grease 12 mini heart-shaped molds (about 1.2” W x 1.1” L x .4” D) with a neutral oil or butter, then place them on a baking sheet. Fill each mold with the cheesecake batter.
- Bake for 9–11 minutes, until the cheesecakes are puffed and the tops are set. Allow them to cool for 10 minutes, then transfer the molds to a room-temperature tray and refrigerate for at least 10 minutes to speed up cooling.
- Prepare the brownie batter according to the package instructions. Spray 12 muffin wells with cooking spray, then fill each well two-thirds full with batter. Bake for 12 minutes, or until the outer half of the edges are crusty.
- Unmold the heart-shaped cheesecakes and place them on parchment paper (to prevent sticking) before removing the brownies from the oven. Then promptly press the cheesecake hearts into the centers of the brownies. Return the brownies to the oven.
- Bake for an additional 12-14 minutes, or until a toothpick inserted into the brownie closest to the center, with the tip angled toward the center, comes out with a few moist brownie crumbs and no visible wet batter.
- Cool the brownies for 10 minutes, then remove them from the pan and let them cool completely on a wire rack.
- Makes 12 servings. Store in the refrigerator for up to 5 days.
If you use larger heart molds, you will need to increase the amount of cheesecake filling accordingly.
To ensure a clean release and prevent breakage, make sure the cheesecakes are thoroughly chilled before unmolding.
If the hearts break easily when you try to unmold, put them in the freezer for 5 minutes.
Note:
- As an alternative to heart-shaped molds, bake the cheesecake in a mini baking pan. Increase the recipe by half to account for waste from cutouts. Whatever pan you choose, fill it with slightly less than 1/2-inch of cheesecake batter. Adjust the cooking time accordingly, as it may differ from that used in heart-shaped molds. After chilling, use a mini heart-shaped cookie cutter (about 1 1/4” wide) to cut out the hearts. Tip: Line the baking pan with parchment paper and spray the cookie cutter for easy removal of the heart cheesecakes. Note that you will need to increase the cheesecake filling by 50% to account for waste from the cutouts.
Disclosure: This site contains paid advertising and affiliate links. In Good Flavor is a participant in the Amazon Services LLC Associates Program, an affiliate advertising program designed to provide a means for sites to earn advertising fees by advertising and linking to Amazon.com.