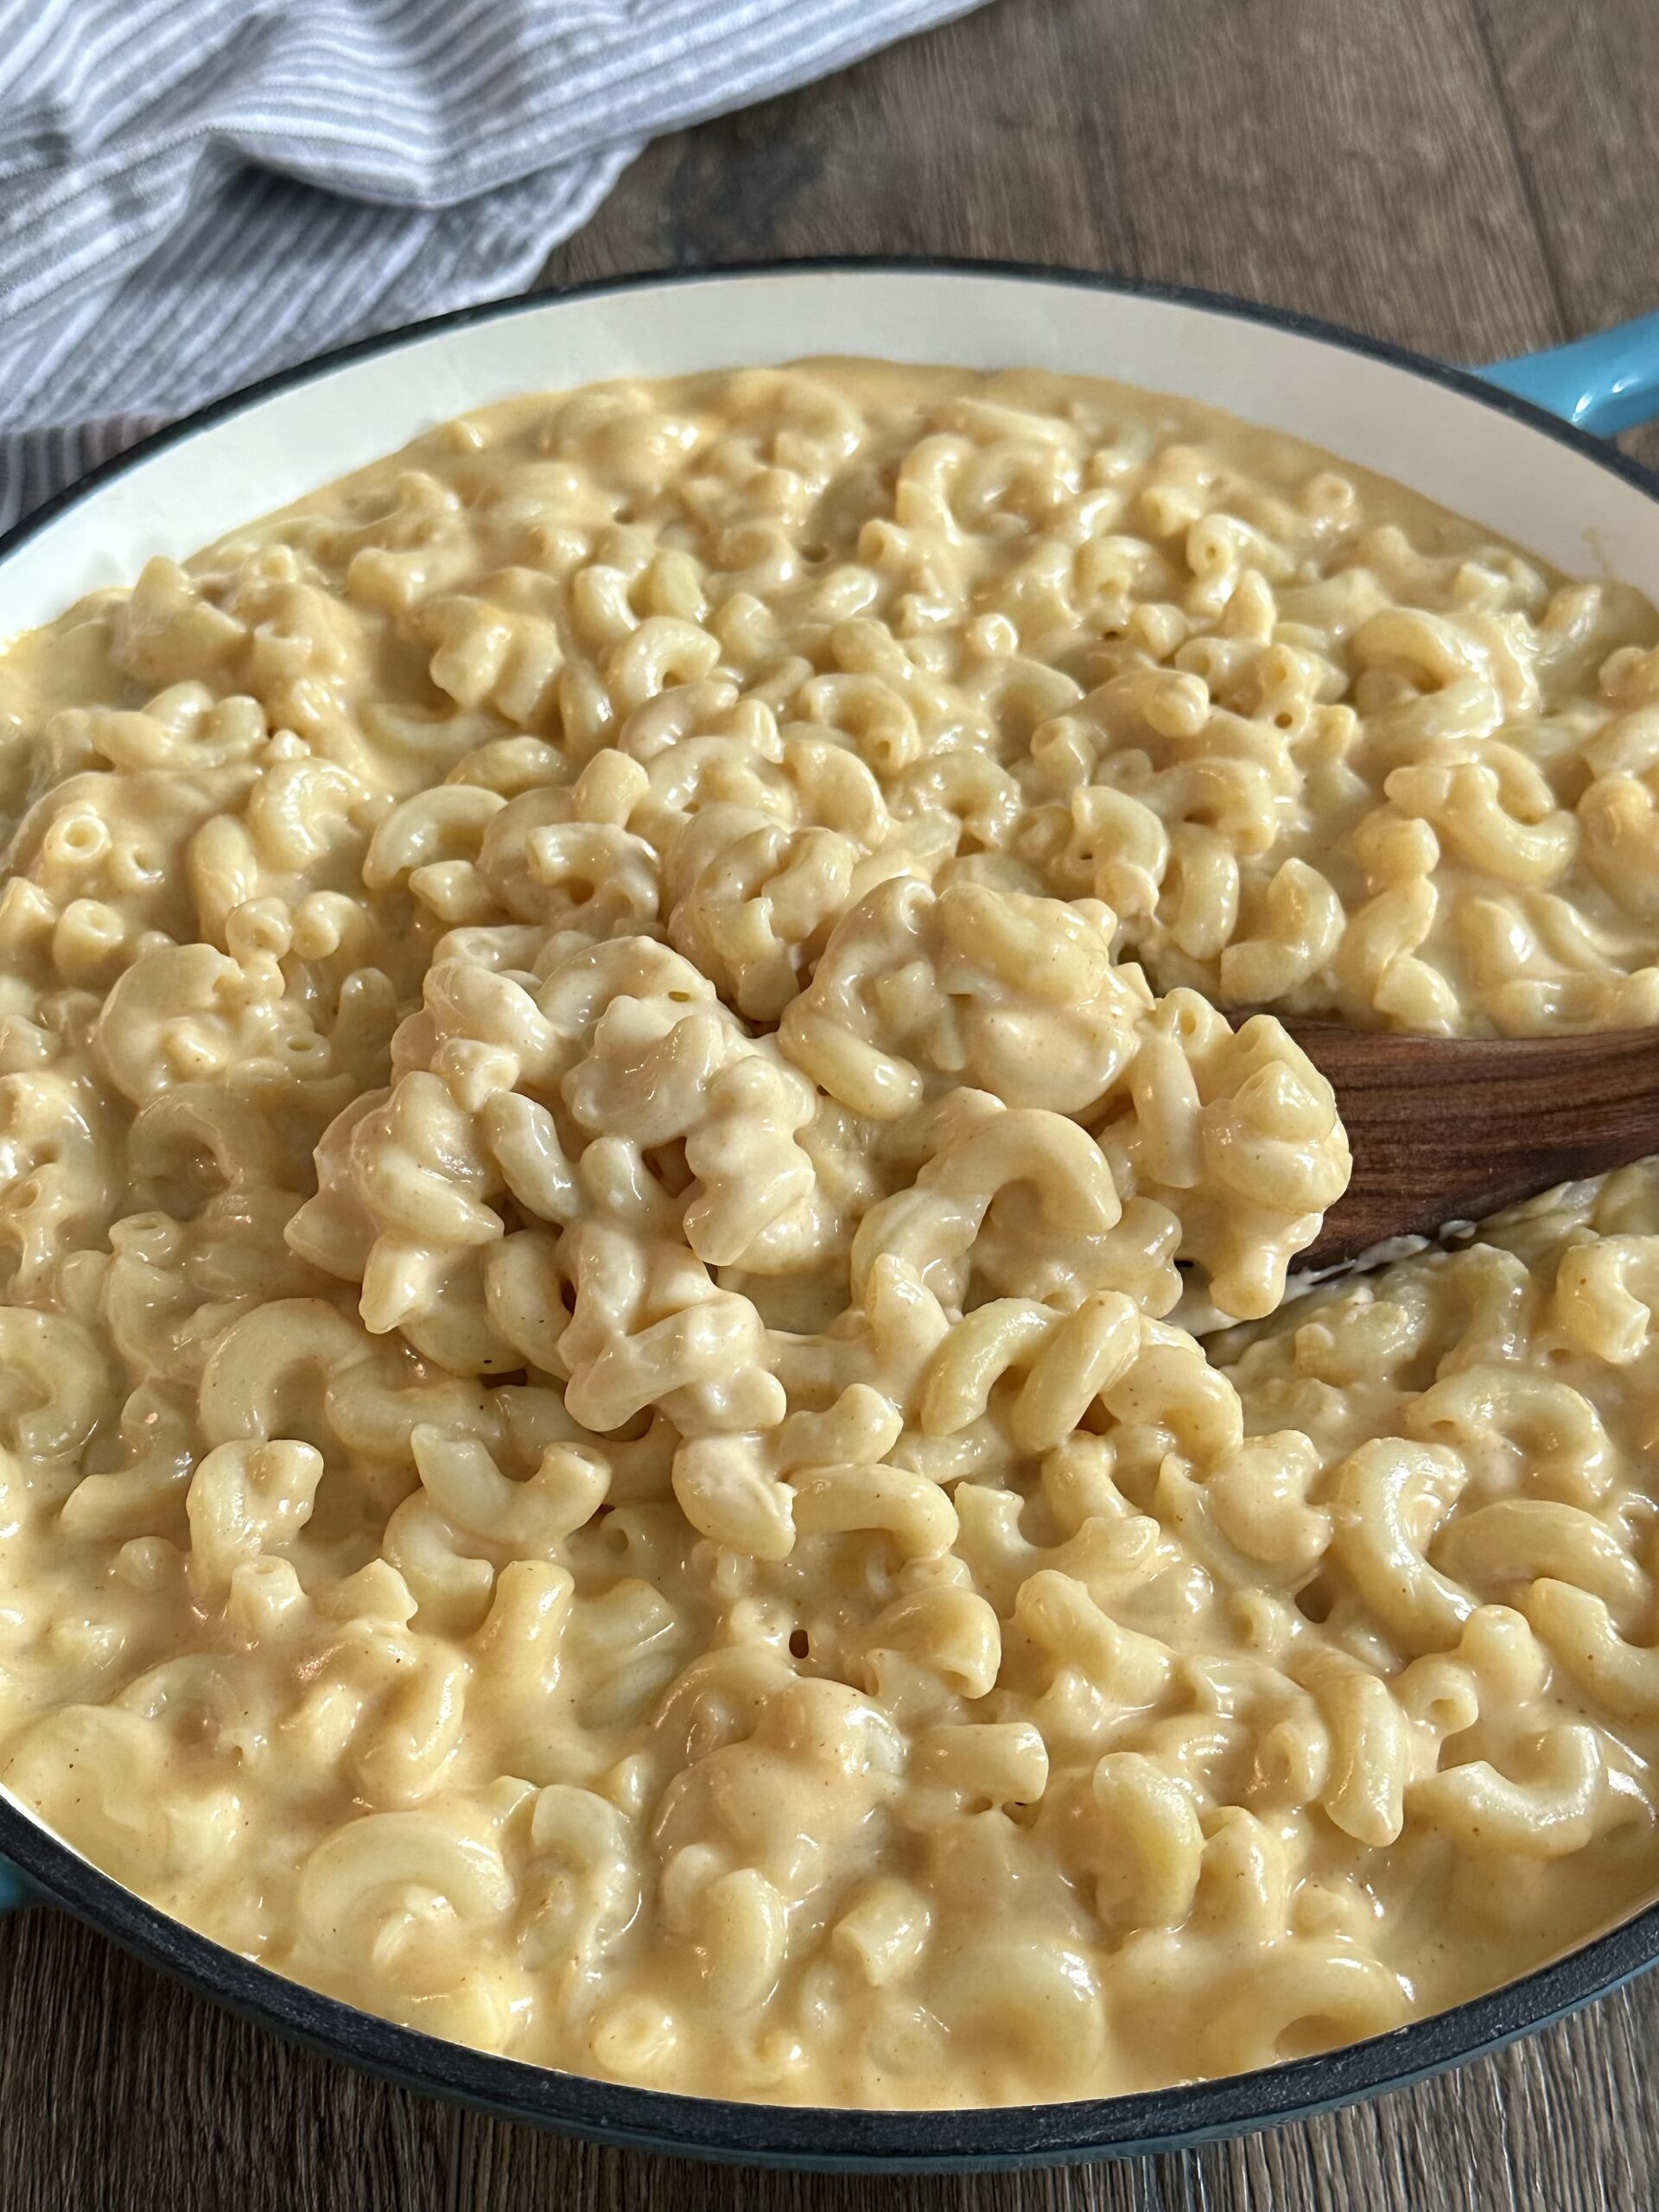
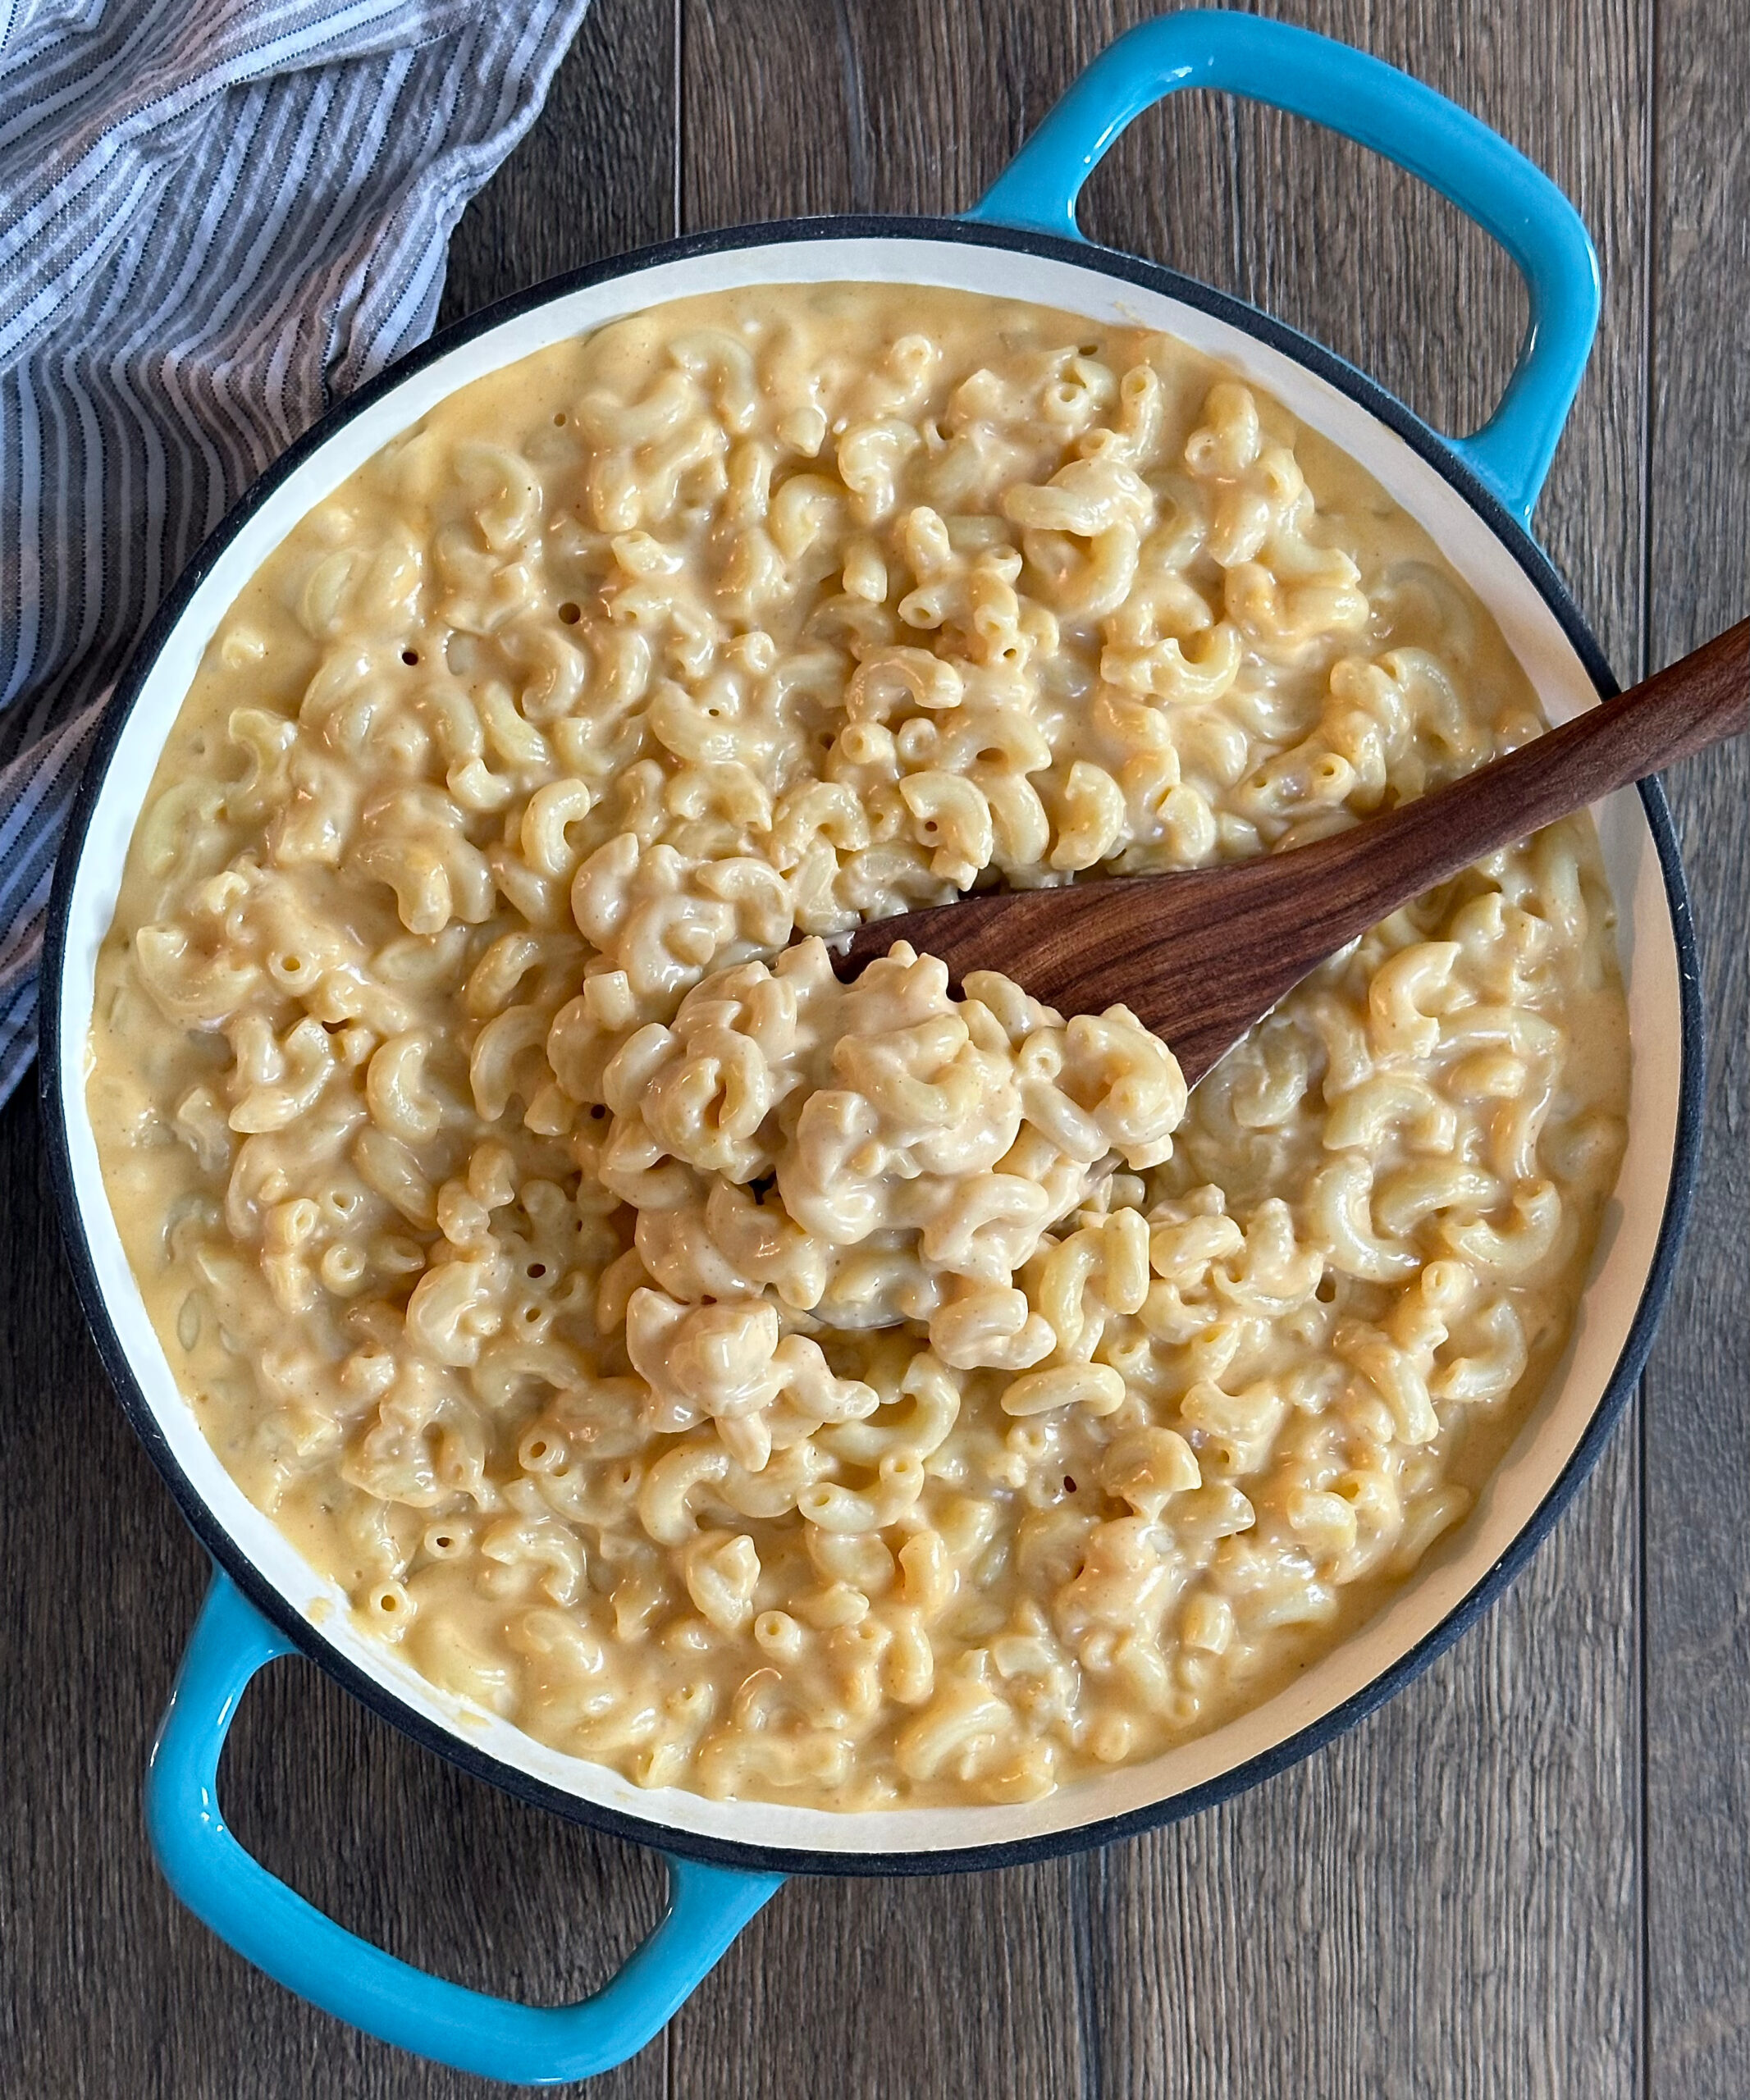
This Creamy Stovetop Mac and Cheese makes for a quick weeknight meal or an easy side dish that everyone will love! It takes less than 30 minutes to prepare and is creamy and comforting! Plus, it’s fully customizable!
Try it with my Slow Roasted BBQ Pork or Fried Chicken Tenders! They are fantastic together!
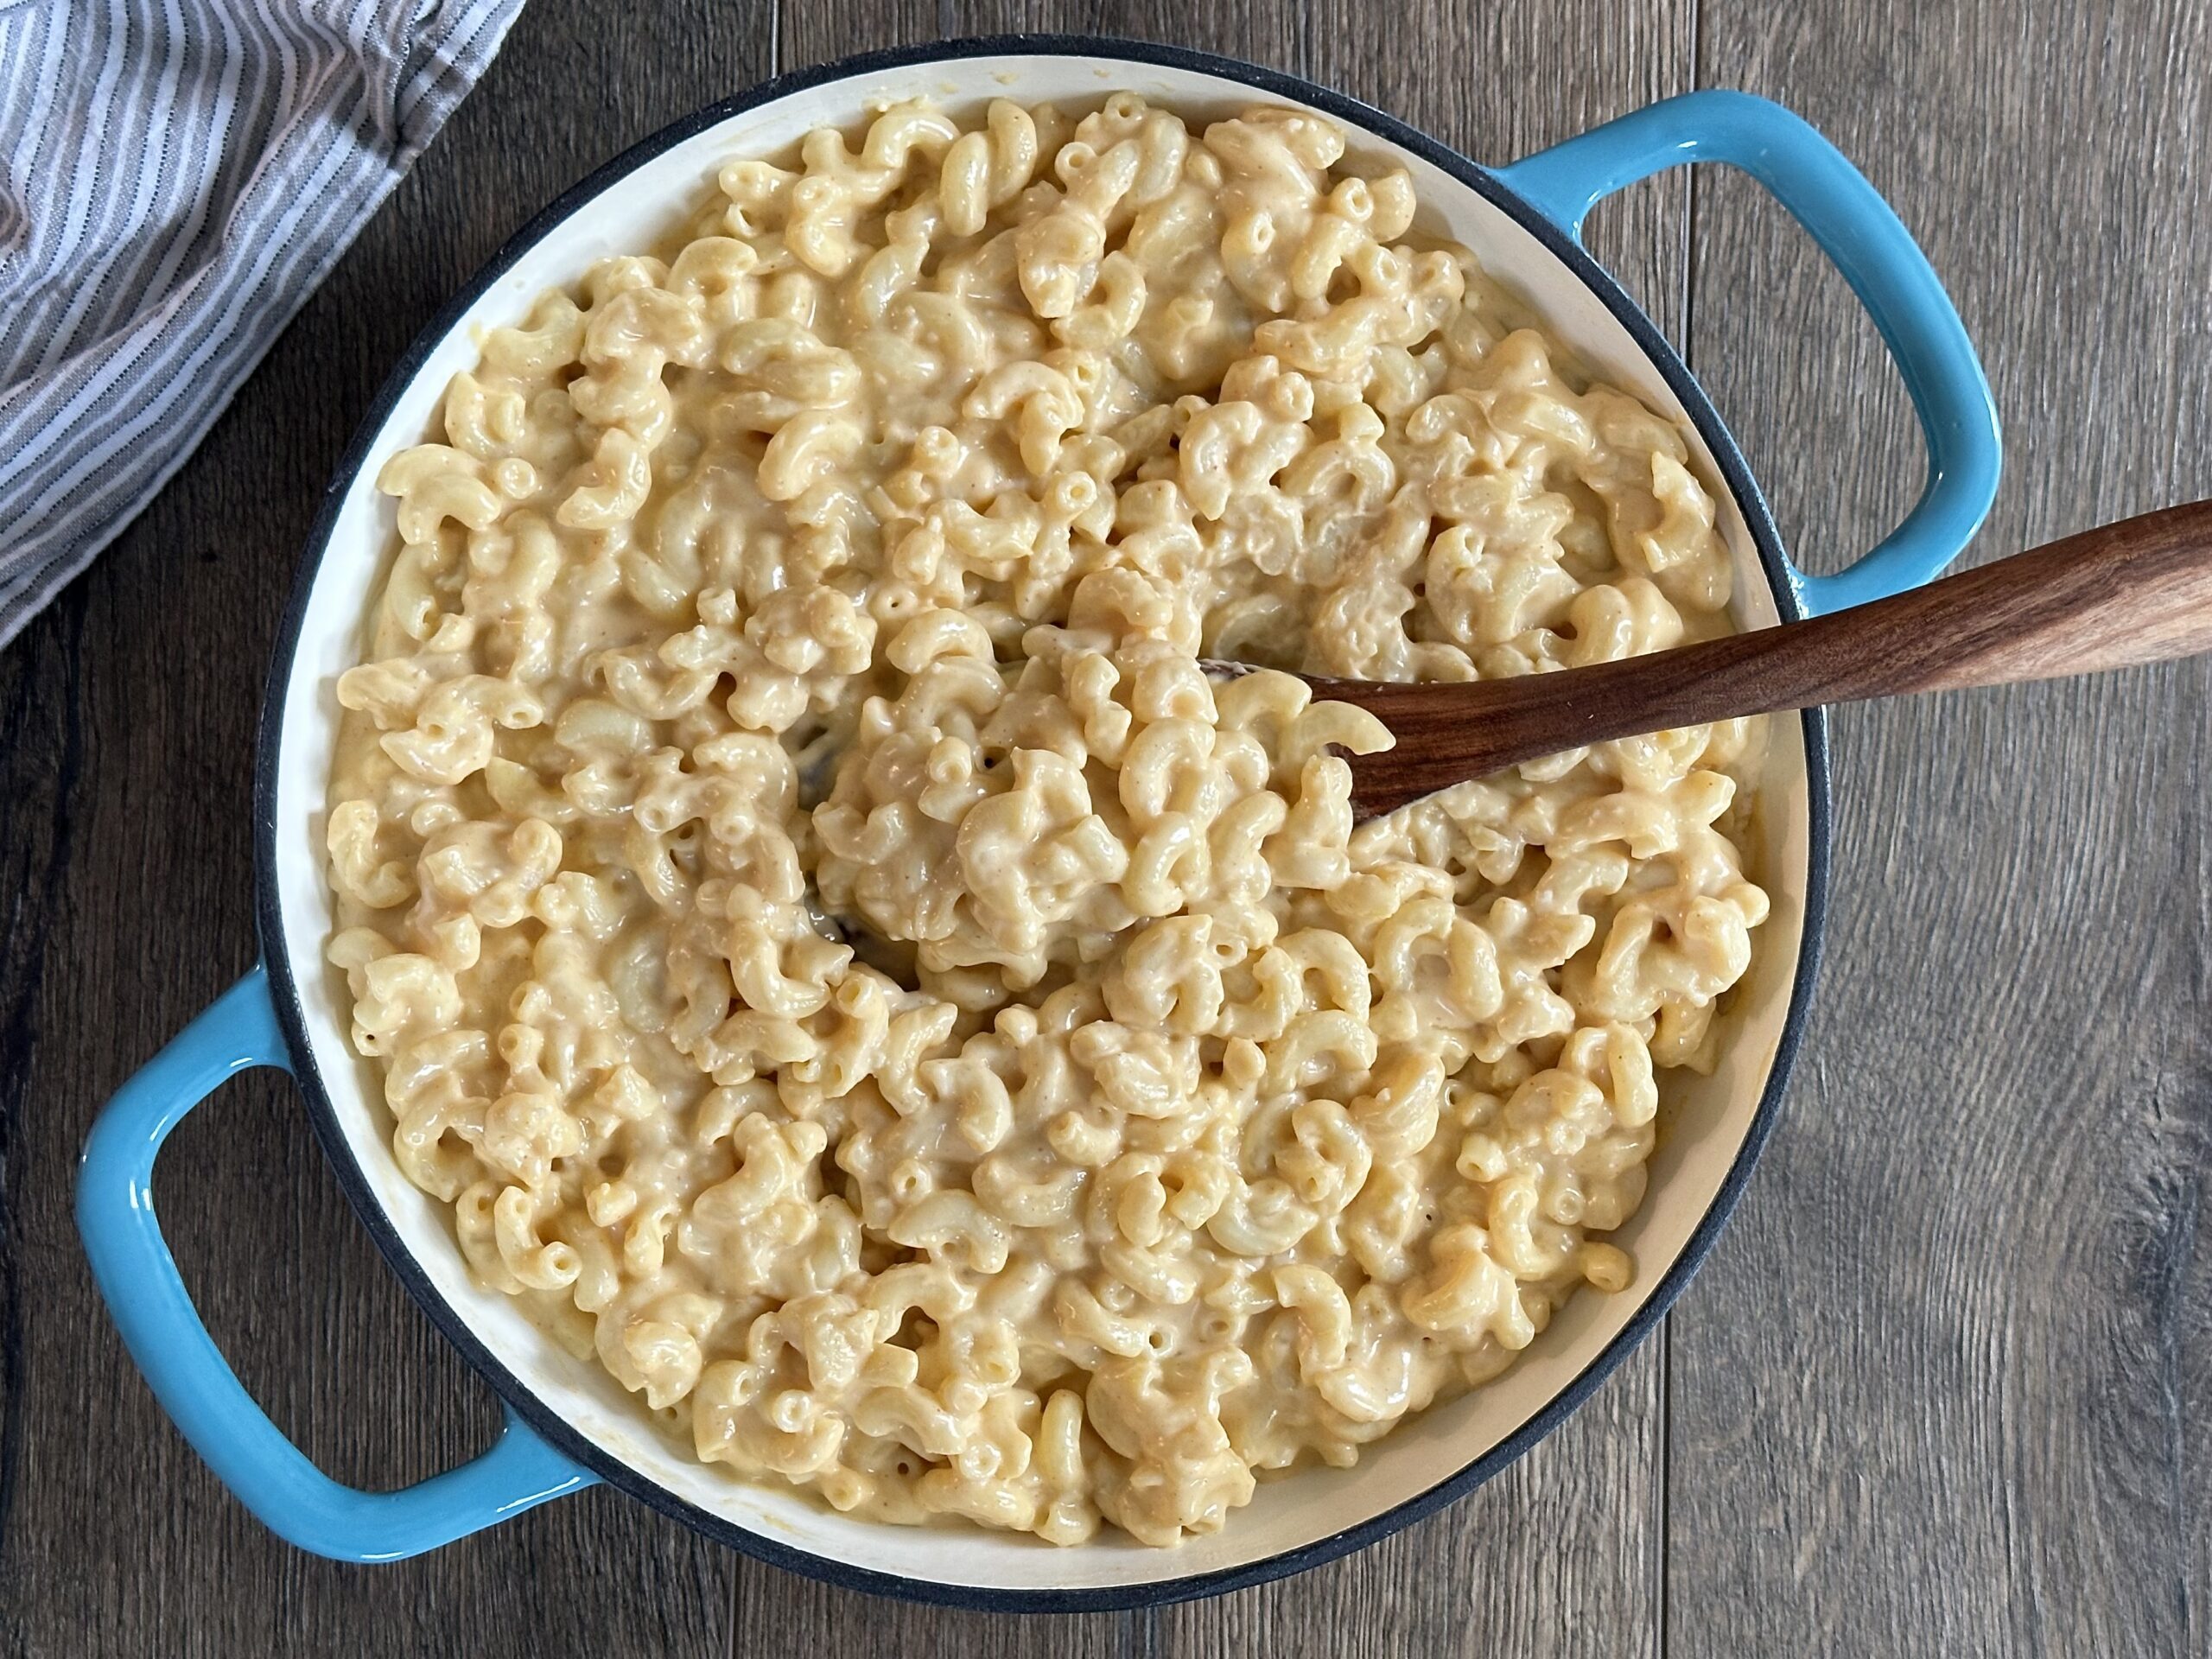
I really enjoy boxed mac and cheese, and my adult kids still love it just as much! But you know what? I find it rewarding and satisfying to whip up the pasta dish from scratch from time to time. And when I do, my kids appreciate it even more!
There are also benefits to making homemade mac and cheese. First, it uses higher-quality ingredients, including real cheese rather than the processed kind found in boxes, which elevates the flavor. Plus, the homemade sauce is creamier and richer! You also get to control the amount of salt and customize the types of cheese. In addition, depending on the types of cheese and dairy products you use, you can make it as decadent as you want!
My stovetop mac and cheese is creamy and luxurious. It is an easy pasta recipe that offers top-quality results and maximum comfort. It can easily be whipped up for an easy weeknight dinner or as a side.
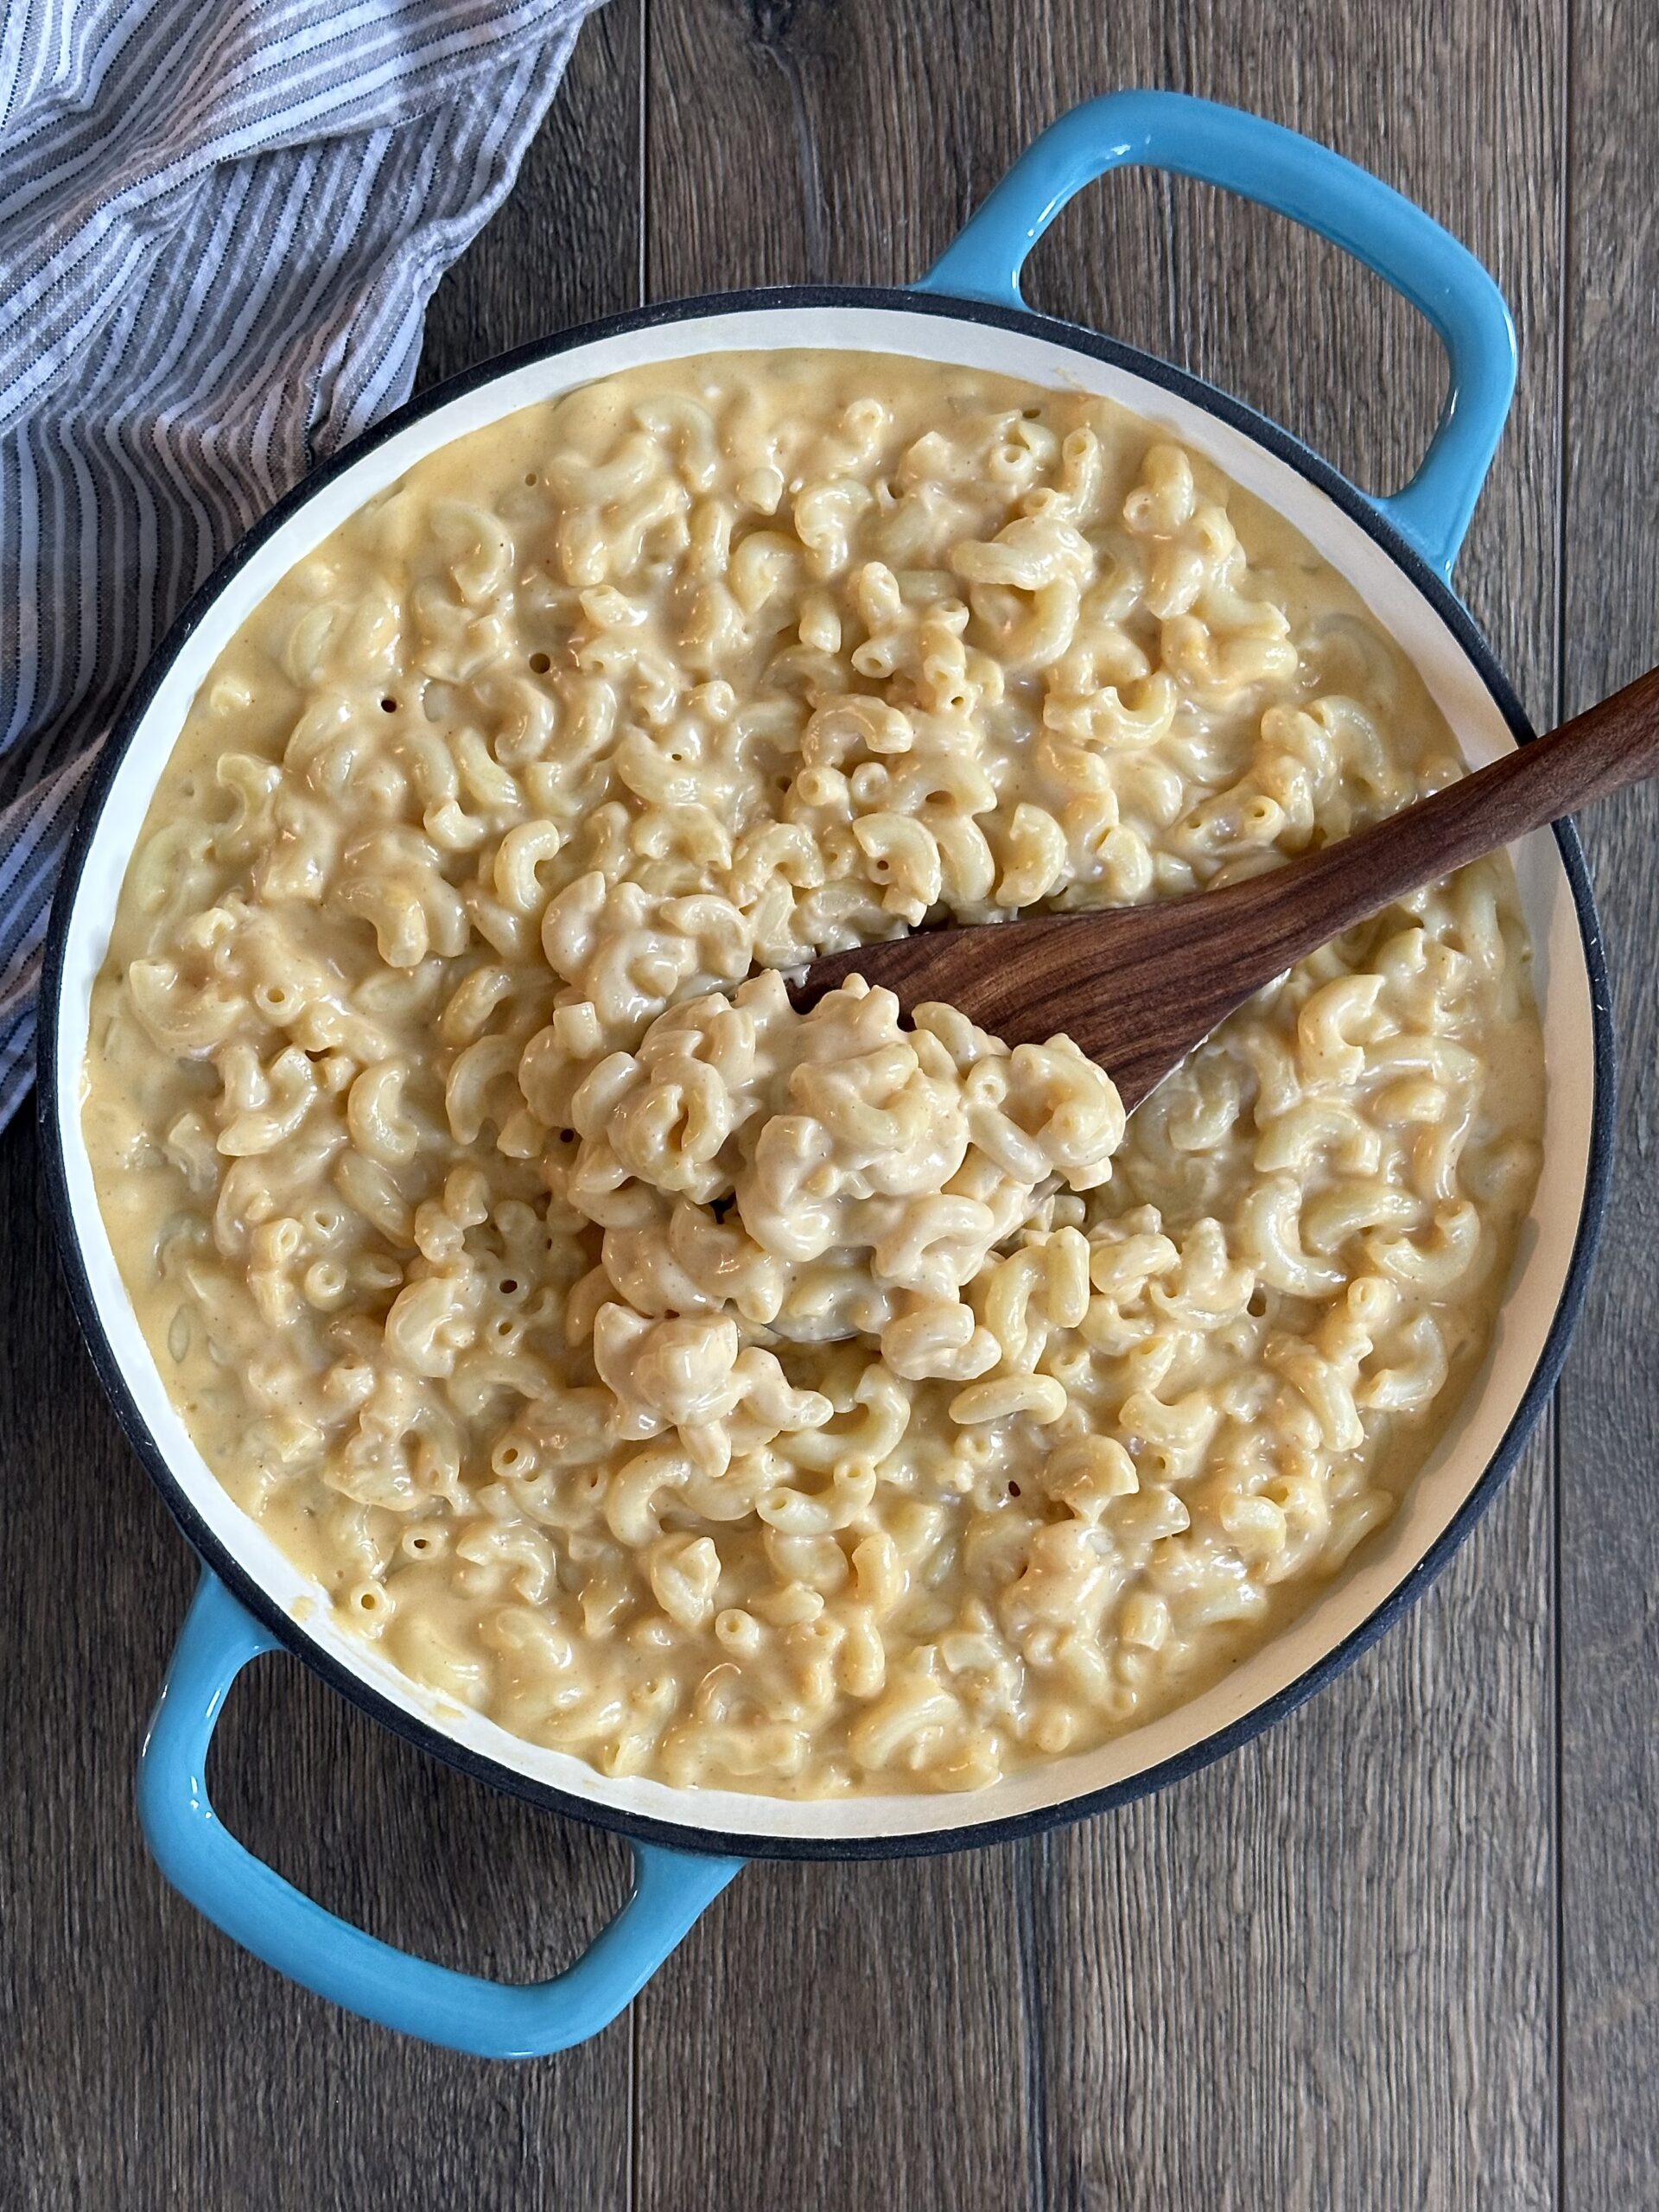
Ingredients needed:
- Elbow mac—classic and traditional. Its curved, tubular shape helps trap in the creamy cheese sauce.
- Whole milk—to make the base of the cheese sauce. Use full-fat milk for richness. Although you can use low-fat milk, I don’t recommend it. It’s finicky to work within a sauce. Full-fat milk is perfect, but for extra richness and creaminess, I recommend light cream or half-and-half.
- Freshly grated cheese—this recipe uses cheddar, Monterey Jack, and American cheese. I know, I know. American cheese isn’t “real” cheese, but I like its meltability. I ask for it in block format at the deli counter, but you can use slices. Just cut or tear them into small pieces.
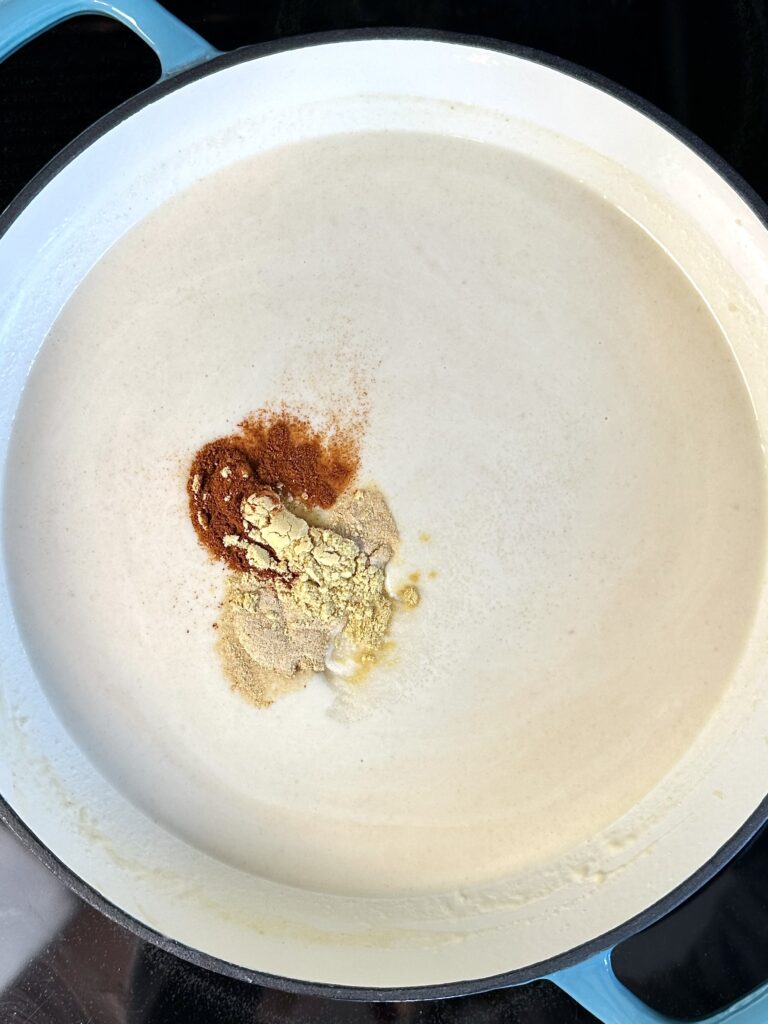
- Dry seasoning—salt, black pepper, ground mustard, garlic powder, and paprika. This combination imparts a balance of flavor without overpowering the cheese sauce.
- Unsalted Butter—used for making the roux and adding richness. It’s unsalted, so you can control the saltiness. You can always add more salt if needed.
- All-purpose flour—for making the roux to thicken the cheese sauce.
Recipe highlights:
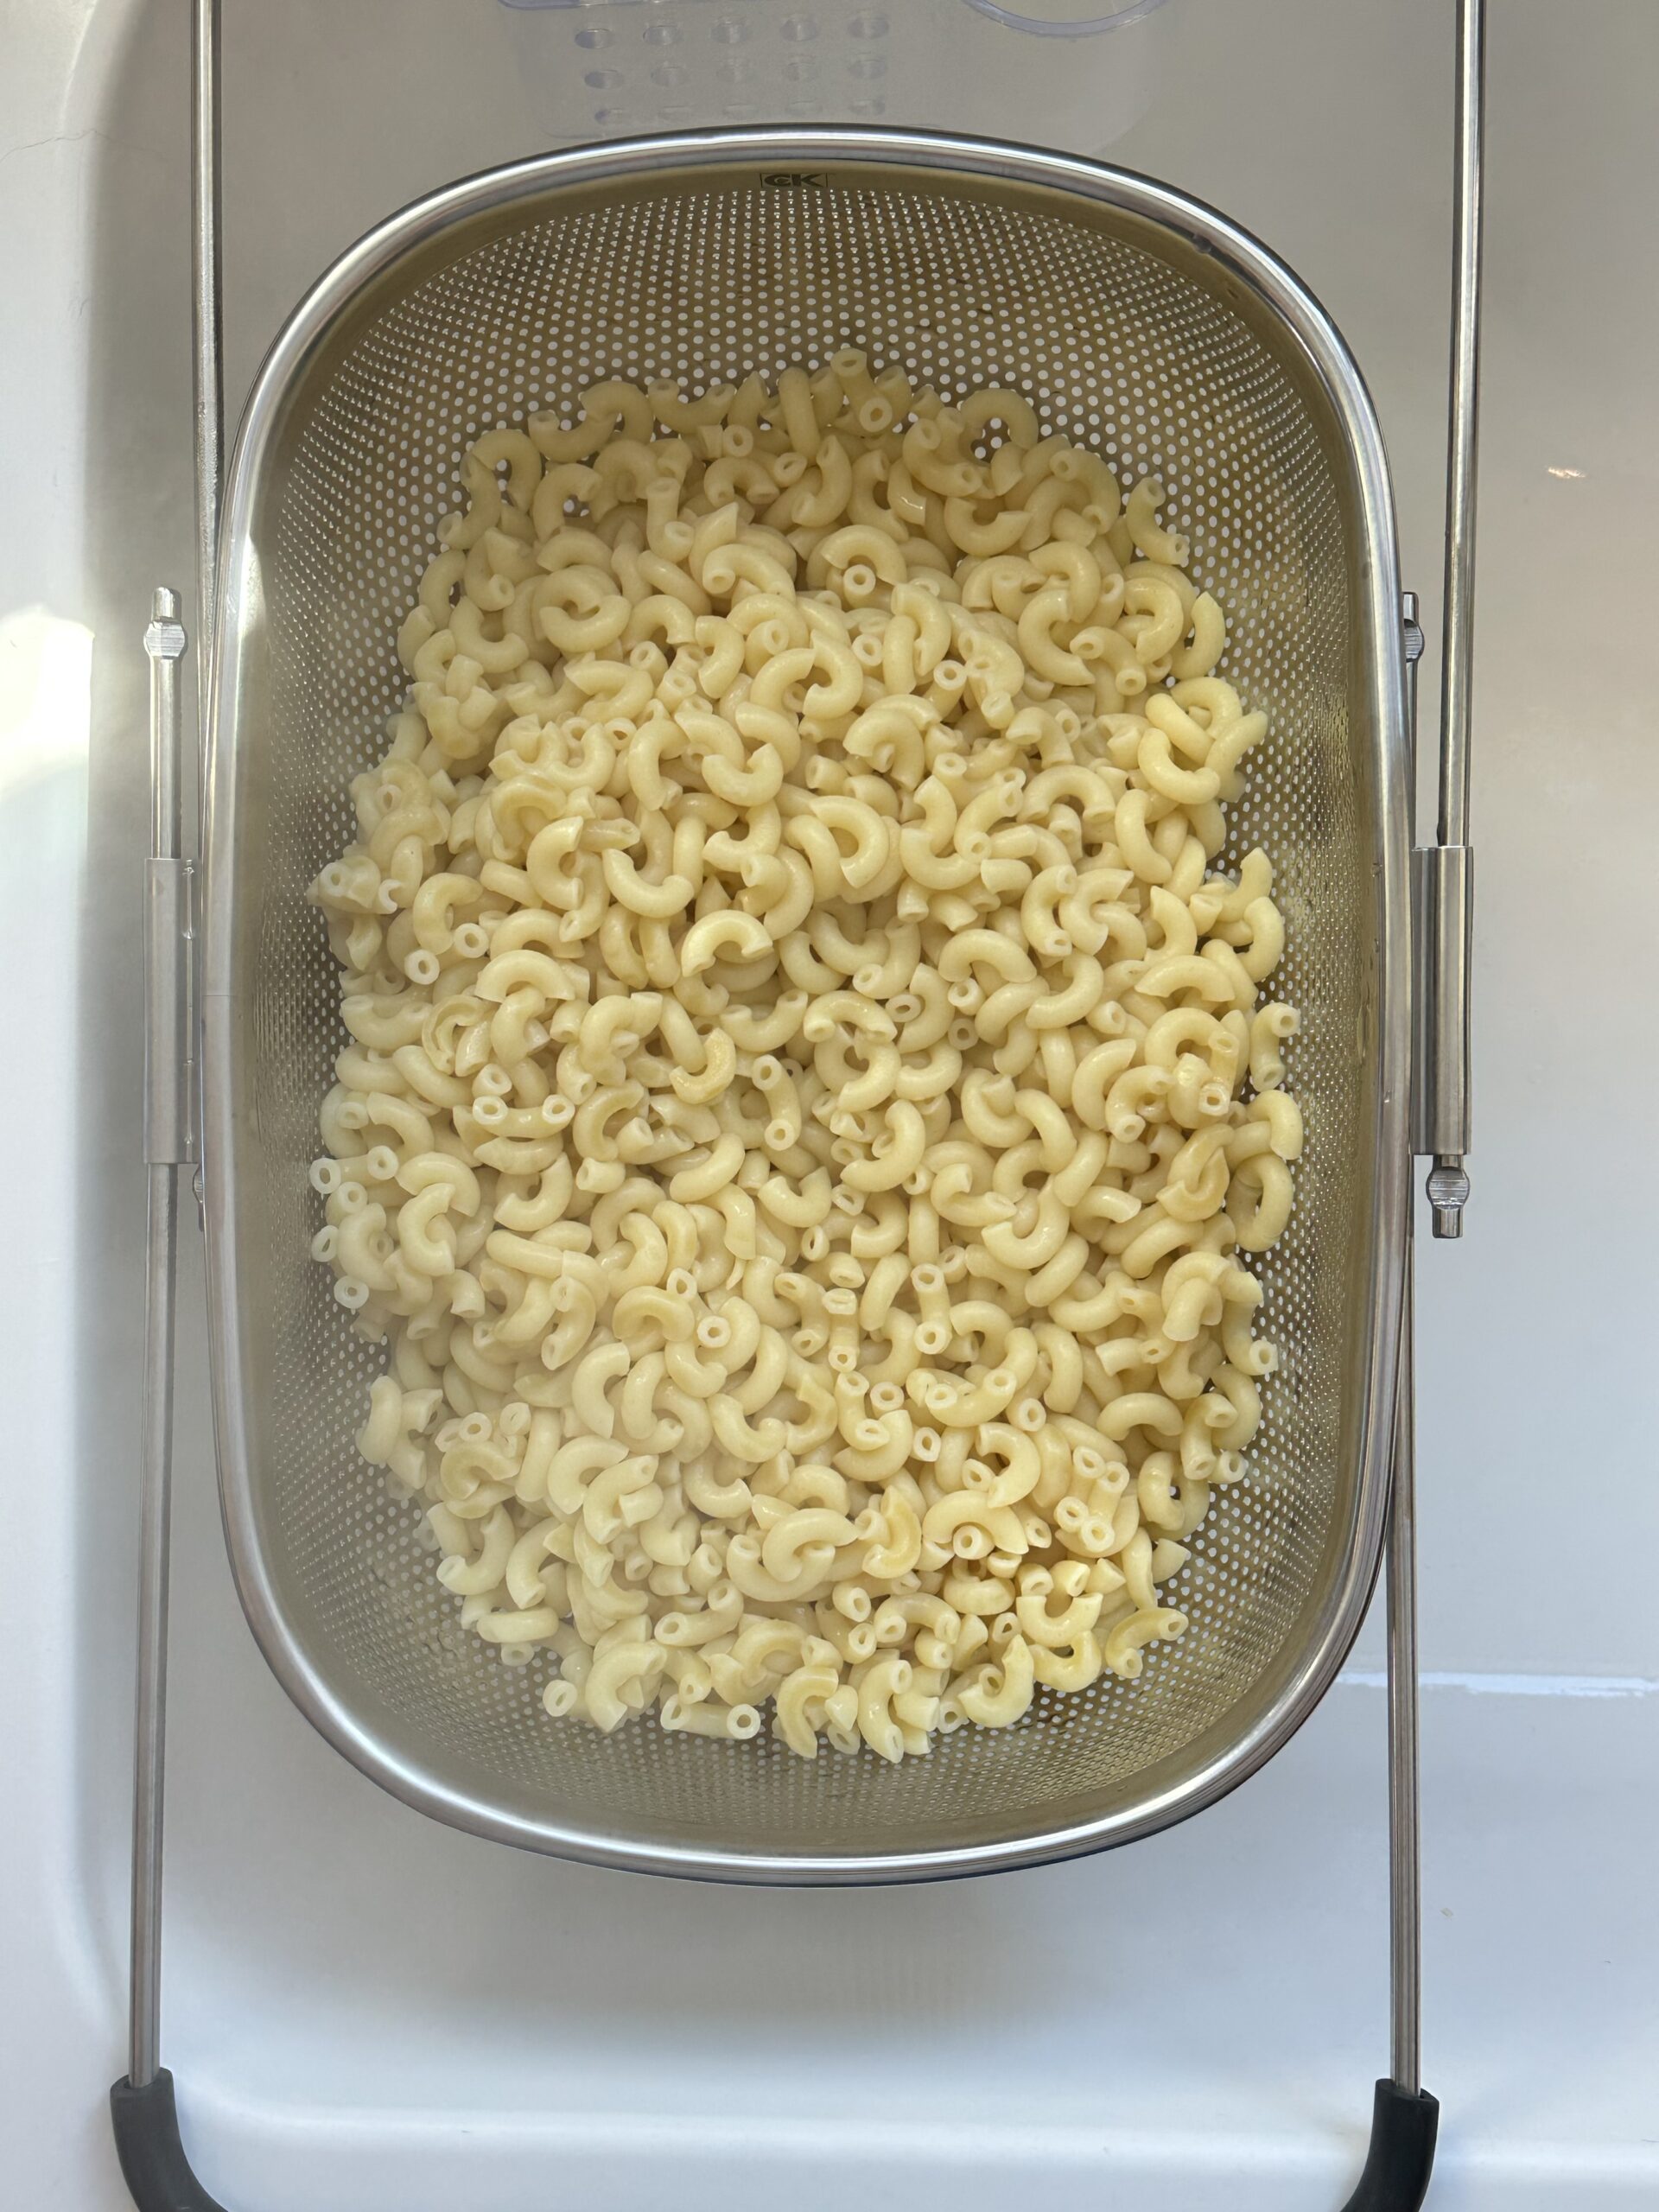
- Cook the pasta according to the package directions. Drain and set aside.
- In the meantime, shred the cheese and make the sauce.
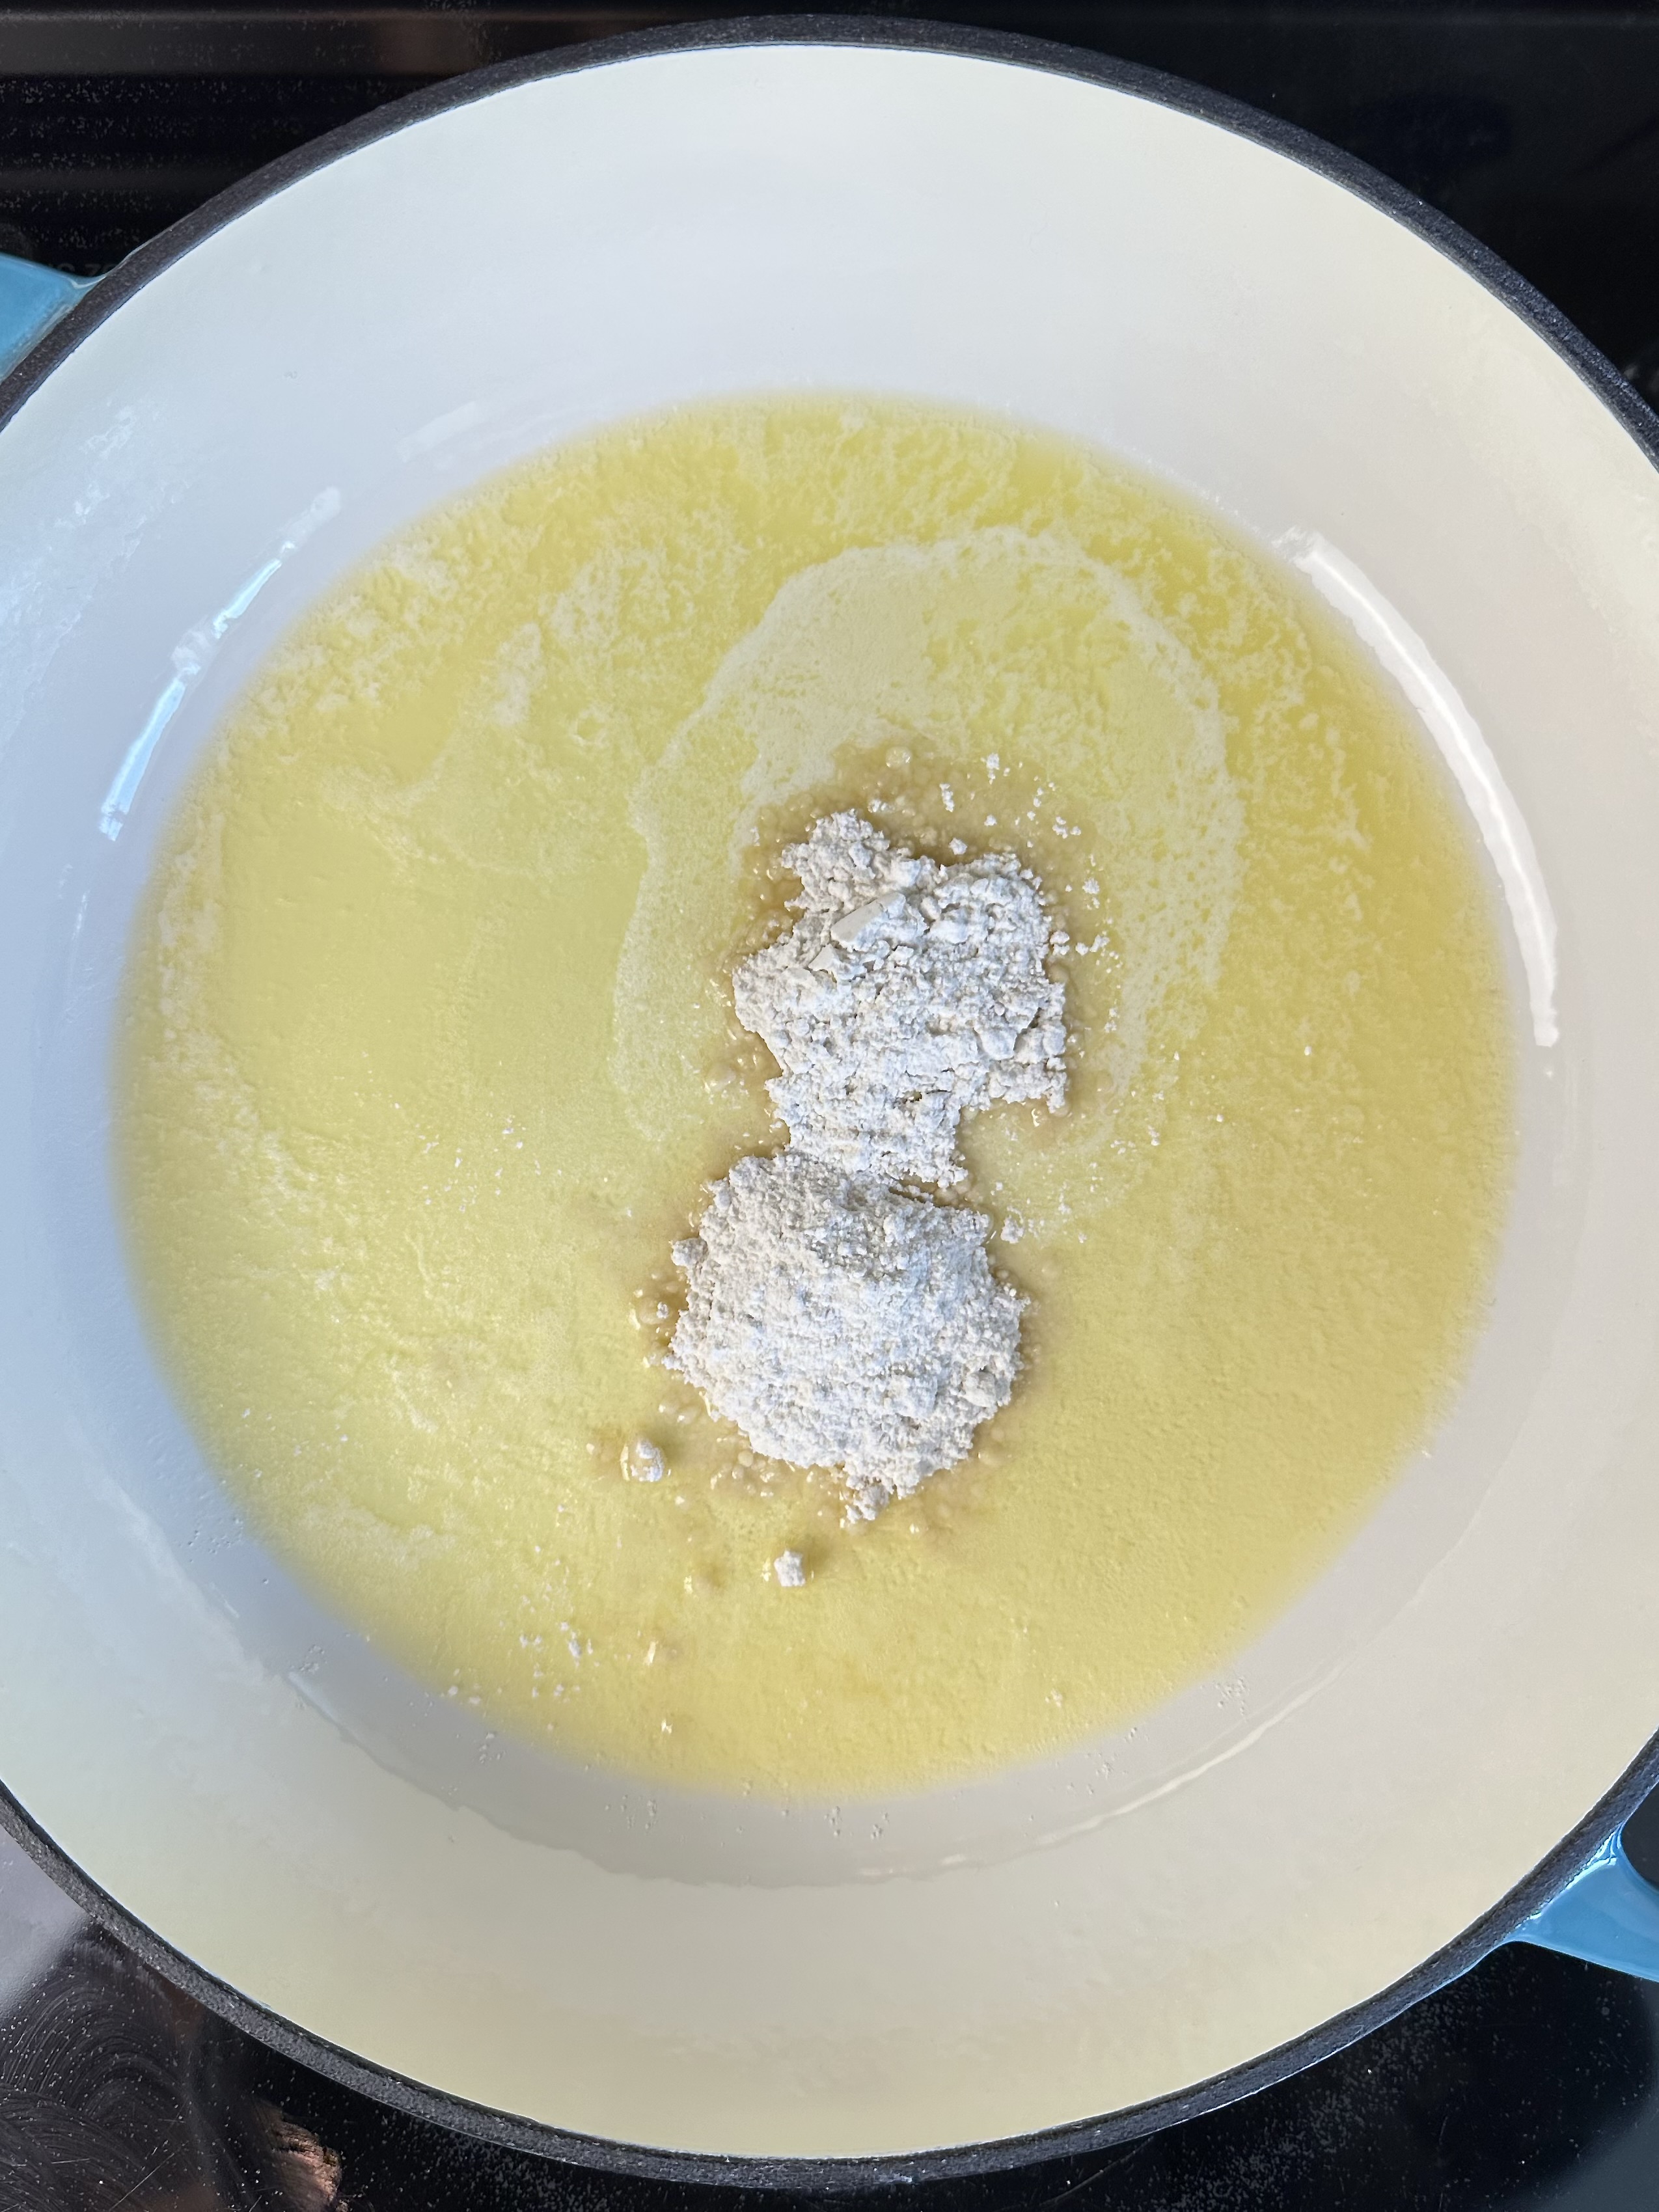
- To make the roux, melt the butter over medium heat and add the flour, whisking constantly for 2 minutes.
- SLOWLY stream in the milk, whisking constantly until smooth and slightly thickened. Reduce the heat to low.
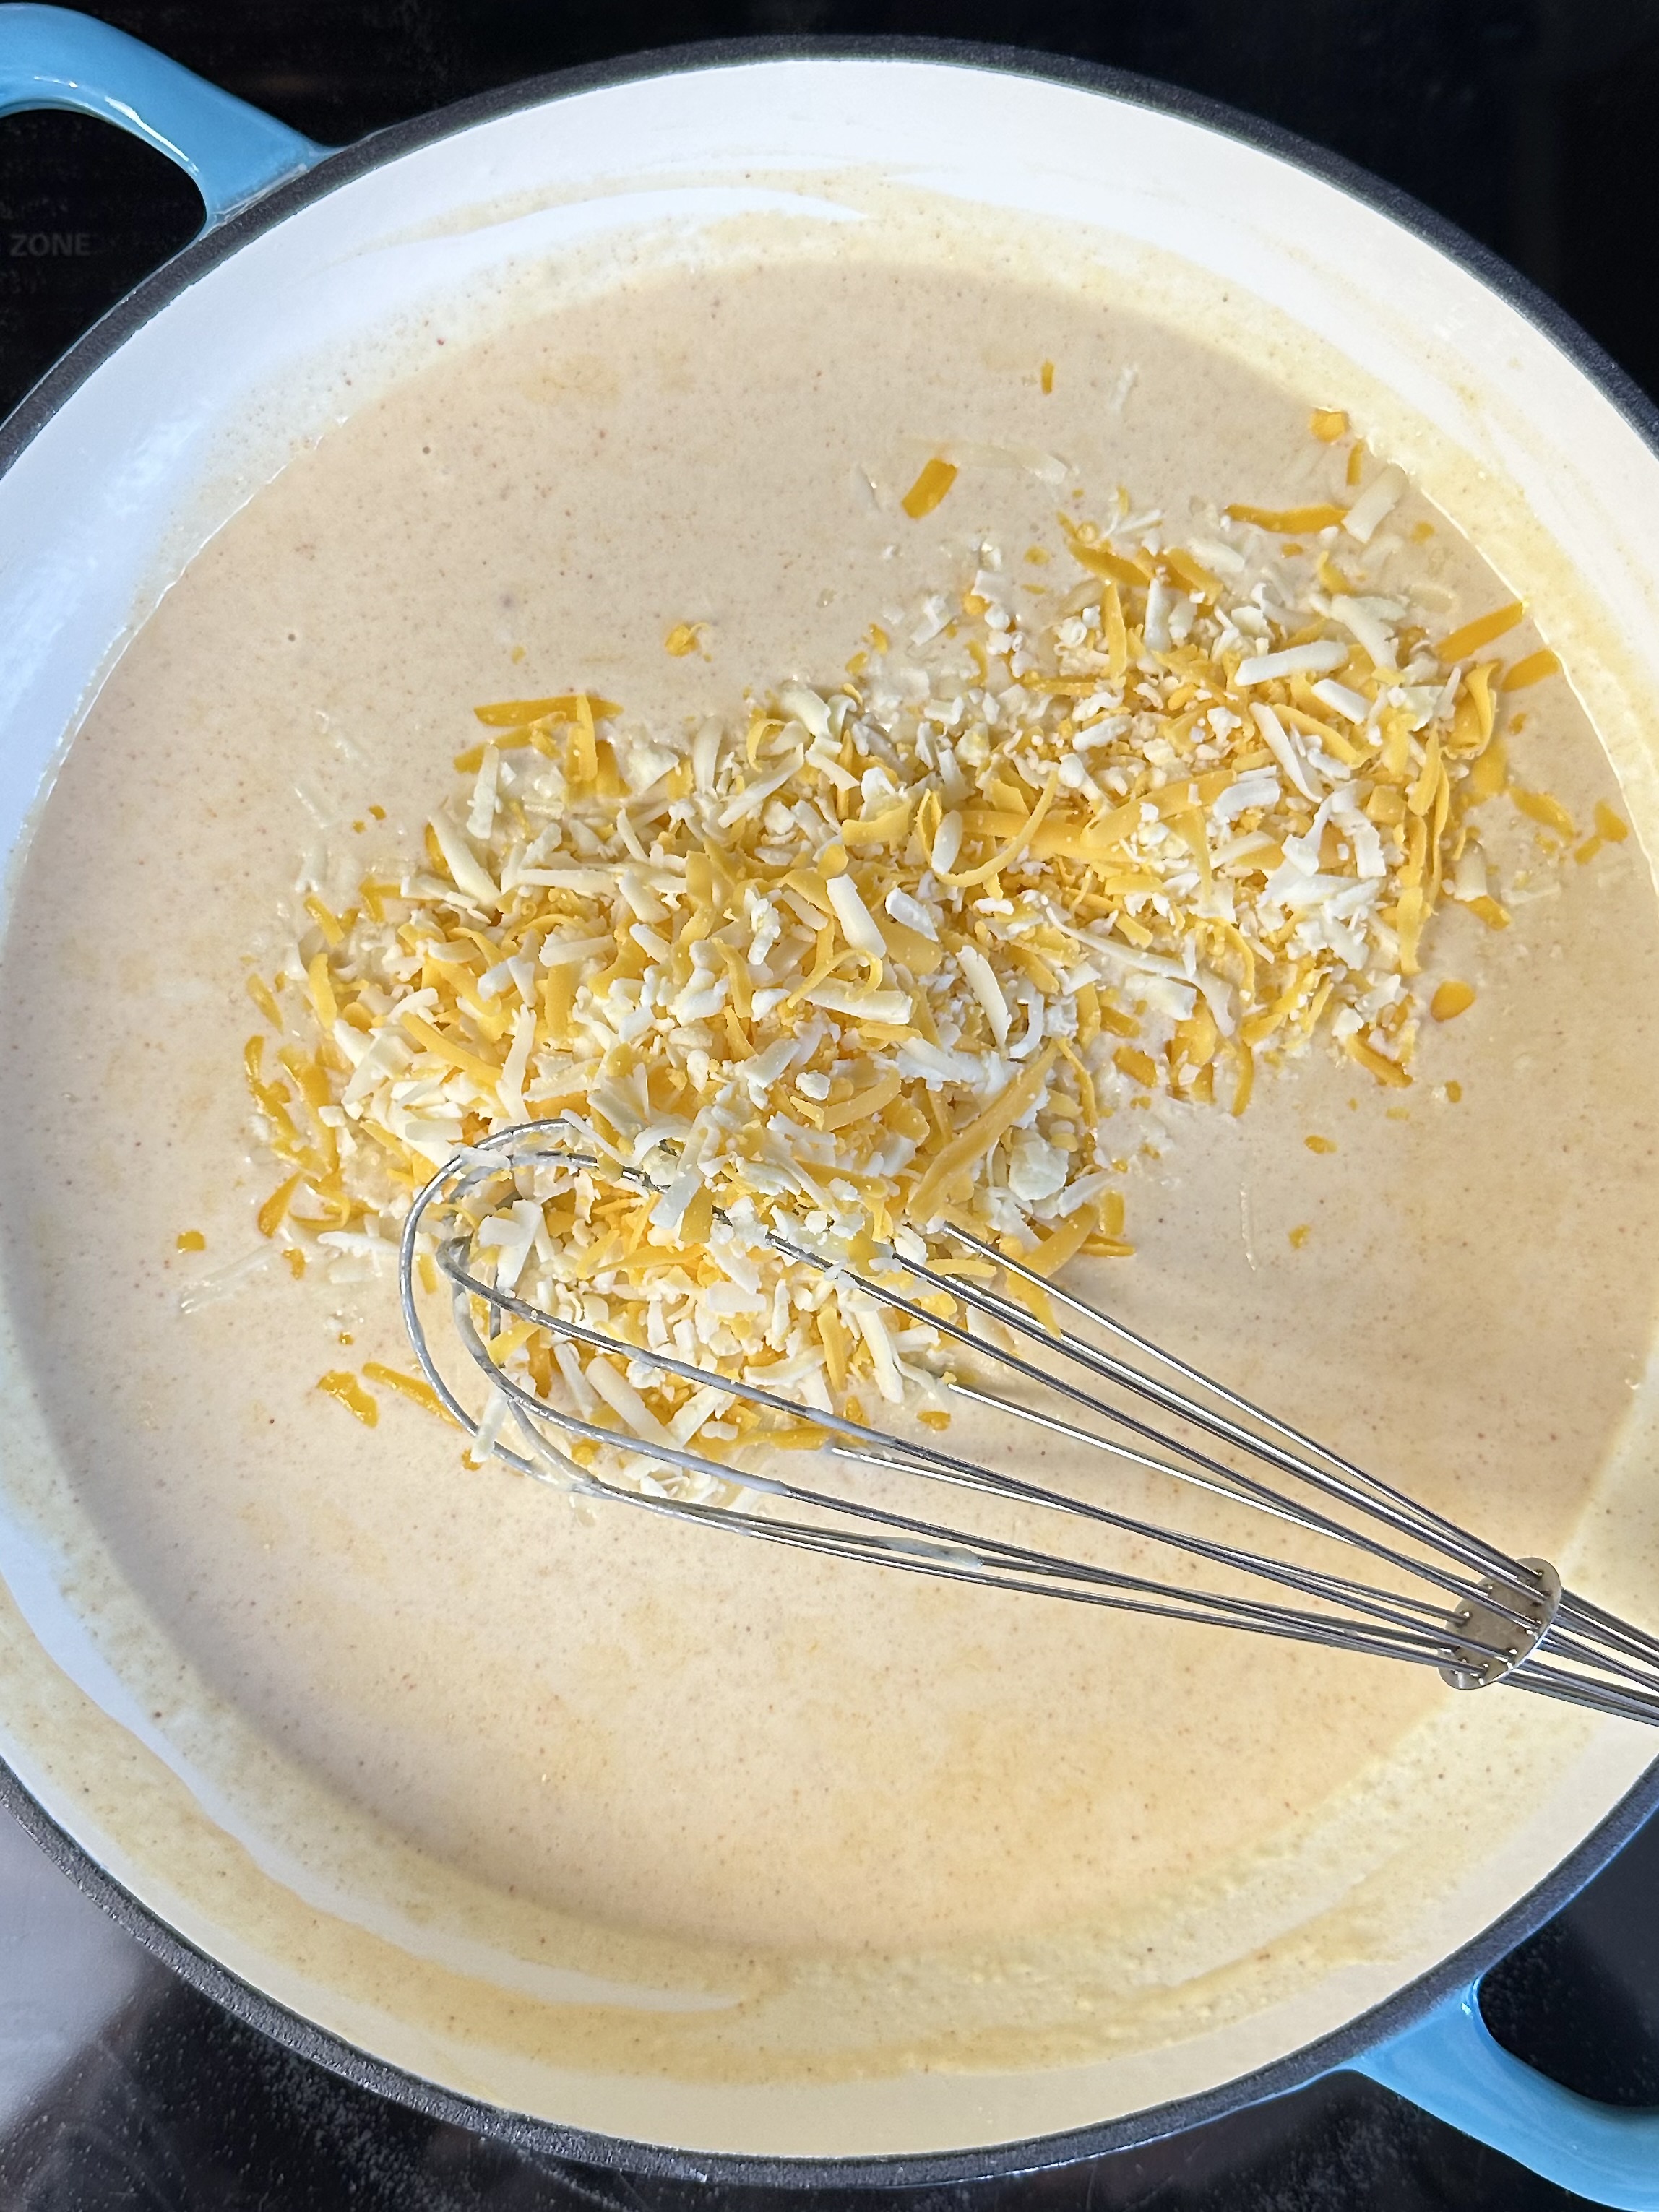
- Add the seasoning and stir to combine. Add the cheese, one cup at a time. Stir until melted. Continue adding and stirring until the mixture is creamy.
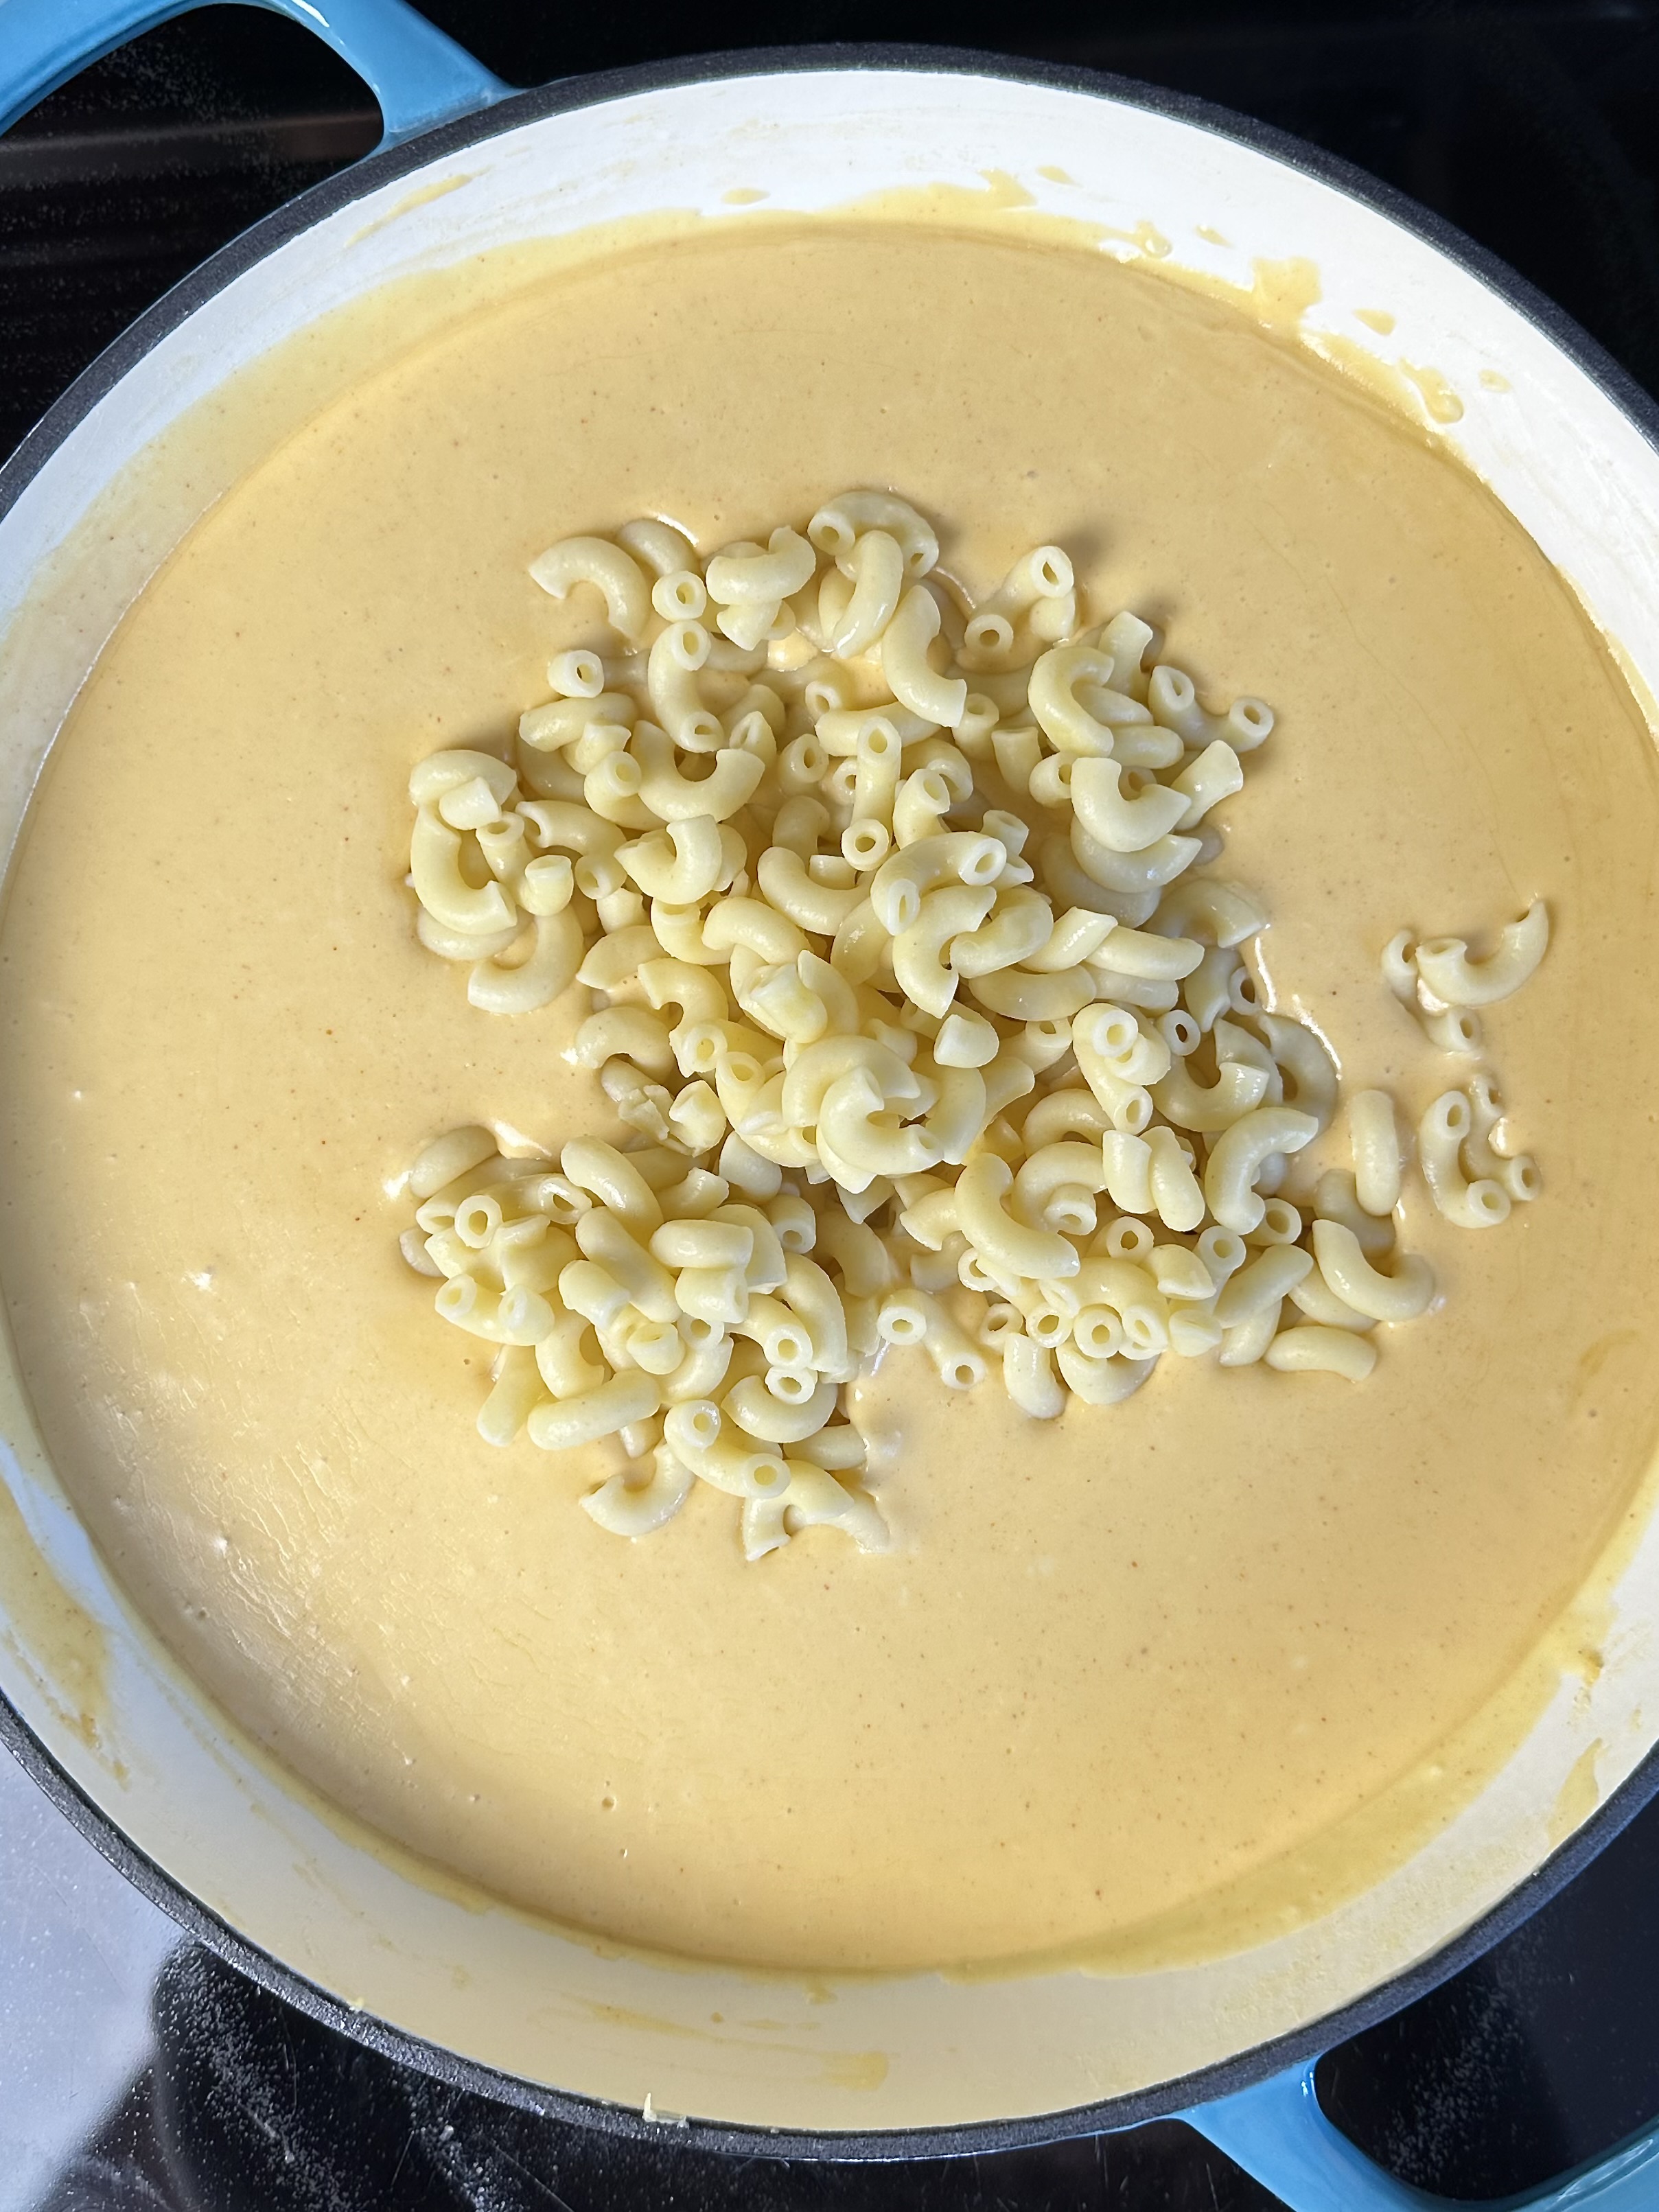
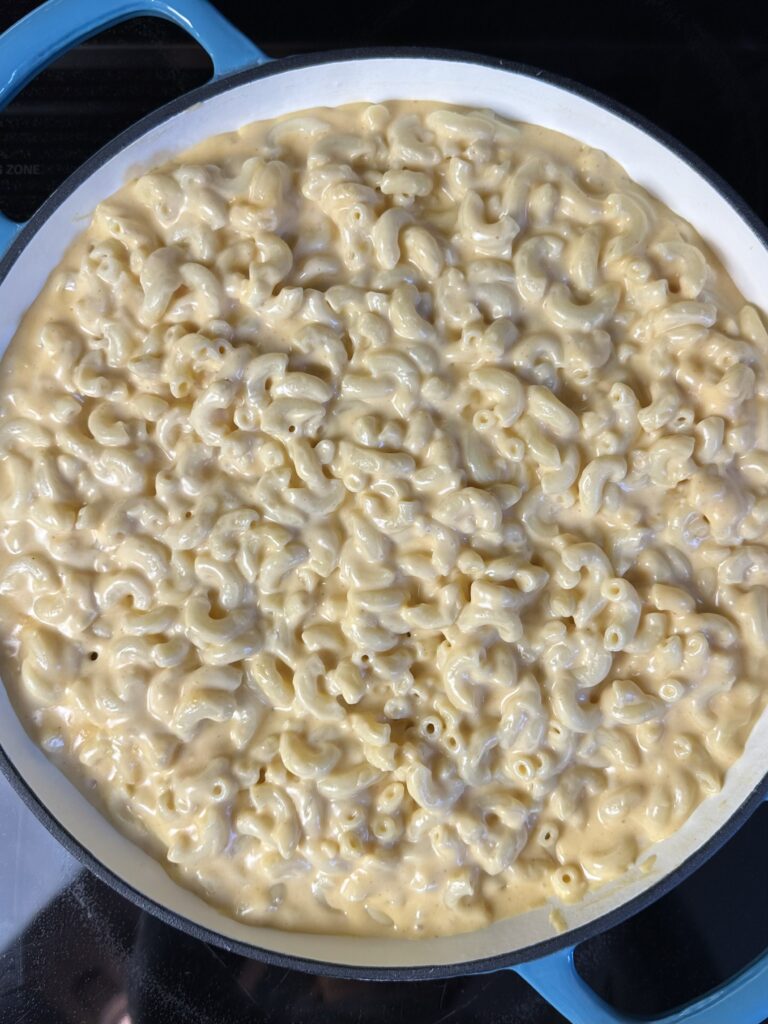
- Add the drained pasta. Stir to combine. Cook until the pasta is heated through. Serve!
- Detailed instructions are in the recipe card below.
How to avoid grainy and curdled cheese sauce?
The sauce is really easy to make, but follow a few basic rules to ensure the creamiest results:
- Cook the roux over medium heat, no hotter, whisking constantly for at least two minutes. This allows the flour to dissolve into the butter and prevents the sauce from developing a grainy texture and floury taste.
- Use room-temperature cheese and milk to avoid clumping and a grainy texture.
- Use full-fat milk, light cream, or half-and-half. The higher fat content makes the milk less likely to separate when exposed to heat. Lower-fat milk can separate more easily.
- For the creamiest sauce, use freshly grated cheese. Packaged cheese contains anti-caking agents that prevent the cheese from clumping. They also hinder the cheese’s ability to melt smoothly.
- Add milk gradually, and don’t let the sauce boil. Boiling can cause the solids in the milk to separate, creating a grainy sauce. It can also make the cheese break down, resulting in curdling and an oily texture.
How to customize:
While this stovetop mac and cheese recipe creates perfectly creamy, classic mac and cheese, feel free to swap out ingredients to your liking. If you want to fortify this cheesy pasta with add-ons, go right ahead. Want to change the pasta? You can do that too! This recipe uses cheddar, Monterey Jack, and American cheese, but these can be substituted with other varieties of cheese, too!
Here are some substitution ideas:
- Add cooked chicken, shrimp, bacon, or lobster for decadence.
- Add vegetables, such as broccoli, cauliflower, or asparagus. Toss them in during the last few minutes of the pasta’s cooking time.
- Substitute one or all of the cheeses. Try Gruyère, Parmesan, Gouda, Provolone, Fontina, or Brie.
How to store and reheat:
Store the mac and cheese in an airtight container. Refrigerate for 3-4 days or freeze for up to 3 months.
To reheat, add a tiny splash of milk to restore creaminess if the sauce is too thick. Microwave in a microwave-safe bowl until heated through. Or reheat on the stovetop on medium until heated through. Add a splash of milk to restore creaminess if the sauce is too thick.
Defrost frozen mac and cheese overnight before reheating. It cooks more evenly than one from frozen.
Recommended supplies:
(Affiliate links. The products I recommend are either what I use, are on my wish list, or are highly rated.)
- Stockpot for boiling the macaroni. This stainless steel pot has stay cool, ergonomic handles and a tempered glass lid with steam vents. The pot is oven-safe up to 500° F.
- Metal colander for draining the pasta. This 5-quart stainless steel colander is rust-proof and dishwasher-safe.
- 4-quart-sized saute pan for making the sauce. This one is 4.5 quarts and has a high-performance cast construction nonstick coating that is free of PFOA, lead, cadmium, toxic metals, or nanoparticles.
- Wire whisk for making the roux and cheese sauce.
- Silicone spatula for stirring and scraping. This heavy-duty spoonula is heat-resistant up to 500° F.
You Might Also Like:
Creamy Stovetop Mac and Cheese
Description
This Creamy Stovetop Mac and Cheese makes for a quick weeknight meal or an easy side dish that everyone will love! It takes less than 30 minutes to prepare and is creamy and comforting! Plus, it’s fully customizable!
Ingredients
Instructions
- Bring a large pot of heavily salted water to a boil, then cook the pasta according to package directions. Drain and set aside.
- While the water boils and the pasta cooks, grate the cheese and set it aside.
- Next, make the cheese sauce. Melt butter in a large saucepan over medium heat. Add flour and whisk continuously for two minutes.
- SLOWLY stream in milk, whisking continuously. Be careful not to add too quickly because the sauce will break or separate, creating a grainy texture. Continue to whisk until the mixture is creamy, smooth, and slightly thickened.
- Once you see some bubbling, reduce the heat to low. Avoid bringing the milk to a boil. Take the pan off the heat if it does. Add the dry seasoning and stir.
- Add cheese, a cup at a time, stirring until melted. Continue adding the cheese and stirring until the mixture is smooth and creamy.
- Add the drained macaroni. Stir to combine. Cook until the pasta is fully heated. Then serve.
- Makes 6 to 8 servings.
Disclosure: This site contains paid advertising and affiliate links. In Good Flavor is a participant in the Amazon Services LLC Associates Program, an affiliate advertising program designed to provide a means for sites to earn advertising fees by advertising and linking to Amazon.com.

 Cajun Garlic Butter Pasta
 Turkey Taco Mac and Cheese
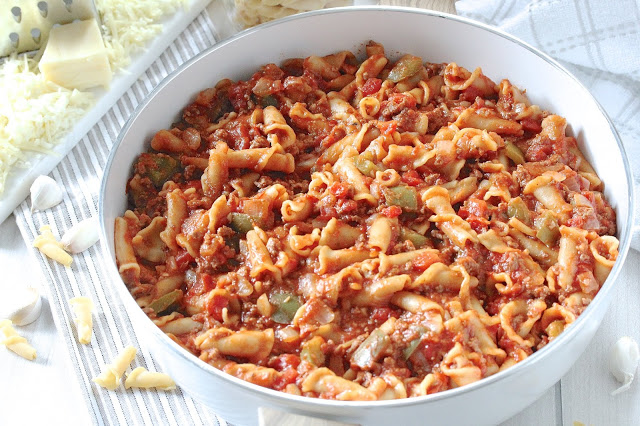 One-Pot Campanelle American Chop Suey
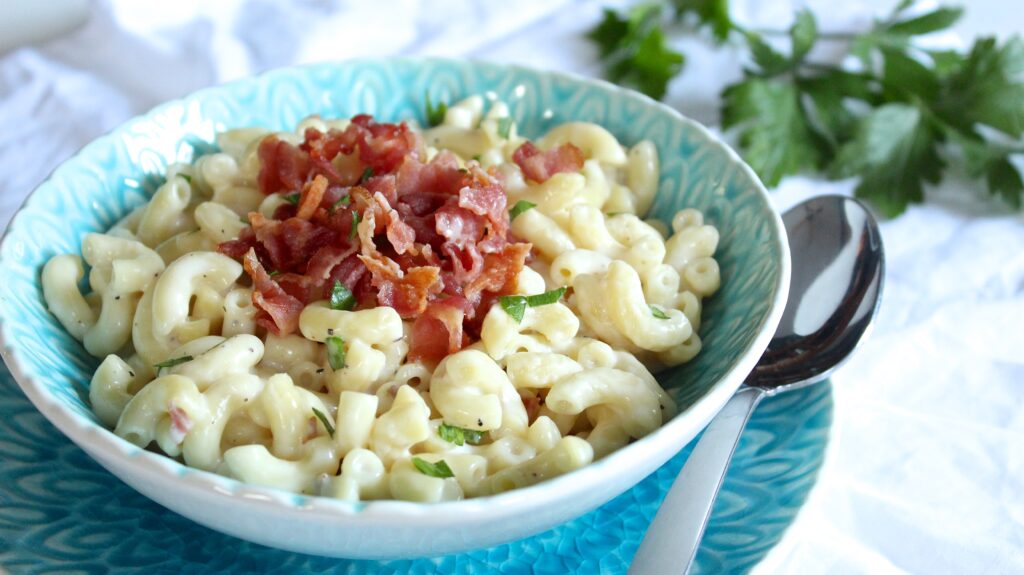 Microwaved Horseradish-Bacon Mac and Cheddar Cheese for One

We have a restaurant we go to that serves absolutely the best Mac n Cheese. The only way I figure it, is that it does NOT go in the oven. That being said, yours looks wonderful and I’m anxious to try it and will comment again. Why are you preheating the oven???
I hope you give this recipe a try! Baking it in the oven is really necessary. Thanks for catching the oven preheating! I removed it. I wrote the recipe over and old recipe card and forgot to remove the extra line.