
 In Good Flavor
This simple Butterscotch Pudding captures the warm, homey flavor of traditional butterscotch pudding while being easier to prepare. It’s a great way to use up butterscotch morsels!
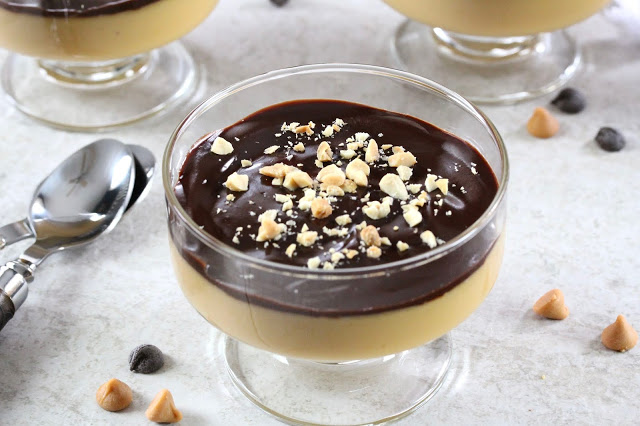
Butterscotch pudding is nostalgic and classic. It is a delicious alternative when you want to switch up the usual chocolate or vanilla flavors.
If you have an abundance of forgotten butterscotch morsels in your pantry stockpile, it is the perfect opportunity to try a shortcut pudding recipe. Why is it a shortcut? Traditional butterscotch pudding does not use baking chips at all, so using these morsels makes the process much quicker and easier.
Traditionally, the dessert begins with brown sugar and butter melted together on the stovetop to create a rich, caramelized base. Cornstarch serves as the primary thickening agent, alongside milk, cream, egg yolks, and vanilla extract. To prevent the egg yolks from curdling, they must be tempered. This involves slowly whisking a small amount of the hot milk mixture into the eggs to gently raise their temperature before adding them back to the main pot.
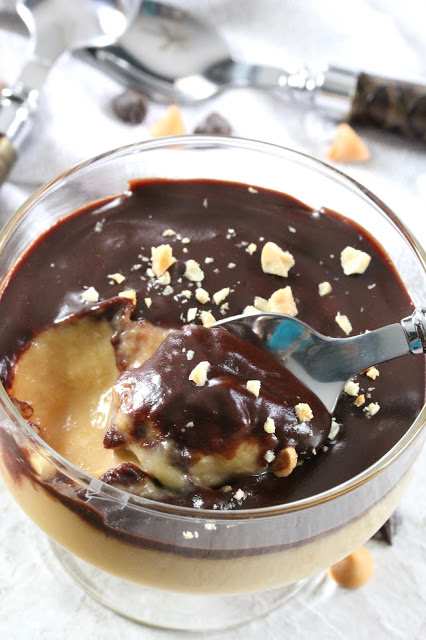
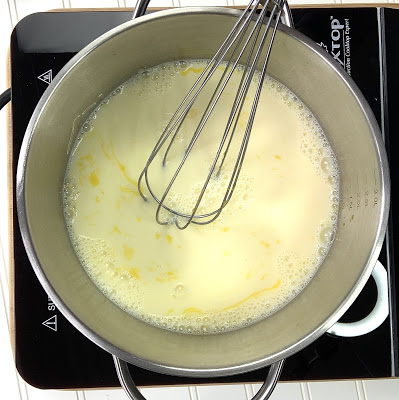
This from-scratch pudding recipe is much simpler. There is no need to caramelize the brown sugar, as the butterscotch morsels provide all the necessary flavor. You can also skip tempering the egg yolks. Instead, whisk the beaten yolks directly into the cold pan with the milk before turning on the heat. Curdling is not an issue as long as you whisk the mixture constantly while it heats. As an extra precaution, strain the finished pudding through a fine-mesh sieve to filter out any stray lumps.
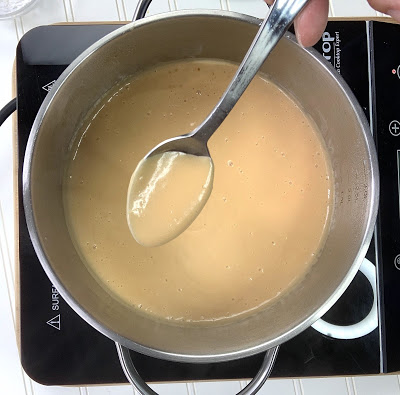


Recipe highlights:
- Add milk, egg yolk, and cornstarch to a medium-heavy-bottomed pan over medium heat.
- Whisk constantly until milk is hot but not boiling.
- Remove from heat. Add butterscotch morsels and salt.
- Whisk until smooth.
- Increase heat to medium-high, whisking constantly until the pudding bubbles and thickens.
- Remove from heat. Stir in vanilla extract.
- Strain the pudding through a fine-mesh sieve to remove any lumps.
- Pour into 4 individual-size cups.
- Cover lightly with plastic wrap to prevent a layer of skin from developing. Chill.
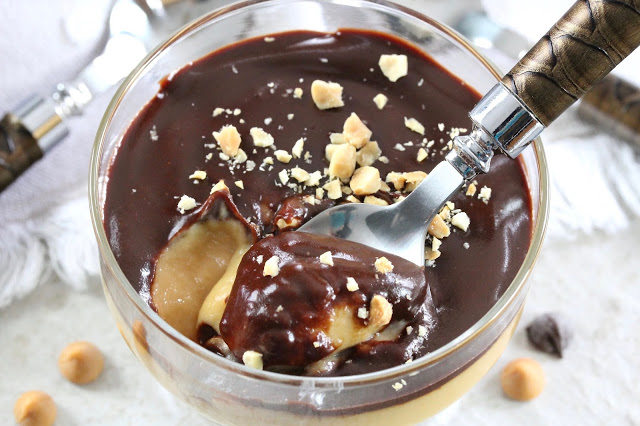
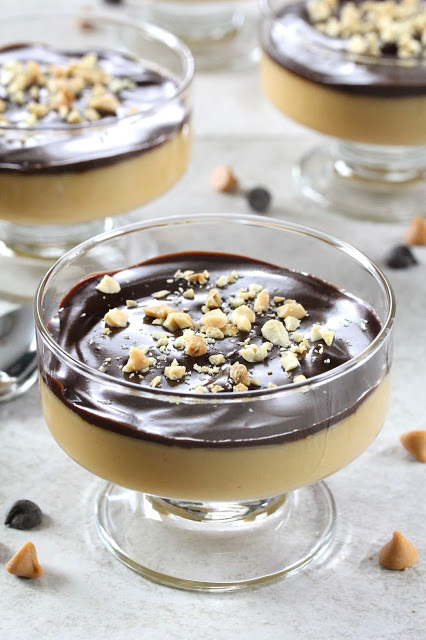
The pudding is perfect served as is or with a dollop of whipped cream. To make this simple dessert feel fancy, I top it with a layer of chocolate butterscotch topping and garnish it with chopped nuts. And it’s easy peasy too!
How to make the topping:
- Microwave 1/3 cup chocolate chips, 1/3 cup butterscotch morsels, and 3 tablespoons milk for 30 seconds.
- Whisk to smooth out most of the mixture.
- Microwave for an additional 20-second interval. Whisk until smooth.
- Microwave for another 20-second interval, if needed, to obtain a smooth consistency.
- Serve over pudding.
This recipe makes four servings but could easily be halved or doubled. It keeps well for up to three days, refrigerated.
The next time you have some butterscotch, give this a try!!
Recommended supplies:
(Affiliate links. The products I recommend are either what I use, are on my wish list, or come highly rated.)
- A saucepan—this one is 2-quart stainless steel, has a cool grip handle, and comes with a lid. It is oven-safe up to 550° F and broiler-safe.
- Metal wire whisk. This one is sturdy and dishwasher-safe.
- Strainer for removing lumps.
You Might Also Like:
 Queijadas (Portuguese Custard Cupcakes)
 Samoa Truffles
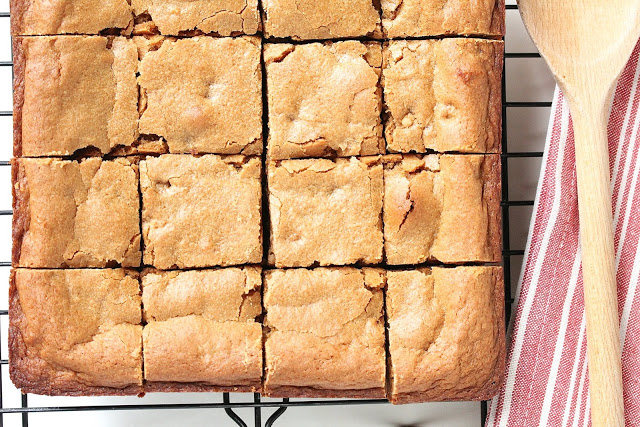 Caramel Apple Butter Blondies
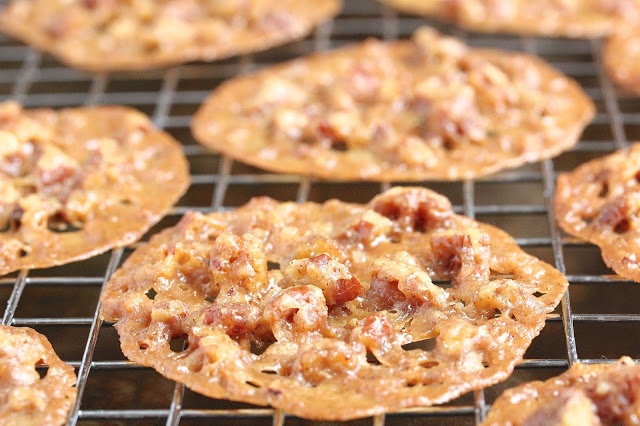 Gingerbread Lace Cookies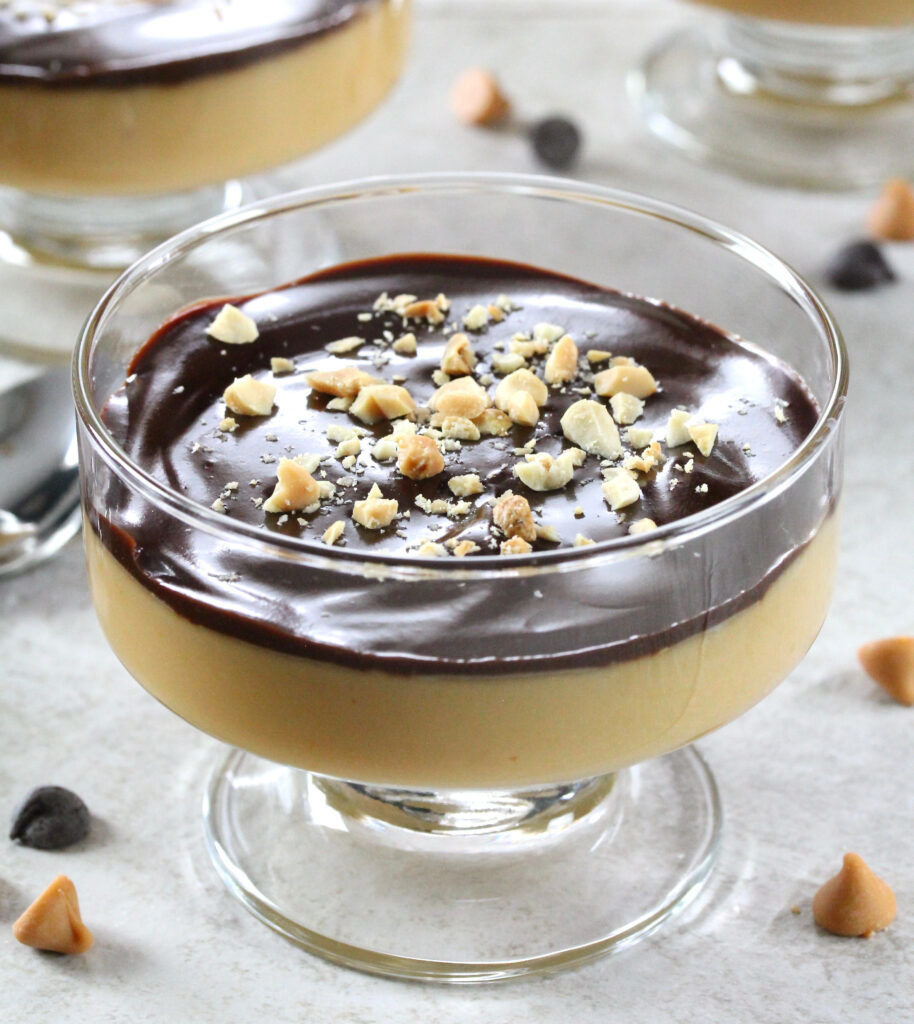

Easy Butterscotch Pudding
Description
This simple Butterscotch Pudding captures the warm, homey flavor of traditional butterscotch pudding while being easier to prepare. It’s a great way to use up butterscotch morsels!
Ingredients
For the chocolate butternut topping, optional:
Instructions
- Add milk, egg yolk, and cornstarch to a cold, heavy-bottomed saucepan, then place it over medium heat.
- Whisk constantly until the milk is hot but not boiling.
- Remove from heat. Add butterscotch morsels and salt.
- Whisk until smooth.
- Return the pan to the burner set to medium-low to melt any remaining clumps, whisking constantly.
- Increase heat to medium-high, whisking constantly until the pudding bubbles and thickens.
- Remove from heat. Stir in vanilla extract.
- Strain the pudding through a fine-mesh sieve to remove any lumps.
- Pour into 4 individual-size cups.
- Cover lightly with plastic wrap to prevent a layer of skin from developing.
- Chill for at least one hour.
- Serve pudding as is or with chocolate butterscotch topping. Allow the pudding to chill for an hour before adding the topping to ensure clean layers.
- Garnish with chopped nuts, optional.
- Place chocolate chips, butterscotch morsels, and milk in a microwavable bowl. Microwave for 30 seconds.
- Whisk to smooth out most of the mixture.
- Microwave for an additional 20-second interval. Whisk until smooth.
- Microwave for another 20-second interval, if needed, to obtain a smooth consistency.
- Pour over chilled pudding. Serve.
For the pudding:
For the chocolate butterscotch topping, optional:
Notes:
- Microwave cook time is based on a 1000W microwave. Adjust the cooking time accordingly based on your microwave’s wattage.
- The chocolate chips and butterscotch topping could also be made on the stovetop. Place a heat-proof bowl over a pan of simmering water (without letting it touch the water) to melt the mixture.
- I use whole milk for this recipe, but cream would make it even more lush.
- The pudding keeps well for up to three days, refrigerated.
Disclosure: This site contains paid advertising and affiliate links. In Good Flavor is a participant in the Amazon Services LLC Associates Program, an affiliate advertising program designed to provide a means for sites to earn advertising fees by advertising and linking to Amazon.com.

This butterscotch pudding looks so yummy and delicious!
No joke, I'd choose butterscotch pudding over chocolate, any day! It's actually my favourite sundae flavour too. This looks so easy, I might have to whip it up for us soon!
Thank you so much!! It’s such an easy and tasty dessert!
I have butterscotch morsels laying around too! (I think I got them from my mother when she moved to memory care). Great idea!
I didn’t know that about you, Katherine! I have never met anybody who loved butterscotch more than chocolate! Your seal of approval would be a huge compliment!!
Thanks Inger! I hope you’ll get to try it out. I’m sorry about your Mom. We went through all that with my father-in-law last year. He lived with us for 11 months prior to going to memory care. It’s hard on everyone.